
Hello again,
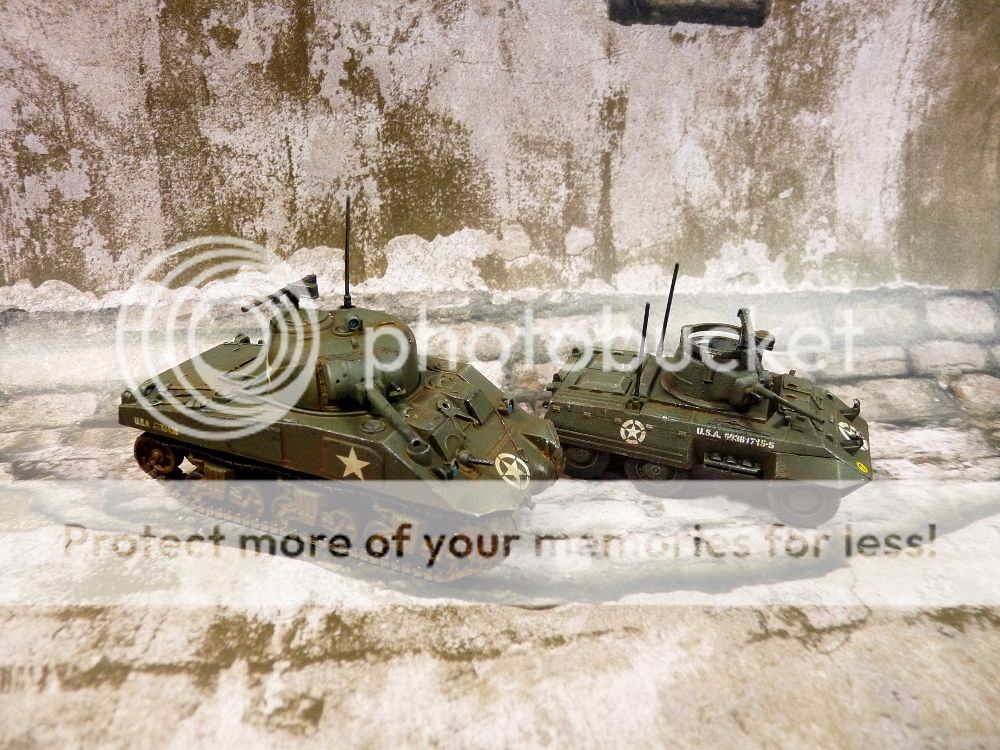
After painting my very first Bolt Action model recently (Sherman M4) I got kinda encouraged by positive feedback and was also asked some questions about colors and materials used. So while waiting for US infantry arrival I ordered another model for the game I really liked and tried to paint it using similar colors to Sherman, so both vehicles fit the battlegroup.
That model is M8 Greyhound: 6-wheel scout car.
I was taking some photos while working on the toy trying to show how it was going step-by-step. As always in my case wip photos didn't turn out spectacular, but still hope some of you might find this walkthrough useful.
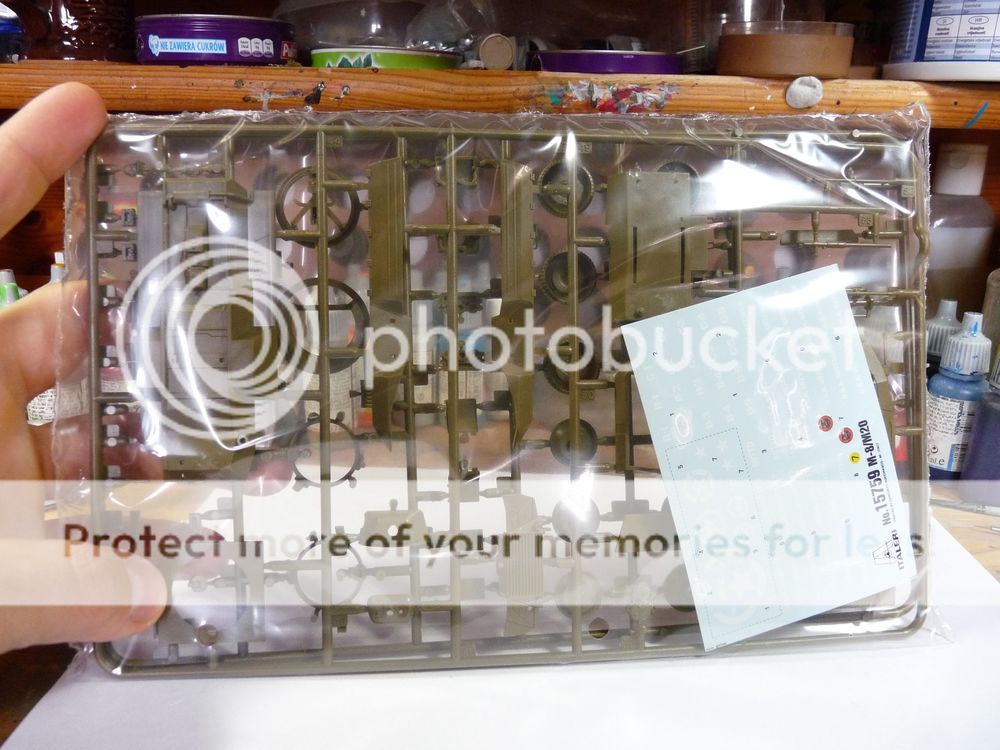
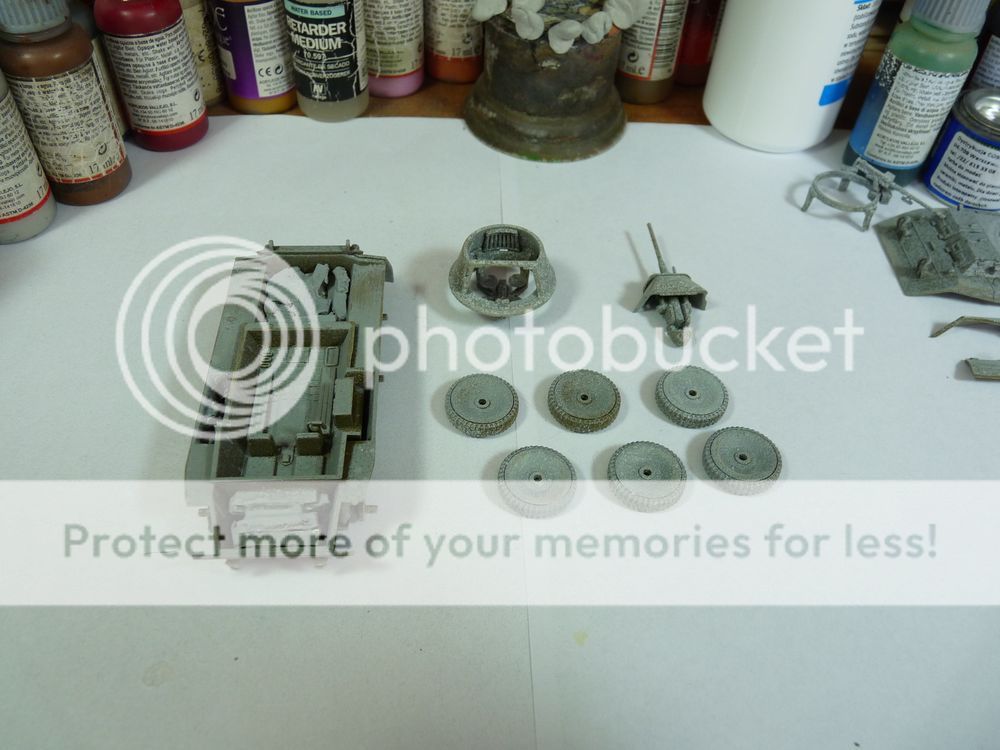
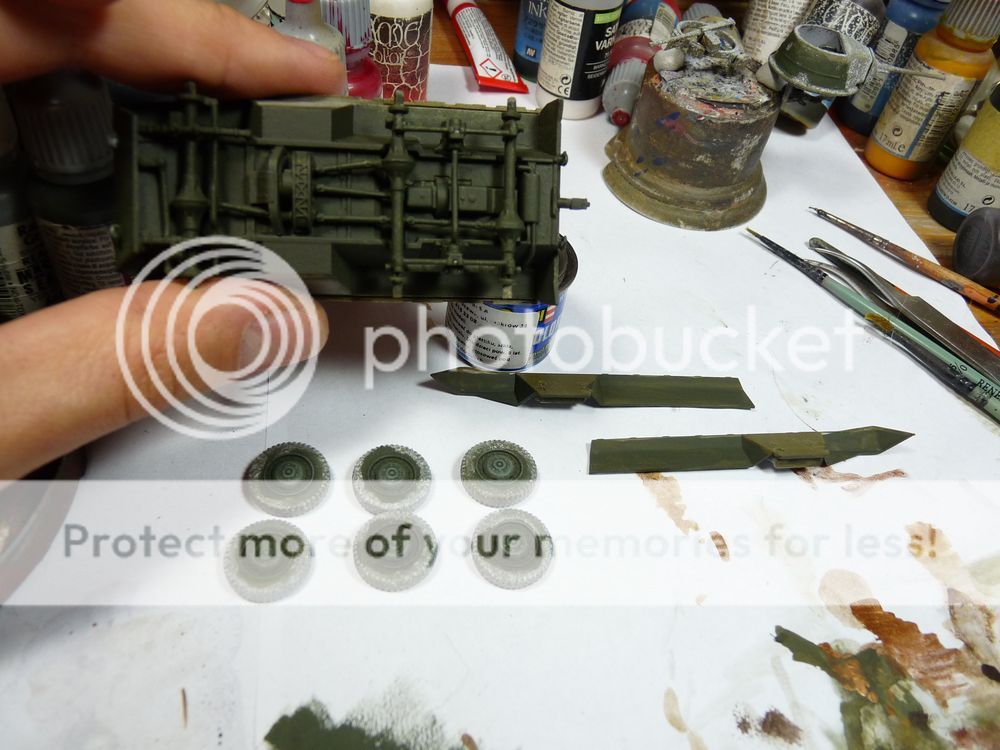
So the model arrived: once again I chose Italeri brand: all parts fit peftectly so assembling process brings no problem at all. Here's what I found in the box:
I was taking some photos while working on the toy trying to show how it was going step-by-step. As always in my case wip photos didn't turn out spectacular, but still hope some of you might find this walkthrough useful.
So the model arrived: once again I chose Italeri brand: all parts fit peftectly so assembling process brings no problem at all. Here's what I found in the box:
As mentioned above - casting quality is just great. Assembling the piece took me like single afternoon (while babysitting kid at the same time). To make painting easier (and possible in case of the interior) I decided to split models into sections, which will be put together later.
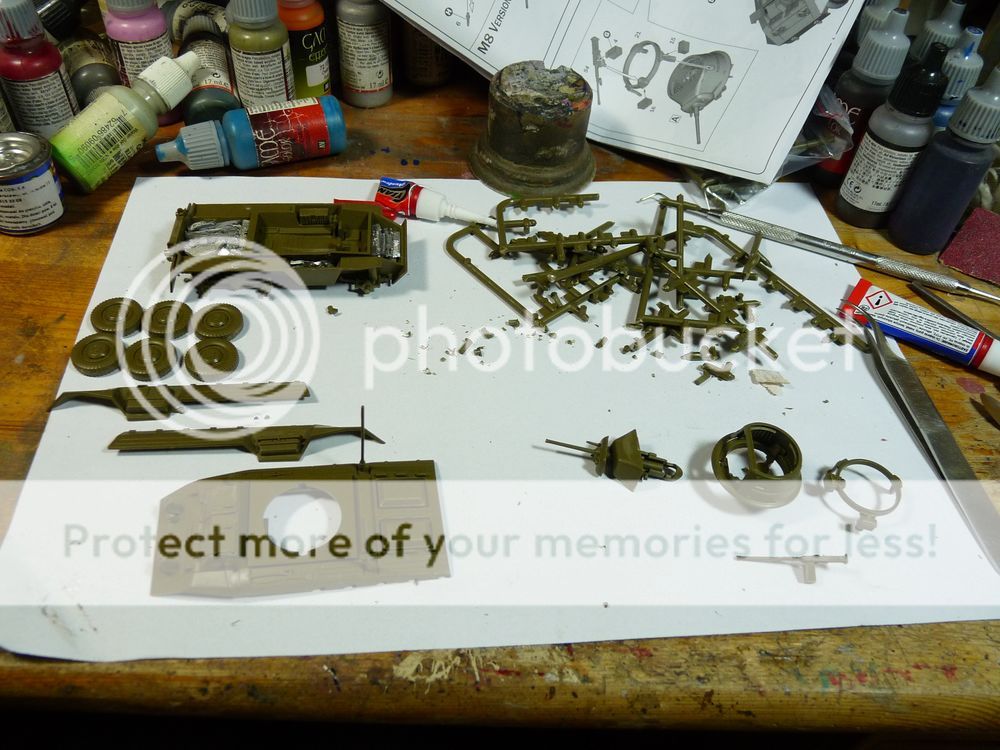
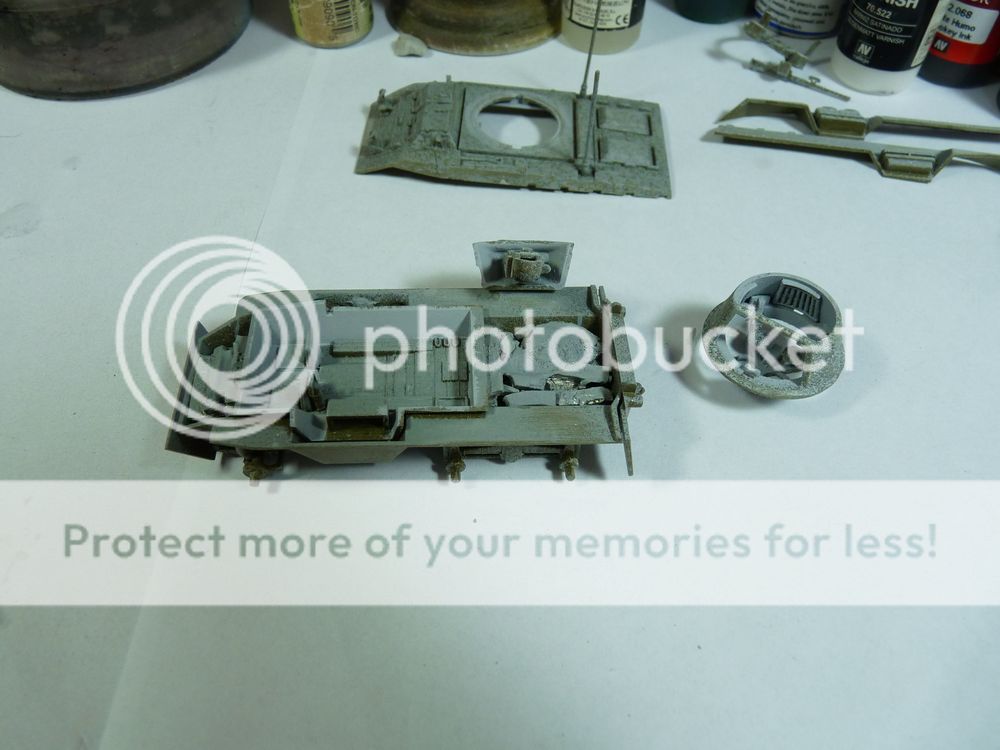
Assembly test - checked!

And here are the sections. I like heavy models so both here and in Sherman some scraps of metal were hidden inside.
Please note: it's just gaming model, so if you don't feel like painting the guts of just want to have the job done fast, simply paint interior black. Unless you remove the turret no one should see the difference.

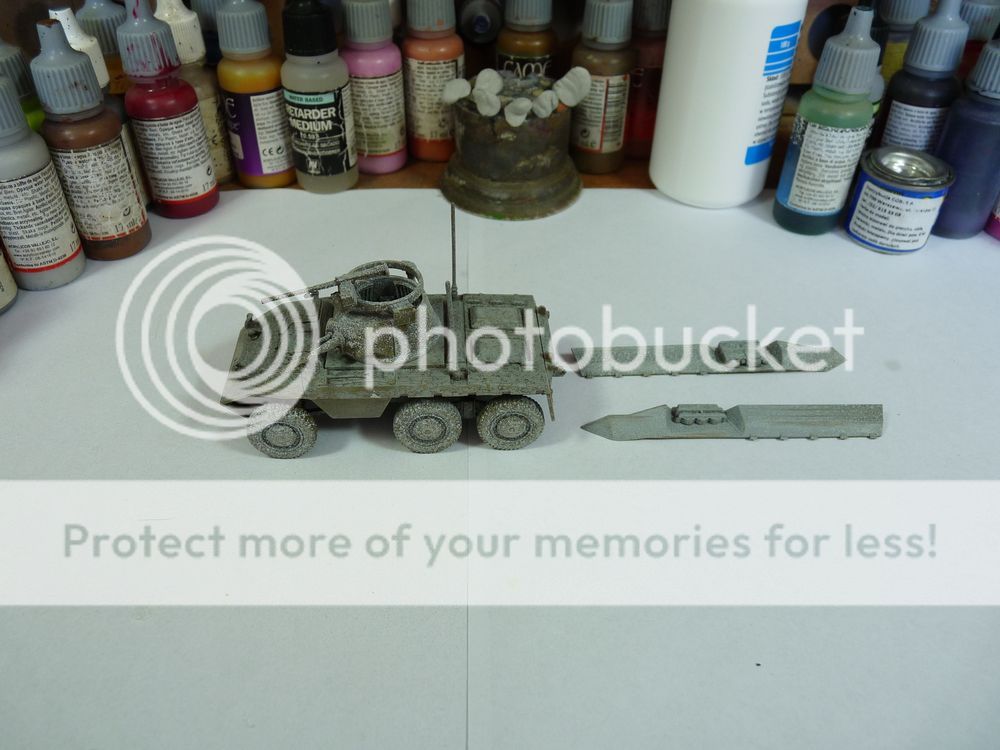
Painting started by applying undercoat: I used simple car spray.
It's pretty "heavy" paint which actually gave some texture the armour. That will give more natural, realistic look in the end.
It's pretty "heavy" paint which actually gave some texture the armour. That will give more natural, realistic look in the end.
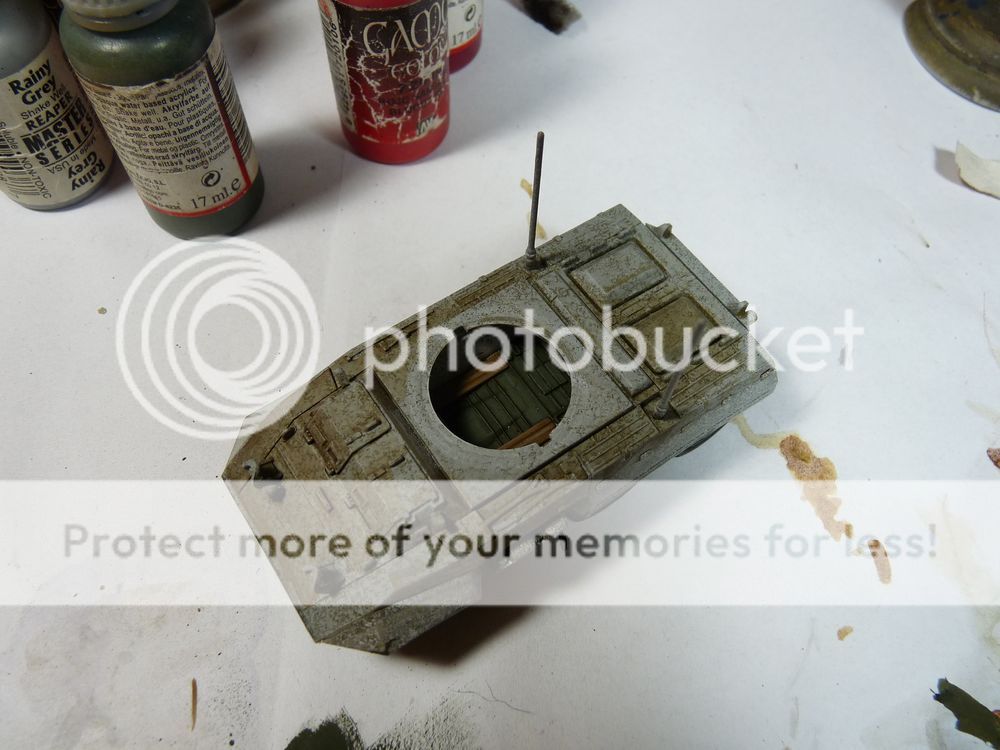
Base color of interior walls and floor is white. I used misty grey followed by white highlight and the applied delicate black wash glaze - just to provide basic shading.
Basic colors for other parts are yellow olive for the floor, black for seats and earth for planks. All from Vallejo Game Color range. Radio is simple black drybrushed with misty grey.
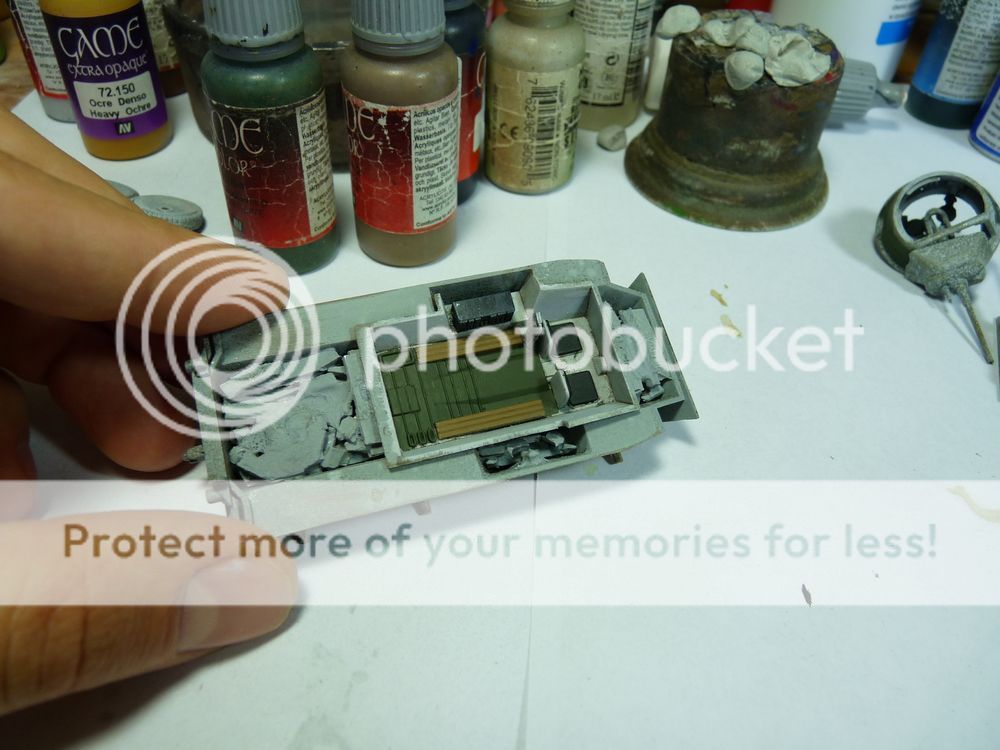
Yellow olive was glazed with olive + smoke + charred brown and then highlighted with yellow olive, planks washed with brown ink and highlighted with earth + bleached bone, fire extinguisher (that bit behind driver's seat) was painted with gory red and then highlighted with bloody red.
At the same stage I painted turret's interior with same colors: gun - olive, seath - black, walls - white. Extra ammo is just brass washed with smoke and highlighted with pure brass.
I also added some dirt and scratches on the walls and gun - just to break the tones.

All painted elements were sealed with Revell's supermatt varnish. It smells gorgeous but it takes a while until it gets dry so it's good moment to take a coffee, smoke, take a dog for a walk or empty dishwasher.
Or all above.
Especially dishwasher - your ladies should be pleased.

Seat backs are barely noticed (looking from an angle) but other details look nice.
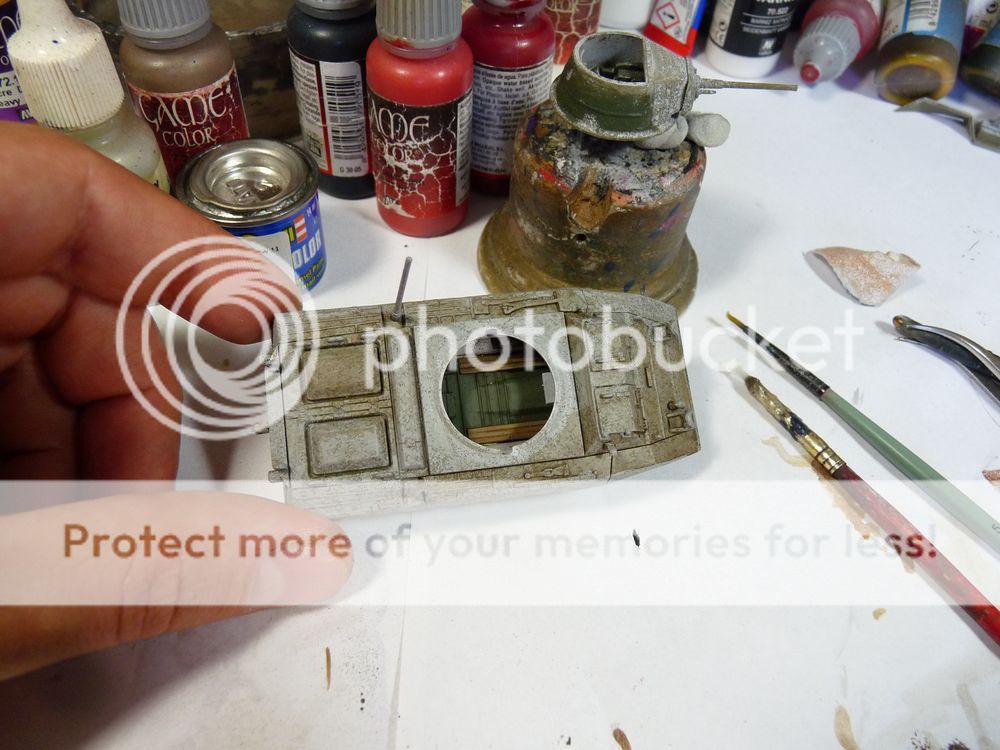
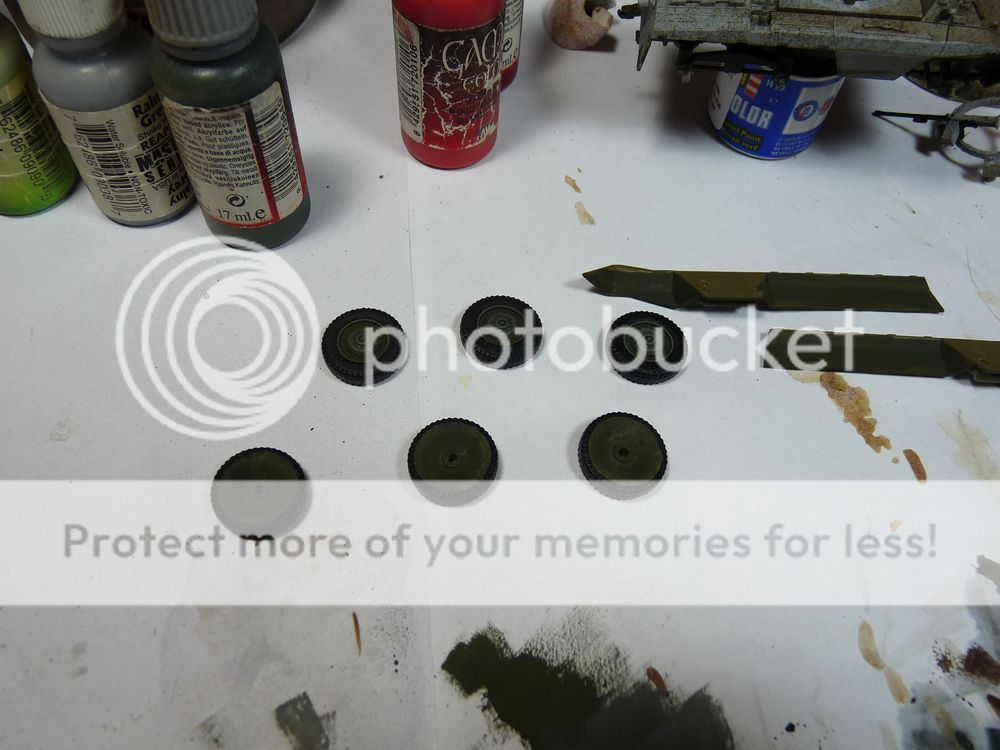
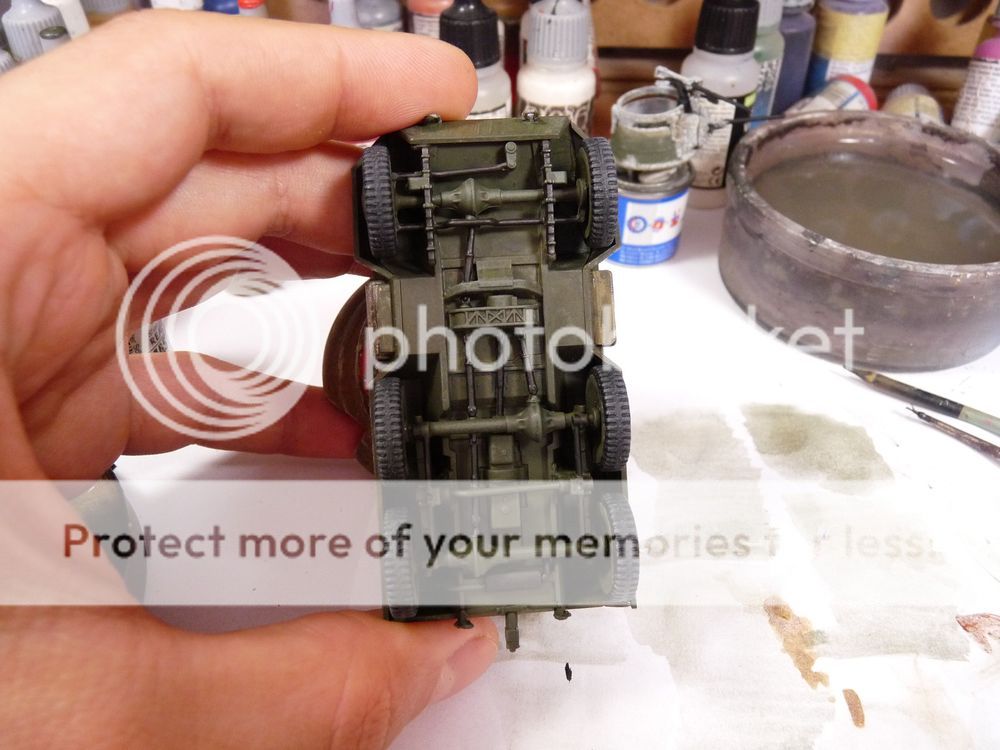
Now I started painting bottom part of the model: wheels and chasis.
Like in case of interior it's kinda optional: if you want it done fast simply hit it with cark olive, drybrush highlight and then add load of dirt.
I decided to play bit longer with painting: underbelly and wheels were painted with yellow olive, then glazed with olive + charred brown. Highlights is just olive and rainy gray drybrush.
Tires were painted with black + bit grey and drybrushed with rainy grey.
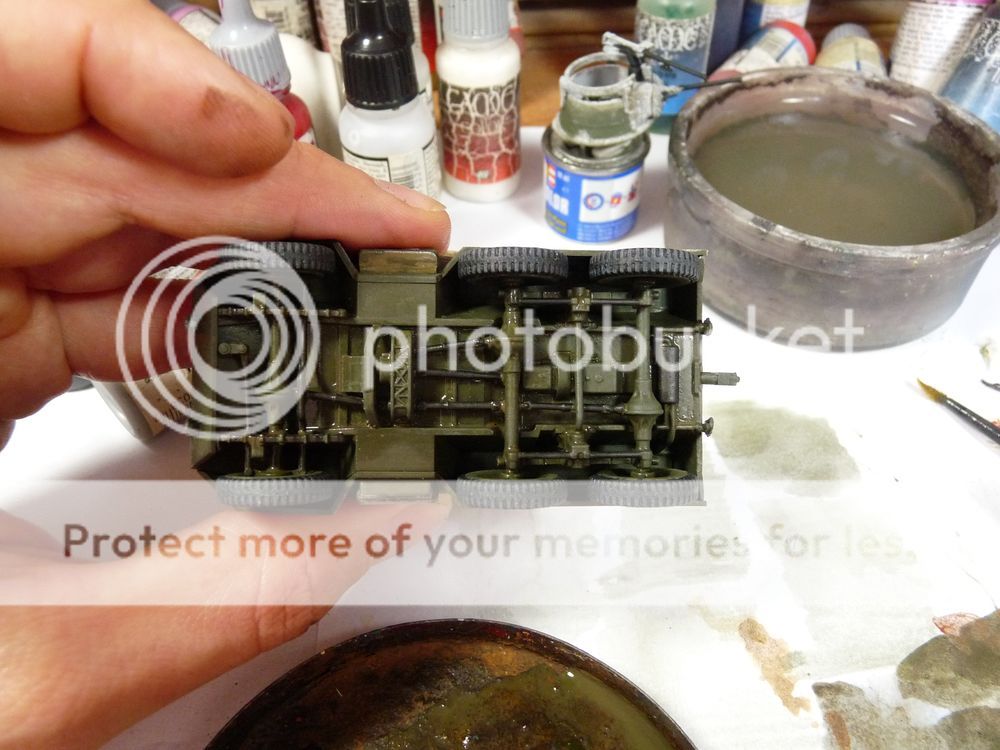
Paint is dry so wheels were attached to the chassis and then side armour added. Be careful with superglue - if you pour too much there might appear pain in the ass to remove "stains".
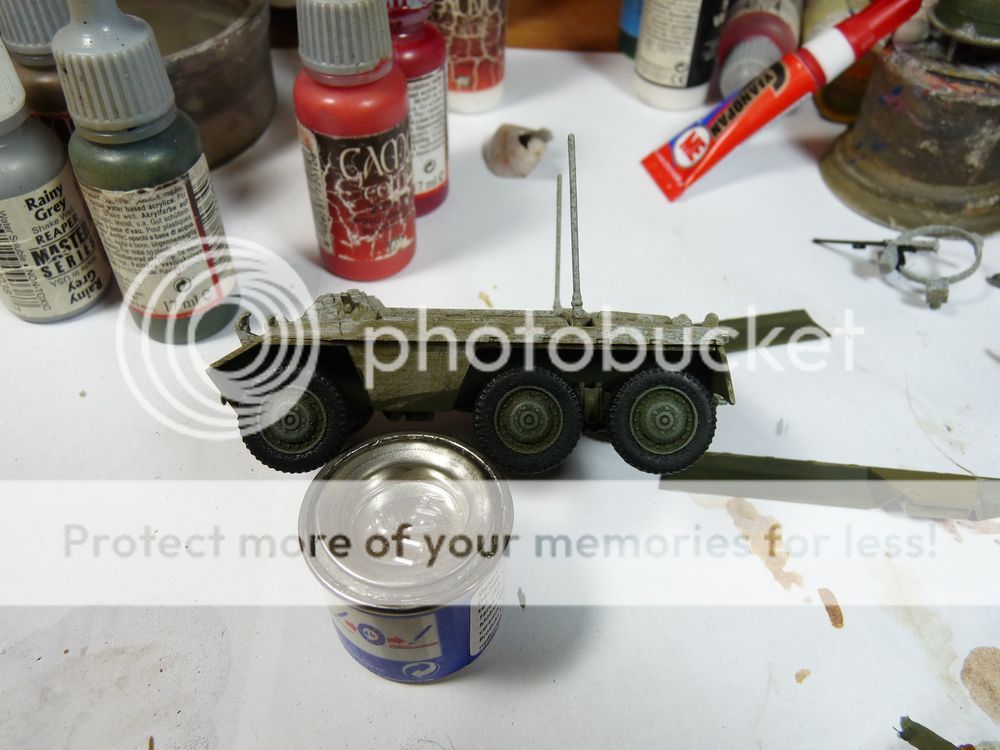
Some chassis details were painted with black and steel. After drybrushing whole chassis was glazed with olive and smoke ink wash (yes, the same color again but hey - it's WW2 war machine, not WH40K toy).
Now something we're been waiting for!
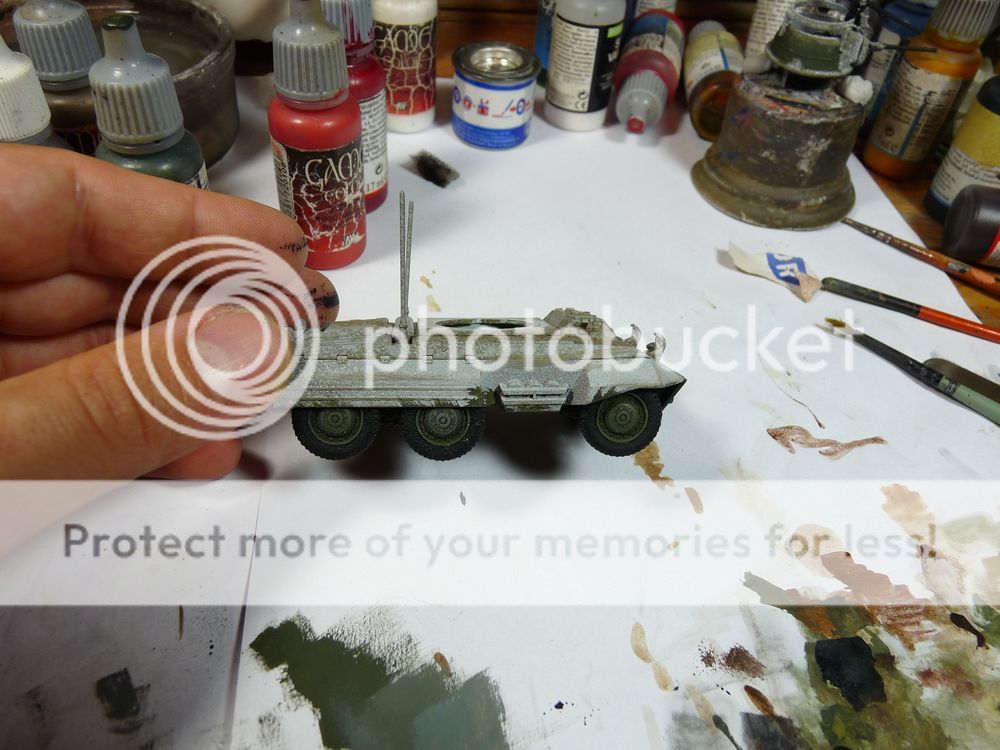
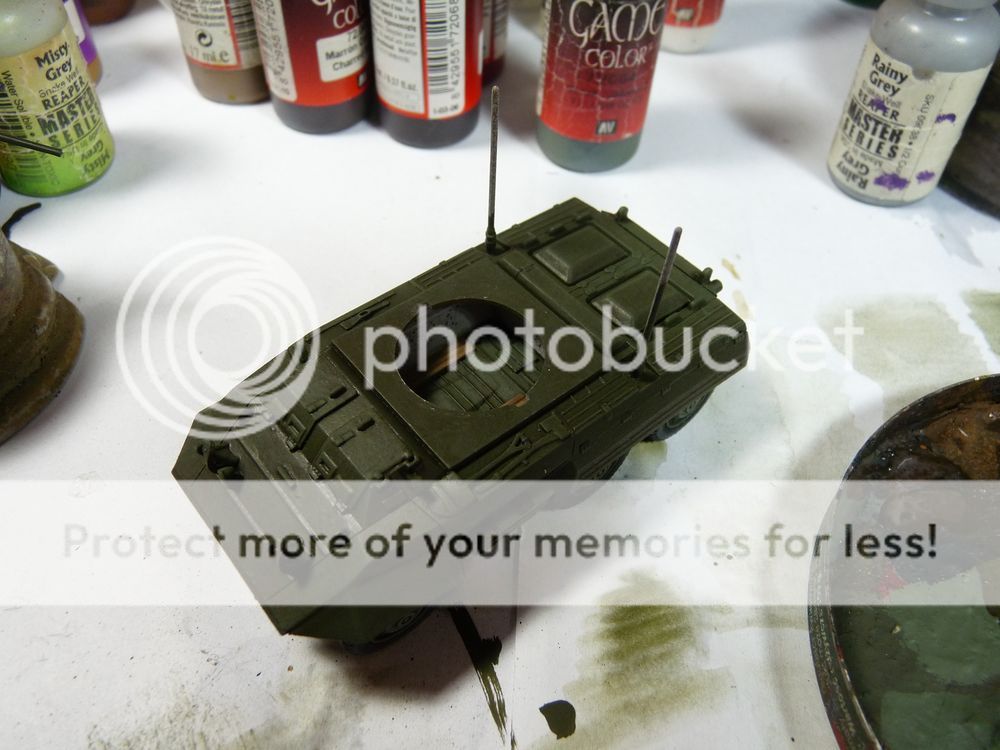
Something which is not optional and is pretty well seen: the hull!
Once again - model was painted with mix of yellow olive and some brown... 
Nice and dry!

Model was now glazed with smoke ink with some olive and brown chalk added. That's for getting more dirty and "think" shading. Wait until it's 100% dry before next step which is...

Drybrushing!
I started with yellow olive, then I was adding more and more rainy gray and if I remember correctly some misty grey in the end for the final highlight. That's the first layer of drybrush...
And this is the last one.
Pretty striking, isn't it? You can actually see delicate texture of the undercoat on the turret.

To get smoother transitions and color more
similar to what was planed whole hull was glazed with diluted yellow
olive. Don't get carried away by this, it's better wo paint 2-3 thin layers instead of single, too thick one.

Model is ready for gaming but it's also ready for decals and details.
Decals pattern was described in the instruction. If any of you have problems with decals here're some tips:
- paint place where you want to see decal with gloss or satin varnish,
- apply decal trying to keep it wet (it makes sliding and positioning),
- remove excess of water with brush,
- when decal is dry - paint decal medium on it, this stuff makes decal fit surface much better.
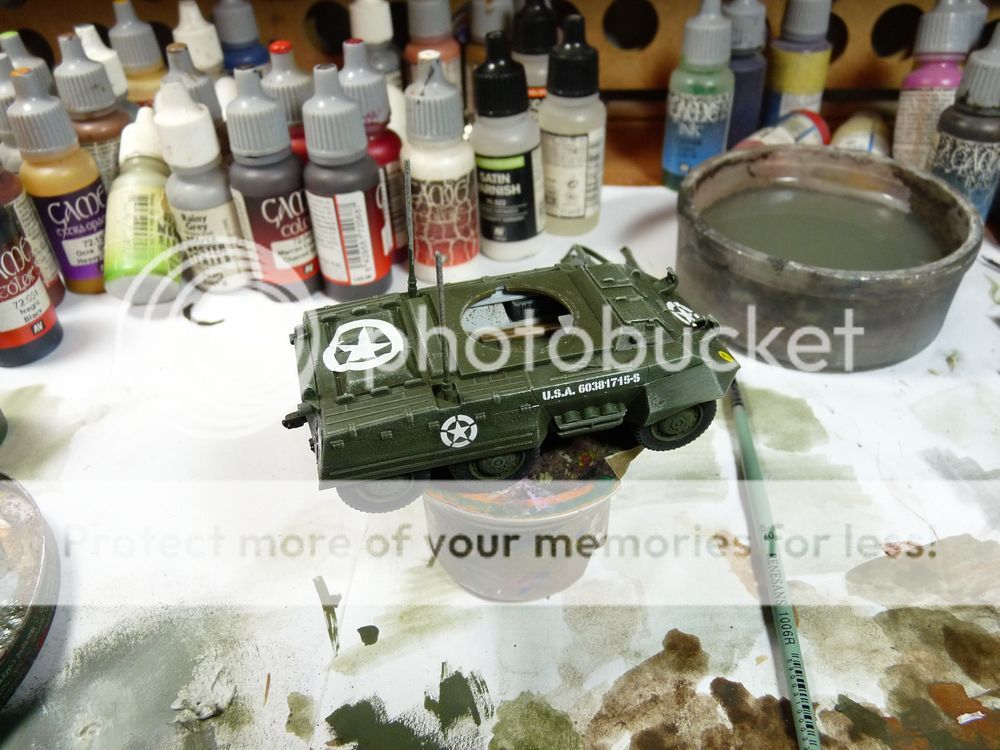

I didn't like the star on the back - it was just too big for my taste. Like signal for Luftwaffe machines circling over battlefield: "Hello, I am here if you're feeling like some target practice!".
While still wet of at least damp taking decal off is no problem at all.
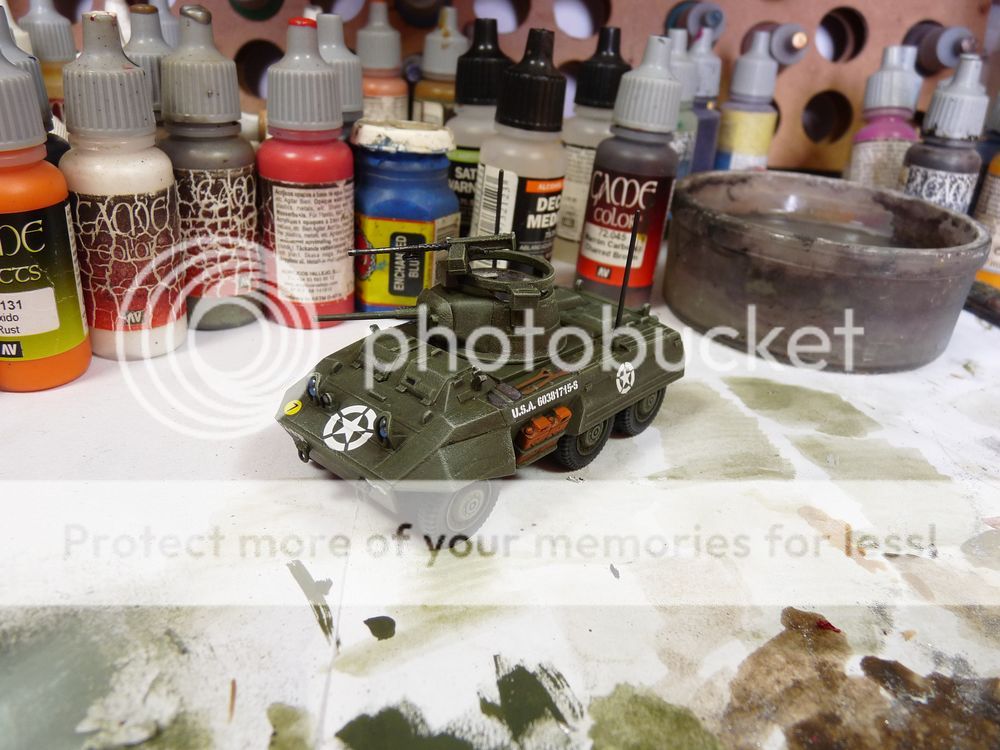
At this stage also details were added:
- fuel canisters with dirty orange,
- extra wheels (whatever these parts are for) with boltgun metal,
- the same for antennae and machine guns barrels,
- blass for hmg ammo,
- front lights - blue, rear lights - red of course.

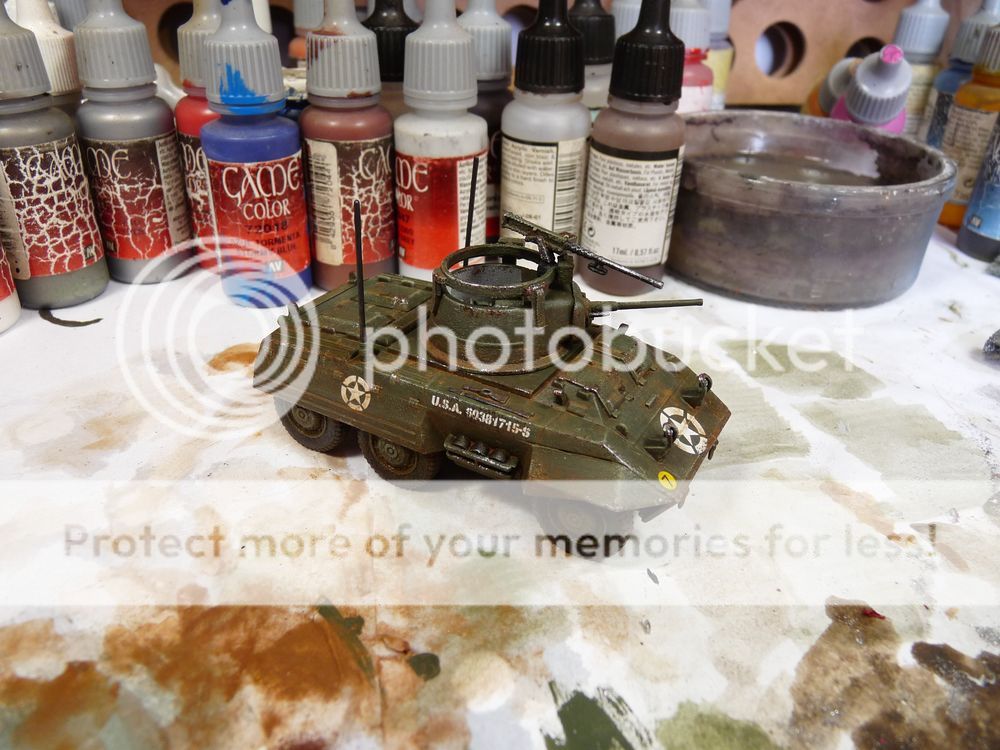
And the dirt - the best fun of all this.
There are many ideas dependable what you want to achieve, my model is pretty "fresh" so I painted only basic weathering.
I mixed some chalks - brown, orange, yellow with sating varnish and lots of water. I mean it: cahls are very concentrated and mixture must be very diluted to use it on models.
With thick brush the mixture was applied on the whole model. I waited a bit and then excess was wiped off . I tried to leave dirt where it would naturally appear during exploatation.
Also some chiped paint was added - it's just dark brown and steel applied with sponge. Once again - not too much, it's US Chariot Ov Destruction, not piece of junk.
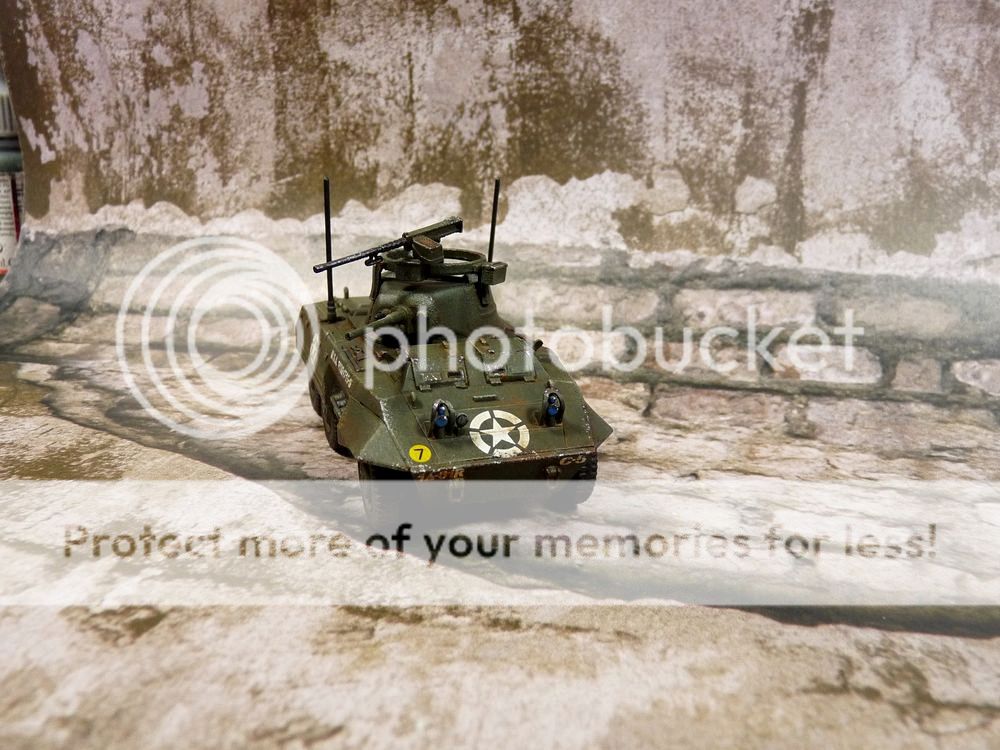
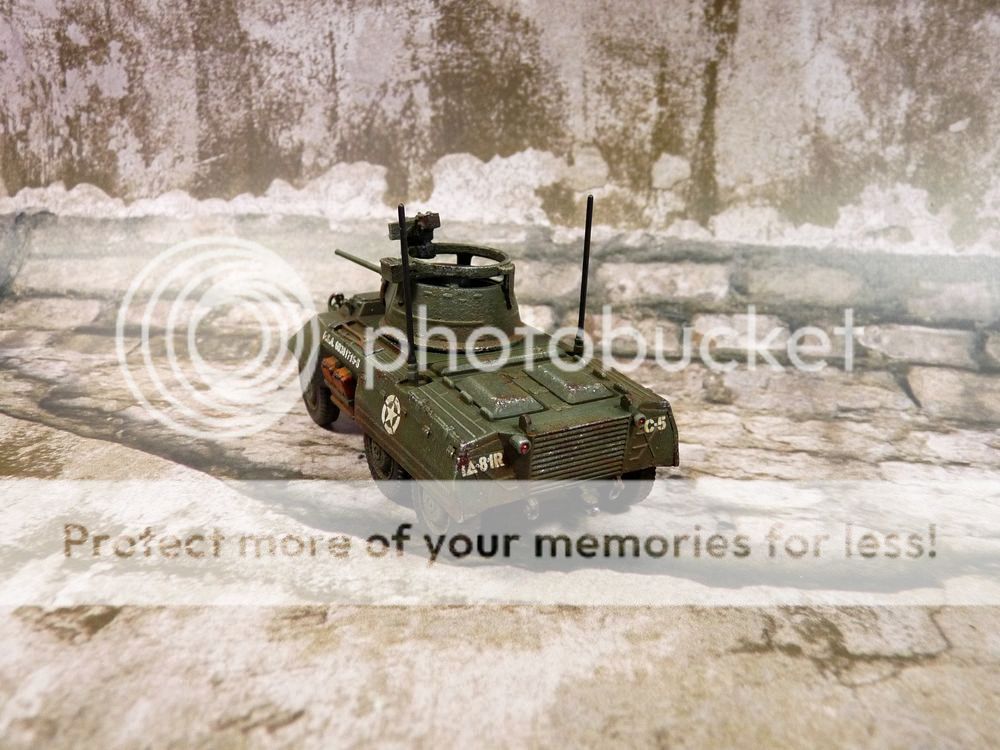
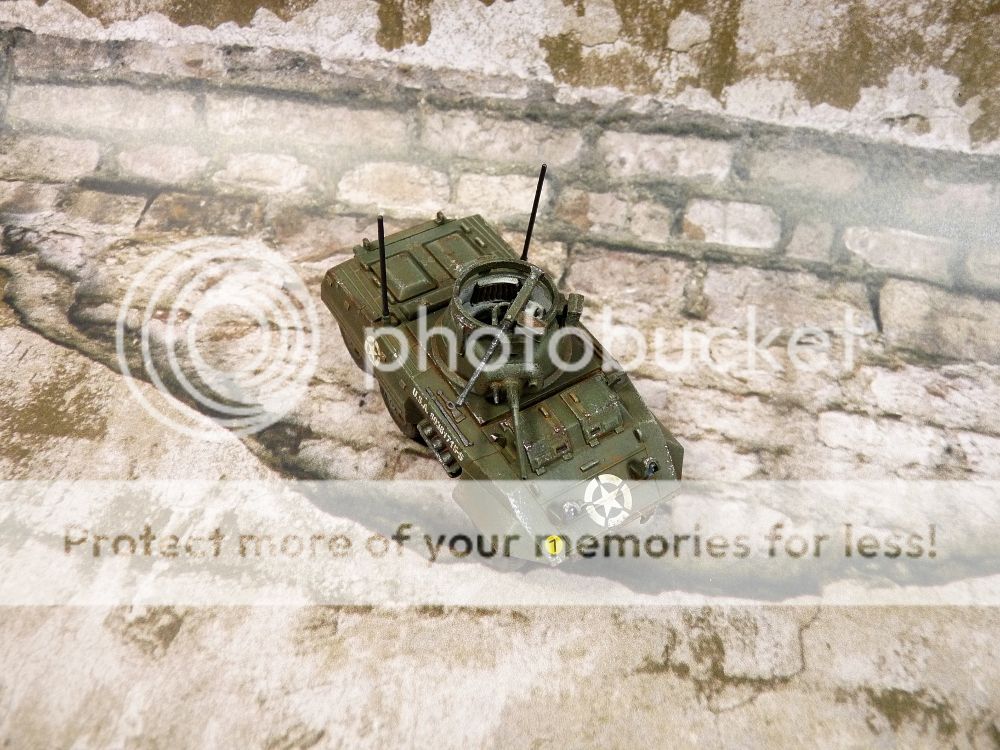
And aerial look on the batlefield and the palette :)

The job is done.
I am pretty happy about the final effect, Greyhound is not as dirty as I was planning initially (varnish wiped off some dirt) but looks just like vehicle shortly after getting into action should look like.
Hope you like it too and find the article anything useful. In case of any questions just shout.


By the way, there are still some followers needed to reach magical number 200 so you know... <nudge, nudge, wing, wink>
Thanks for reading!
(and following)
(and following)
Great work! Very useful tutorial thanks :)
ReplyDeleteSuperb! I'll definitely be using the chalk method on my next Bolt Action vehicles.
ReplyDeleteCheers guys! :)
ReplyDeleteThere's one more BA vehicle to be done hopefully shortly.
Hopefully.
ReplyDeleteVery nice work here. I'll keep this article for a nice reference for when I get around to painting my US armour
ReplyDeleteCheers dude,
ReplyDeleteNext one should be US halftrack - not sure yet which variant tho, but the model is just sweet.
Great tutor! thanks a lot!
ReplyDeletemore than fantastic!
ReplyDeleteHehe, thanks again!
ReplyDeleteMy brother dropped me his T-34 tank so there's a chance for another walkthrough.
If there's anyone interested in, that is.