Saturday, February 25, 2017

M18 Hellcat


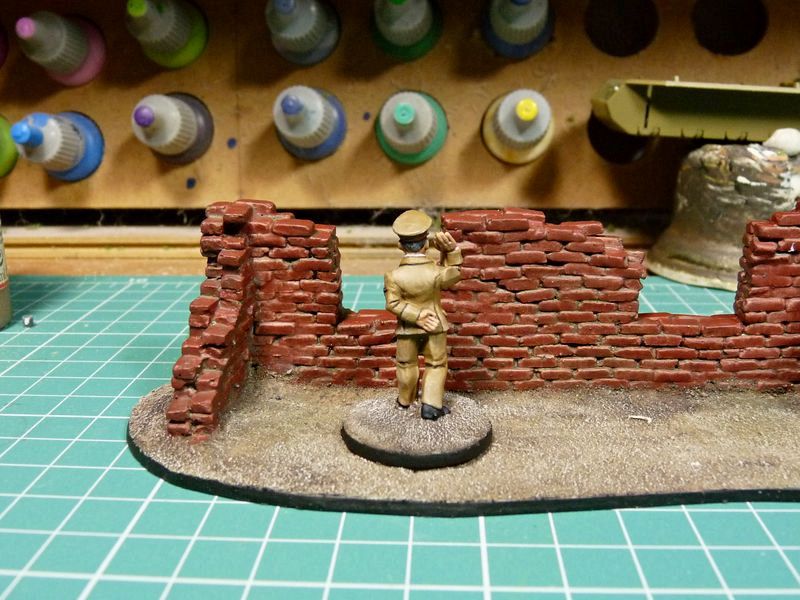
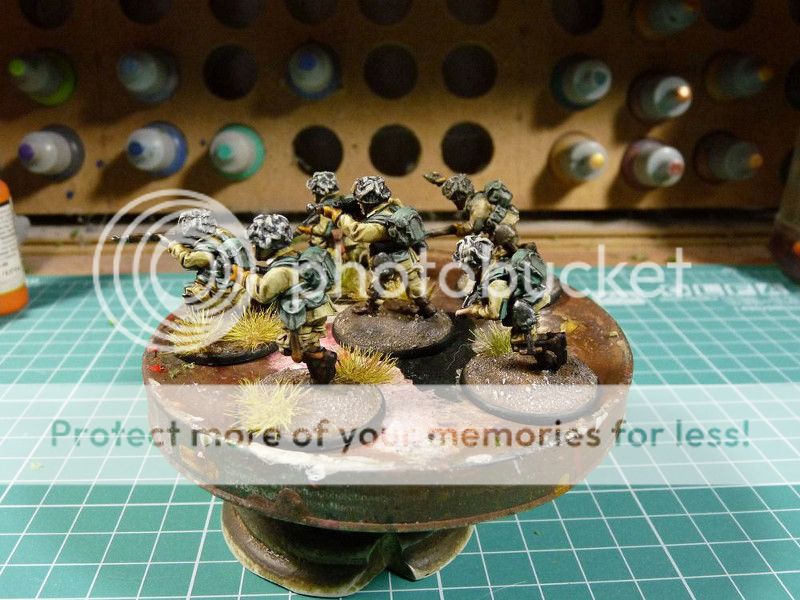
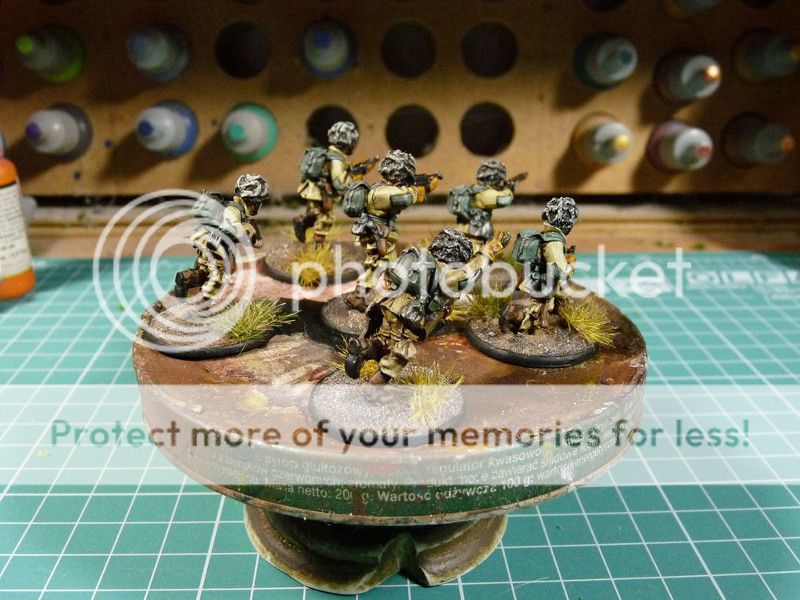
So I was supposed to paint infantry... I was (I still am actually) only 7 models away from having fully painted 1000 points Bolt Action US battle force.
But the urge was too strong...

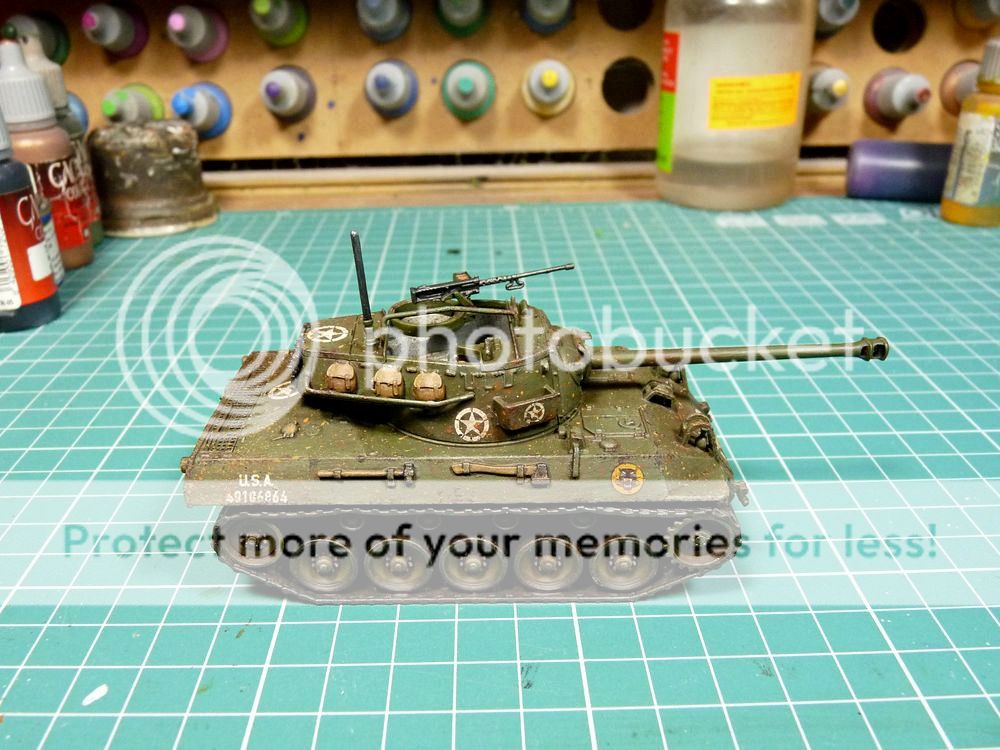
When I got the model I still had some infantrymen on the desk, and opened the Hellcat box "just" to check if there're no parts missing of has is arrived undamaged...
Yeah, rrright...

Model was assembled in like two evenings so the painting could start with no delay.
I wanted to make it fit rest of my machines but also wanted to see it slightly brighter.
And actually everything was going nice until I got bit carried away by weathering. Let's face it -  getting tanks dirty is the very best thing in this whole painting business!

 As for the model quality: absolutely no complains. Once again I can definitely recommend anything released by Italeri. All parts fit nicely, all details are sharp. My only regret is there's only one more model from that manufacturer for my army, whch I don't really need.

I wanted to paint both crew members but only loader could be positioned nicely on the seat behind cannon, so the legless veteran commander has to wait for some other task.
The loader also has no legs by the way. It's definitely most hardcore and totally BADASS crew in my army!

Painting is very similar to my earlier machines (M4 Sherman, M8 Greyhound, M3A1 halftrack) so there's not much more to be added. On this one I tested applying wet mud on the hull (like it's riding through puddles or something) but result is not spectacular. The dirt is just barely seen. I think I was expecting something more "chunky".
So in when all was done I hit my new ride with yellowish pigments (especially in the rear) and that's what I was really looking for - strong contrast. Looks like dried mud.

So - no more babbling, hope you like my work! :)


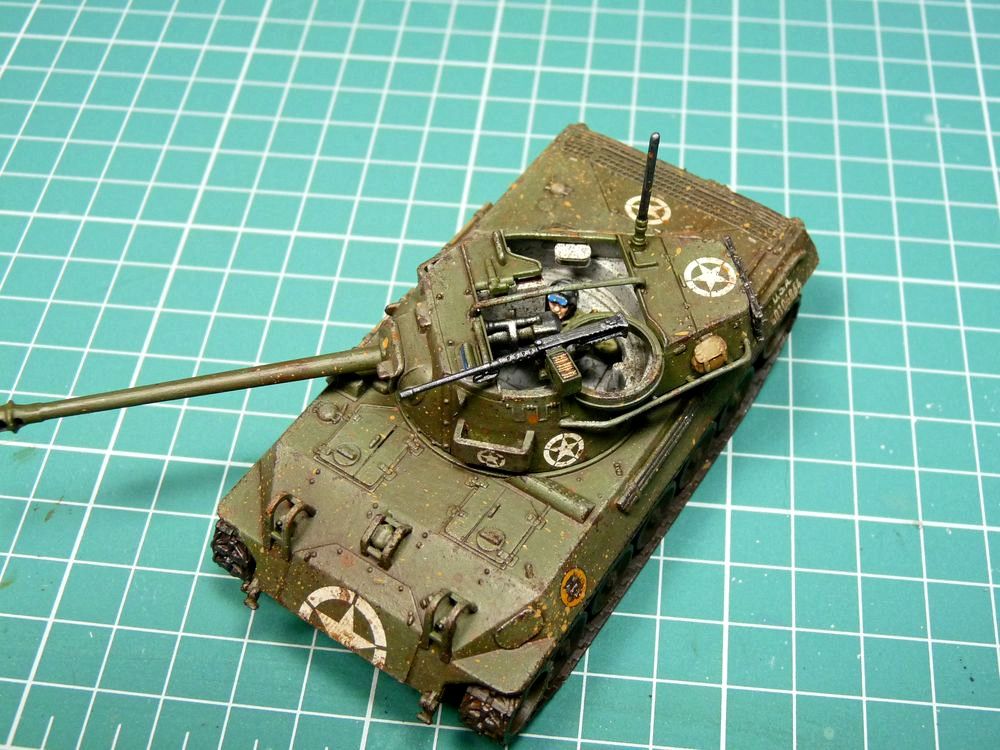
Below - drastic details of turret interior.
See? The guy has no legs!


And my whole armored fist at current stage.


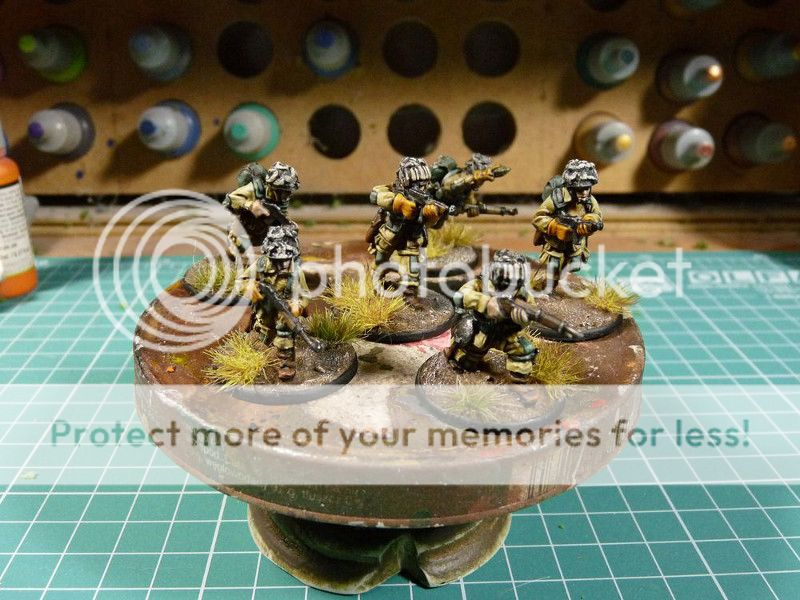
Party time is over, time to take care of some intentry models.
Laterz!

Friday, February 17, 2017

Damn those pesky kids...


"Heinrich! Heeeeinriiich!
Those goddamn teenagers macht est again! Mein neu Garten wall ist vandalized!
Ich will not leave it like this again!
Check if we have any spare Panzer, dear - someone's gonna pay for it..."

See? See? That's what might happen if you piss that weirdo naighbour of yours off. You never know who he truely is, where does he work or weather he leads nazi party or not...
Lesson learnt: stay away from freaks and local idiots.

Anyway - hey again.

Once again whole post it dedicated totally to Bolt Action. I must admit this game is just super addictive! Combine it with cool models (which in case of my army turned out to be really easy to paint) and voila! - recipe for commercial success!

Since the last entry 4 models were moved into the colored side of existence, which is quite a result for my: single piece painted in about 2,5 evening...

So for starters - little support for my regular infantry: one more private and first liutenant (finally I have painted commander). Both painted using tested color choice. I was asked about paints I use so further below - all necessary colors to get US infantry painted:


Another piece is something to mess with hiding enemy troops: medium mortar from Black Tree Design range. It's the first model I painted ever from this manufacturer but I am quite sure I'll get some more toys from that source:
- models are well scaled for Bolt Action game,
- there's huge minis selection available,
- there are ofter promotions and shipping cost is quite low,
- customer service - brilliant.

I chose my standard US infantry palette so it fist the rest of the gang. I also decided to base every crew member on separate bases (there are 3 soliders operating mortar + optional spotter) so it's easier and more practical to remove casaulties instead of marking them with dice or something.
My only regret about BTD is they have not much heavy equipment and special weapons.


And now - that mysterious neighbour... That weirdo living next door...
I purchased the piece together with infantry order and painted as gift for my bro - he runs zee Germans army but sadly doesn't paint stuff at all.
I thought he might use one more NCO (the mysterious neighbour had rank about corporal). Painting itself was fast and easy - after all the model is simple uniform + 3 spots of flesh.
And that fucking stupid looking moustache...
I tried to keep paintjob clean so the model looks striking on our battlefield. Hope you like it.


And to close the post: one more terrain piece.
The last time I presented test piece of wrecked brick wall, and wanted to get another one, just slightly larger. This one was made to provide safe shooting positions for 2 soliders. Also wanted to test other way of painting - resuls is similar but painting took less time.
I want to give similar paintjob to Italeri's wrecked building and then I think I'll mold some wall sections so I can build larger constructions.
To make life of tank crews more paint in the ass like...


Seeya!

Wednesday, February 8, 2017

US storm


Heyah,

I've been cooking this post for a while so it's high time for painter's katharsis - no more hiding pics on hard drive! Pics of painted models that is...
 
The top picture is group shot of my paratroopers - whole team has finally been painted!
Those were my entry for local contest so couldn've posted them earlier yet it's still better now than never. The guys didn't perform as nice as I was hoping for but screw this:
the deadline was effective motivator to get them done by the end of January.

In the meantime I've managed to bring them to the field and they are very solid and reliable unit. Last week they survived 2 rounds of direct fire from treachous Churchill tank. The fact is - placing them on top of the hill might not have been my smartest strategic move, but it only proves how badass paratroopers are. And some more shots - painted units always look nice:


We've also been testing some terrain features and I decided to build a test brick wall.
Test, because what we have doesn't provide enough cover for infantry units. I wanted to see wall tall enough to hide whole standing model behind.

Below you can see the first attempt - piece of wall made of clay casted bricks. All in all it's quick and easy, hard to f*ck job. The biggest problem is waiting for clay to dry - bricks run out quite fast.
What do you think?
I am considering molding some larger sections so building more massive and complex constructions is easier and simply - faster.


And here's some recent paintjob to support regular infantry:
from left to right badass NCO for the second squad of regular infantry, medic and another annonymous rifle-carrier. All models were painted using the very same color palette to keep my force as coherent and unified as I can provide. I've just thought there're like 6 models left and I my US army is ~1000pts painted!
Well maybe not exactly all units is what I want to see but it's still solid start.


And sniper team: mostly useless but there's nothing worse than loosing light machine gun or commander just by leaving these two operating freely...


The wall:
clay can be painted with no problem, hitting it with dry pigments and spray sealer also works. On the next one I'll try to apply stronger drybrush so whole piece is more striking and contrasting.


And last but not least - heavy support.
Abour Monday mailmand delivered freshly casted set or infantry from Black Tree Designs.
I chose them because they provide metal range of minis, the selection is pretty wide and I don't want to see any doubles in my army and there was really sweet promotion for WW2 stuff recently.

Models require some cleaning but it's really nothing I cannot deal with. And thank to this investment US army got 16 fresh recruits and medium mortar - just to keep enemy infantry slightly more insecure on the battlefield...


So that's it for now,
thanks for reading!
\m/