Hey again - for the very last time in 2015.
This time I decided to move the tut made a while ago to the main section of the blog - it turned out original formating got somehow screwed so this way all pics shoud be visible and saved for the coming gamers generations.
Besides yesterday I've spotted EXTREMLY inspiring converted Chimera and I want to see something similar on the gaming board.
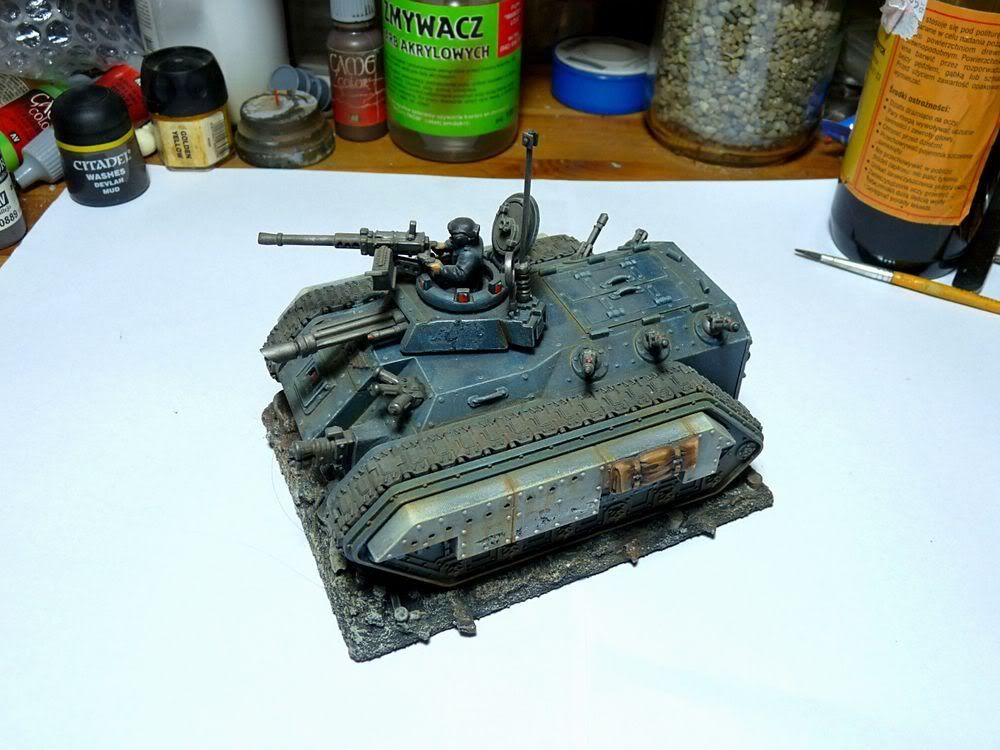
I didn't like the blue color scheme. It was painted when I was considering starting IG force based on riot police but whole concept died after painting this apc, Sentinel walker and about 3 guardsmen. Warhammer sucks - Necromunda is waaaay better, no doubt about it.
I also didn't like the model just rotting in the glass case and getting
buried by (time and) dust
- I want to see it in the field therefore I decided to adjust it to Necromunda gaming.
At first I just wanted to add another vehicle to make gaming table more interesting (another piece of terrain) but recently I got some old Valhallan minis from Ebay. I examined them carefully and it turned out they will be great candidates for new gang!
Wasn't sure about the rules but looking at the weapon carried they will be Delaques (they even wear coats!)
The tank and new gang will get common display base,
slightly larger than Goliaths'
. Gang should be delivered in a few days so I decided to check some colors and techniques to be used on gangers. At planning stage all I knew was I want to see big contrast and lots of dirt so dozen troopers wearing bright uniforms advancing through mud (sump in case of Necromunda fluff) along battleworn armoured vehicle.
It should be fun.
So here's the victim:
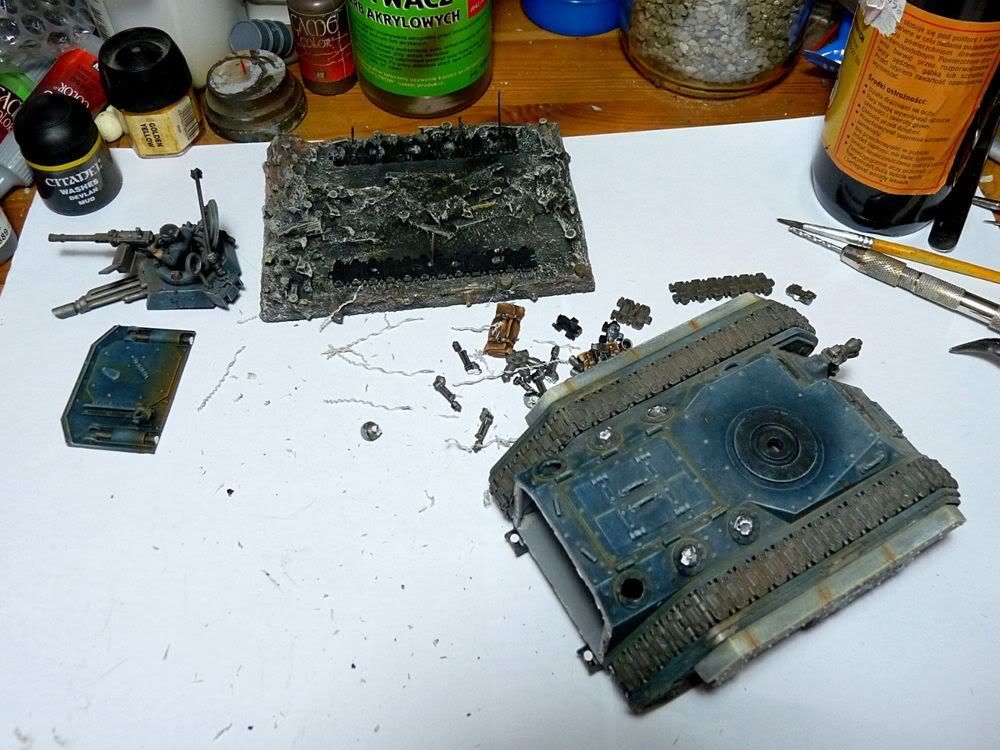
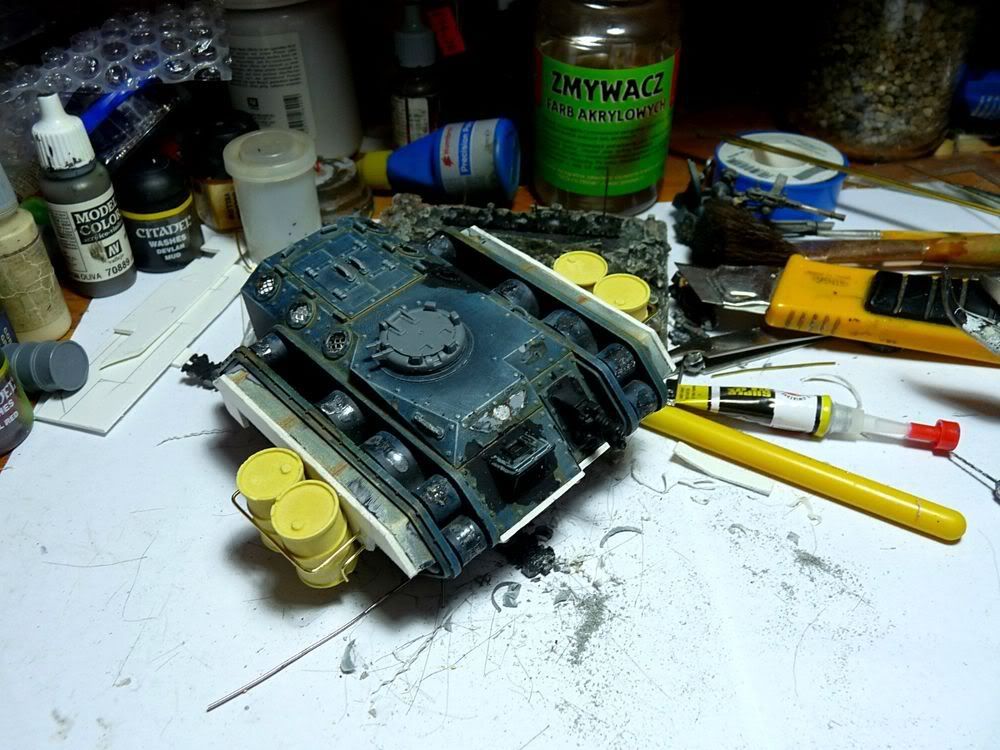
First thing done was removing the turret - vehicle will be dedicated for transport. I also tore off all bags, Imperium marks lasguns and extra tracks. Didn't want the model look like a X-mas tree this time. Also hatches and back door were removed.Besides I had a plan to add some extra armour plates so smooth sides were a must.
Taking model off base wasn't easy because several very long pins but nothing is impossible for desperate hobbyist armed with pliers.
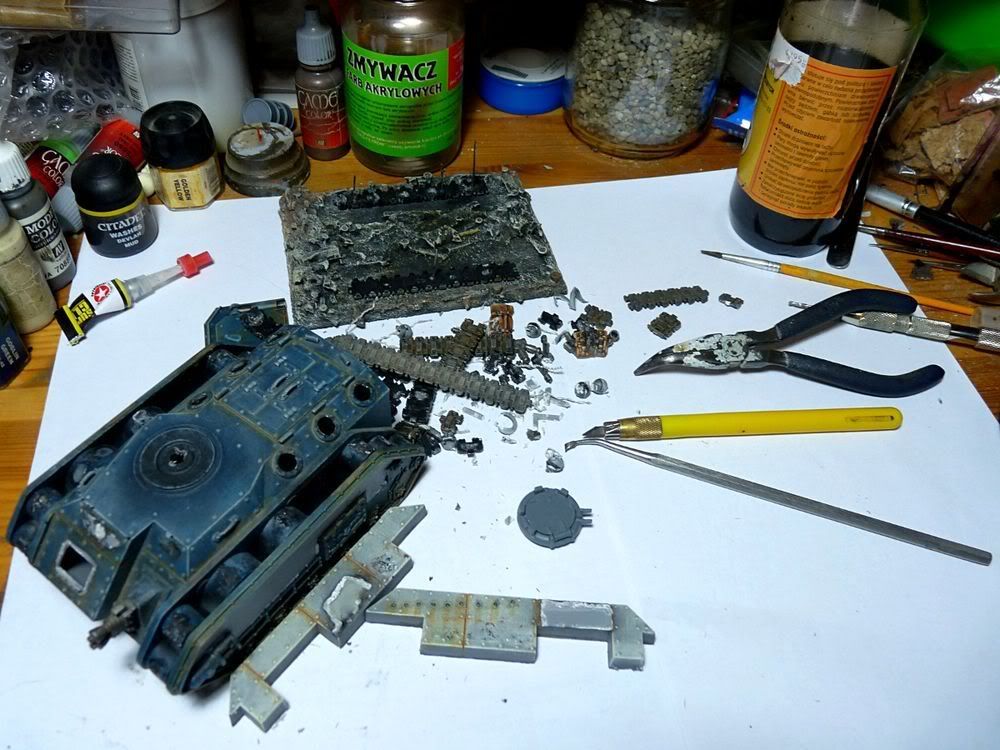
I also ripped off tracks - didn't like the previous base at all and it's much easier to paint tracks in sprues or wherever away from model: solid drybrush or airbrush are the best tools to get painitng done fast and easy. And while tracks are off you don't have to worry about making mess on the model.
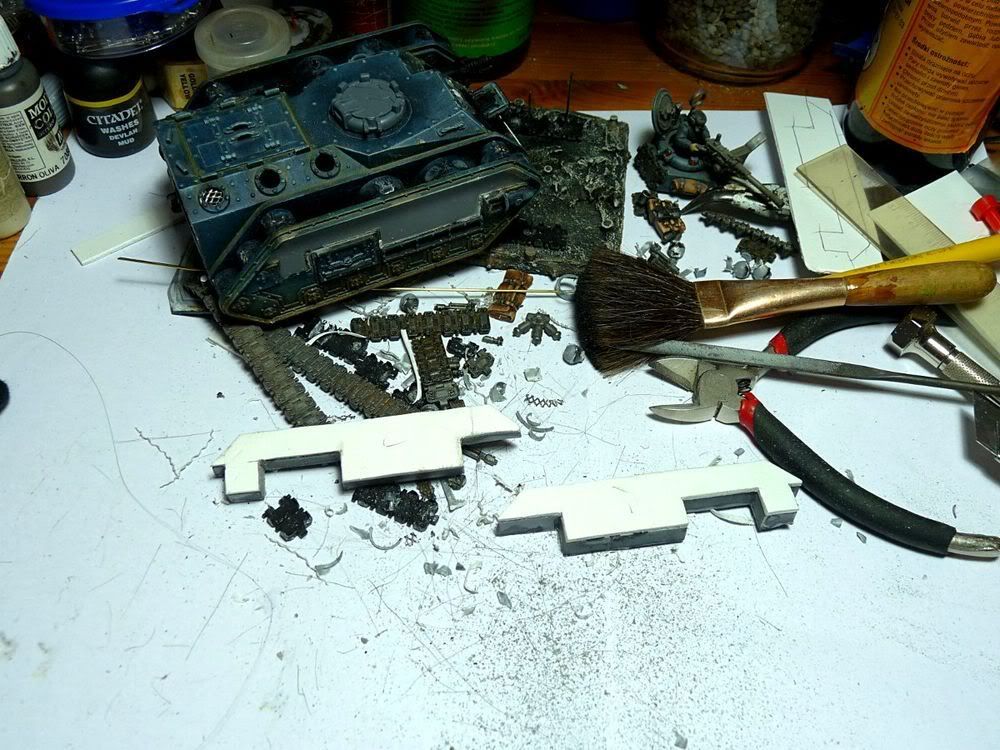
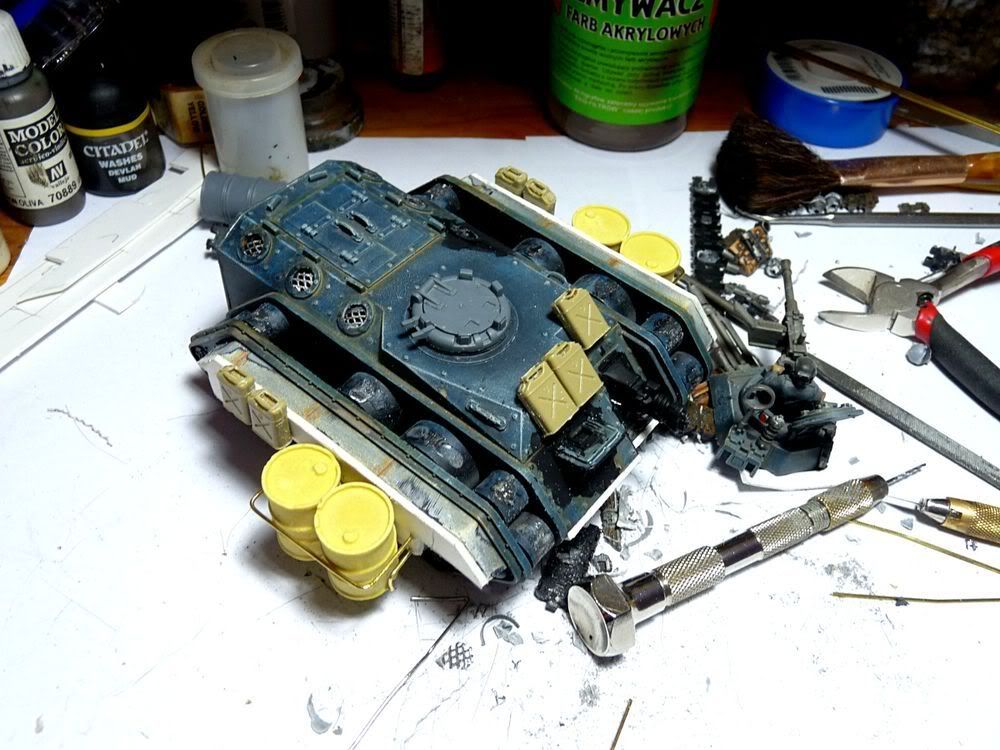
As you can also see side panels have also been removed: it makes manipulating them much easier (sandpapering, preparing extra pcv armour and such).
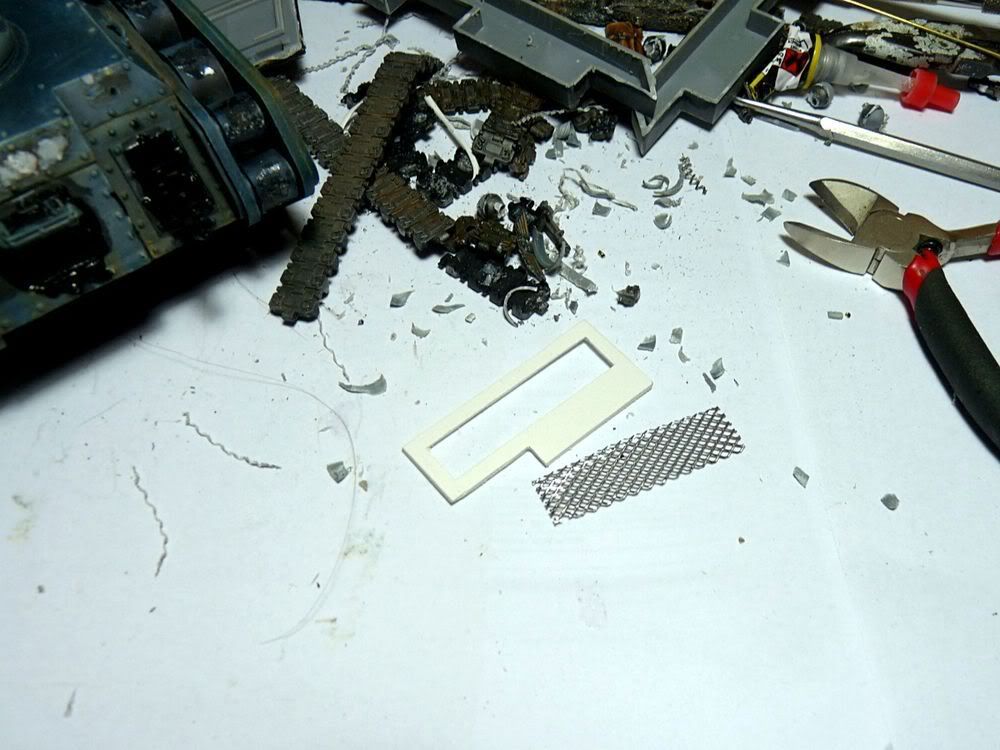
I got sheet of mesh for another project some time ago and decided to use it here to give model more "scratchbuilt" look: gangers were adjusting vehicle for operating in deadly sump conditions. Besides fluff-wise the tank is very old machine and it's been repaired and modified numerous times in field conditions.
For starters I made front hatch opened and secured with mesh (protecting against thrown grenades, giant rats, millisaurs and other Necromunda goodies).
Procedure was pretty easy: all you need are pliers and superglue.
Adding front panel with vent was just a bit more tricky: first I cut piece of pcv to fit the model, then carefully cut "window" in it. Be careful because it's really easy to damage pcv. After that some mesh was glued from inner side of panel and whole piece was attached to the tank.
Pins were added first to make model look better but also to be sure panel won't fall off. You can never be sure enough after all...
Redoing side panels was bit harder.
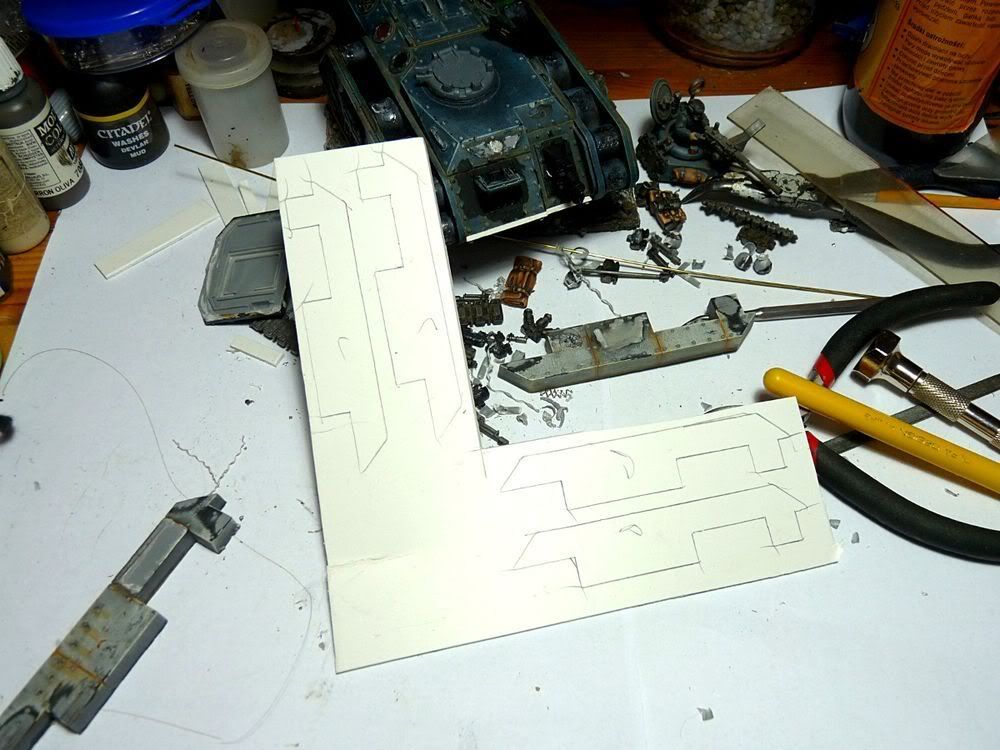
I had to rip them off so then can be sandpapered and so I could prepare pcv extra armour. I simply placed the part on pcv and outlined it's shape with pencil. Basic plan was to make the armour really thick but all in all I decided single layer was enough.
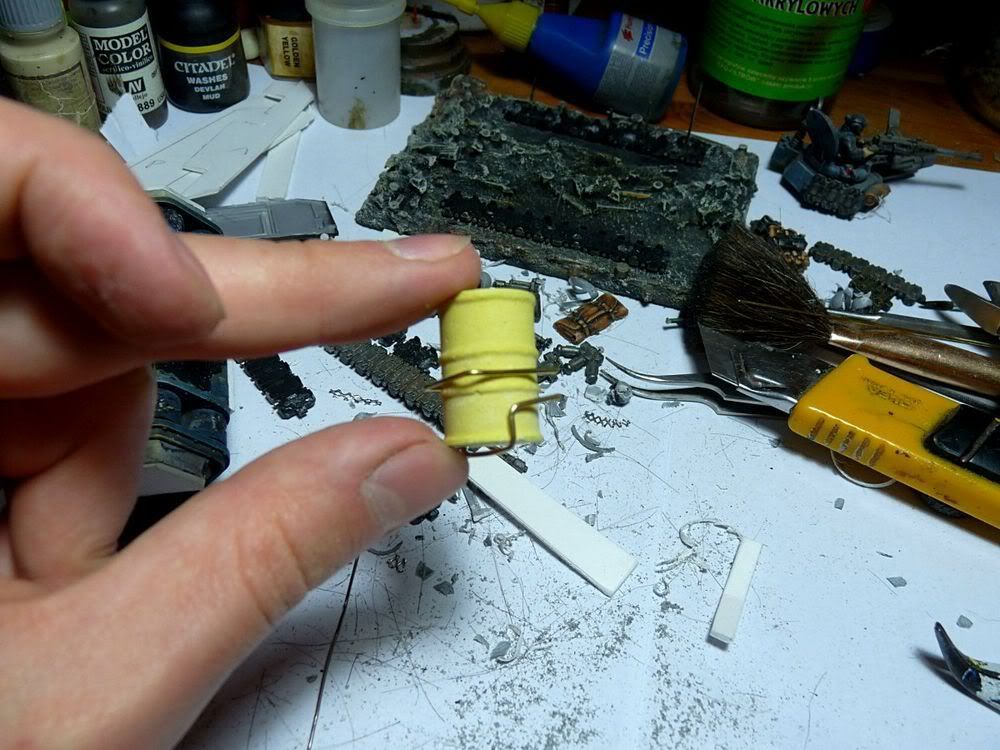
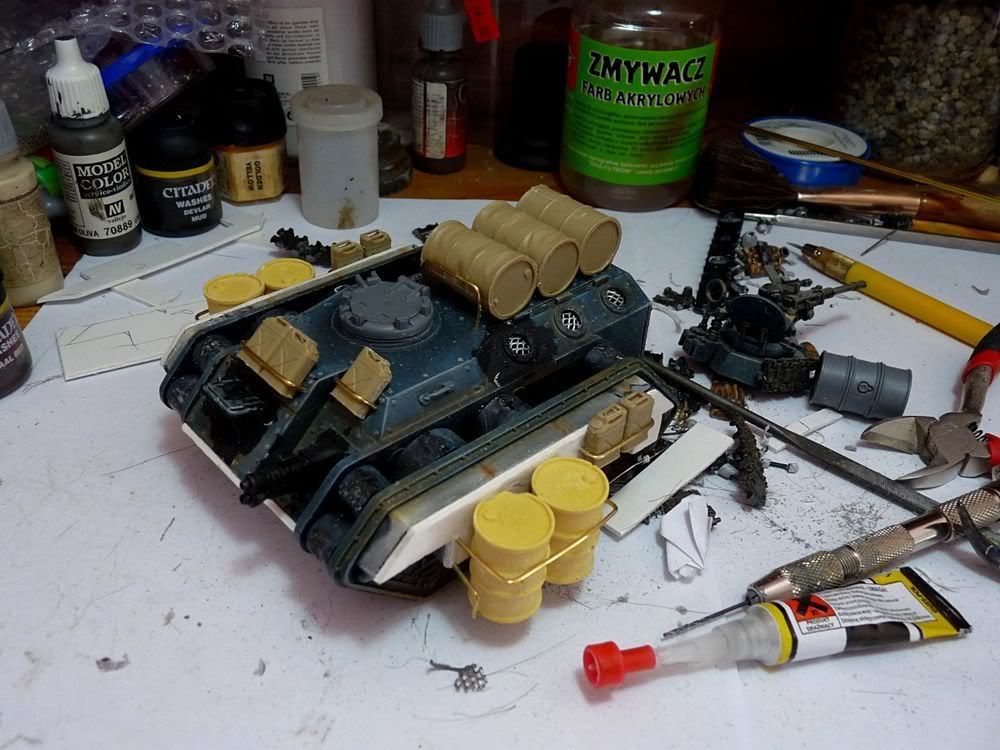
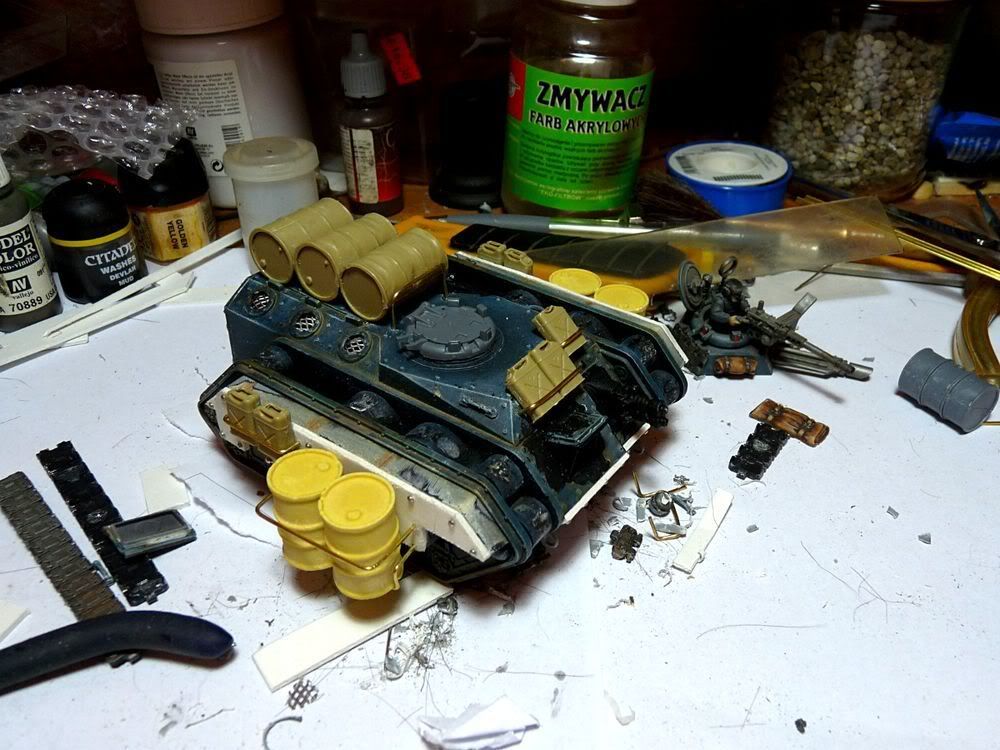
Oil drums: Chimera is supposed to be transoport vehicle so I decided to add holders onto armour.
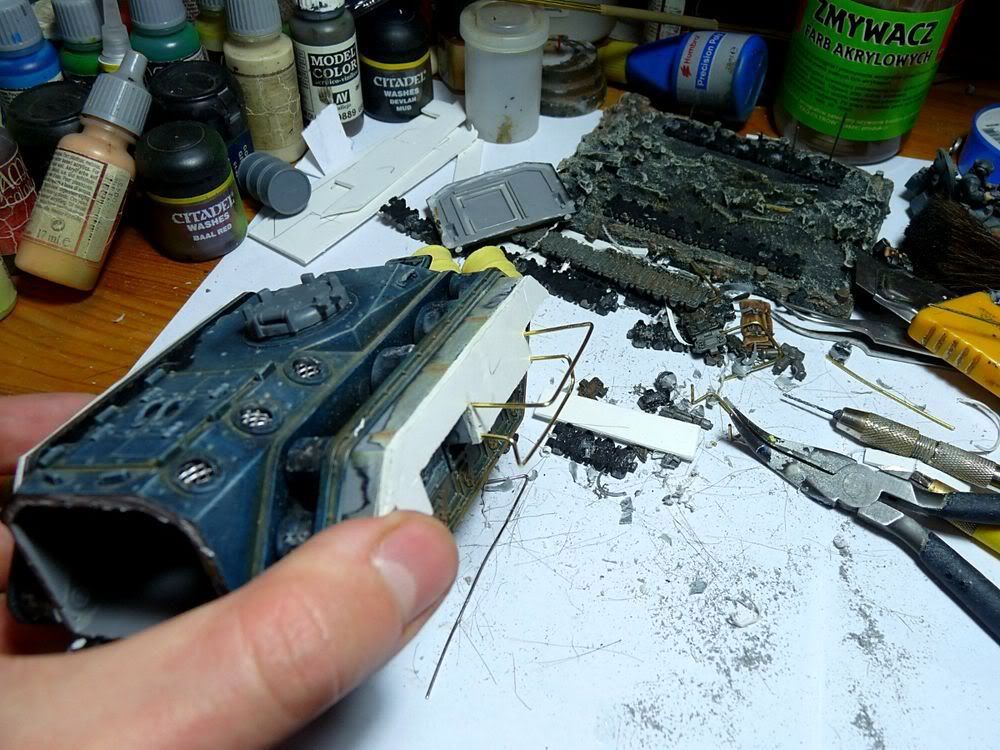
Basic idea was to make separate holder for each oil drum but it turned out there's not enough space for that (side panel was ~3mm too short) so to save the space holders were made to carry 2 drums.
I used brass wire but paper clips will do the job equally fine.
Adding canisters was piece of cake:
they were simply glued to model and then secured with piece of wire. For the final I added 3 more drums on the top and the apc was ready for painting.
I am lazy so as always I try to make the job as fast and effective as possible. Before I get bored and abandon the project.
Besides it's not a commission nor contest piece so it doesn't have to be piece of art.
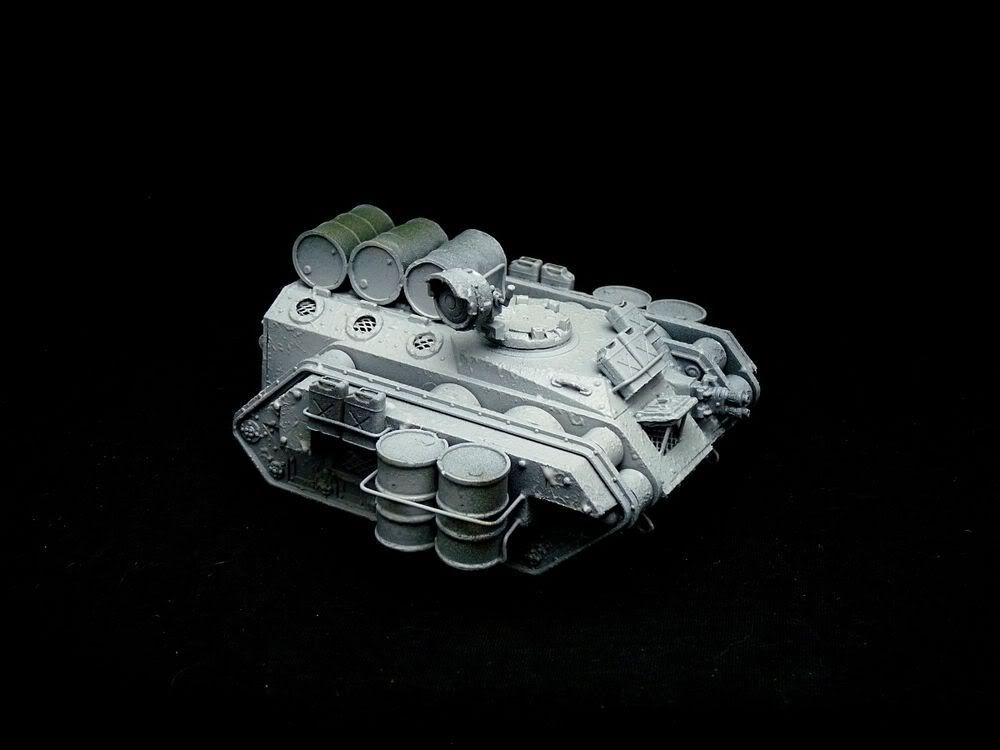
First thing was applying black basecoat. As you can see I didn't paint drums and canisters - they will be painted when the armour is done.
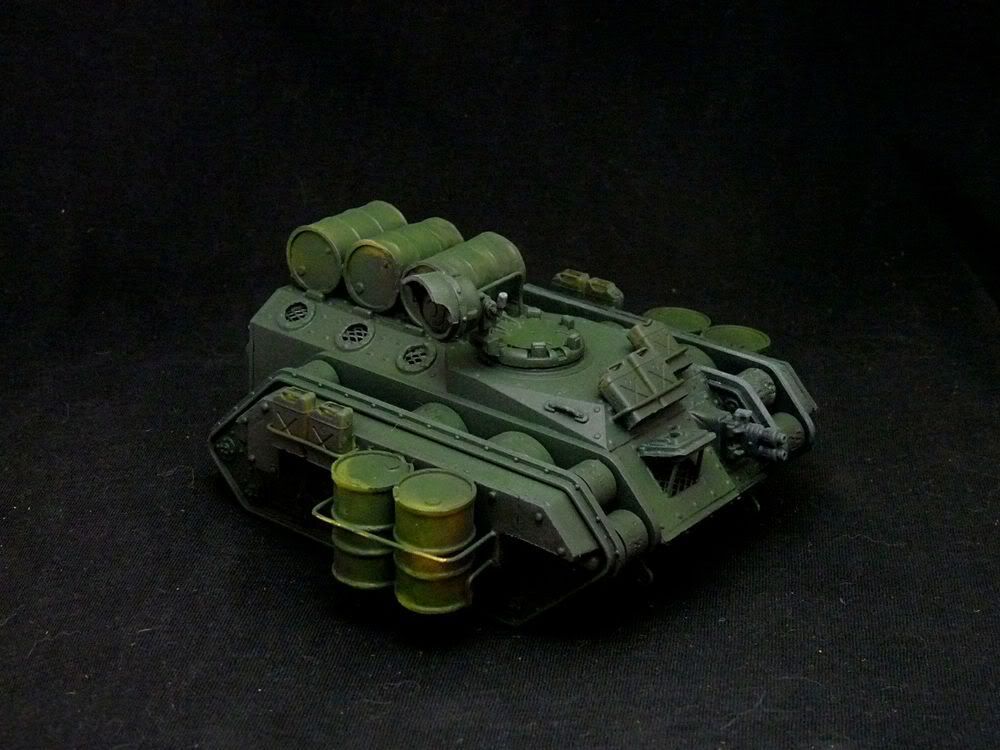
Next I sprayed dark olive tone (mix of dark green and some brown) which was highlighted using simple green.
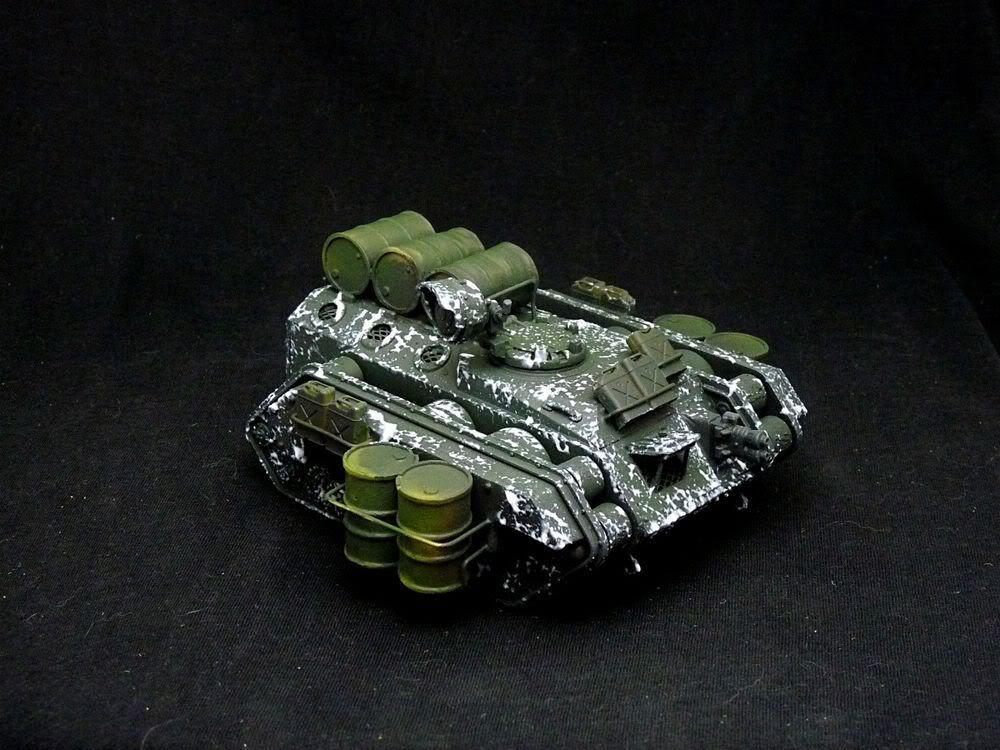
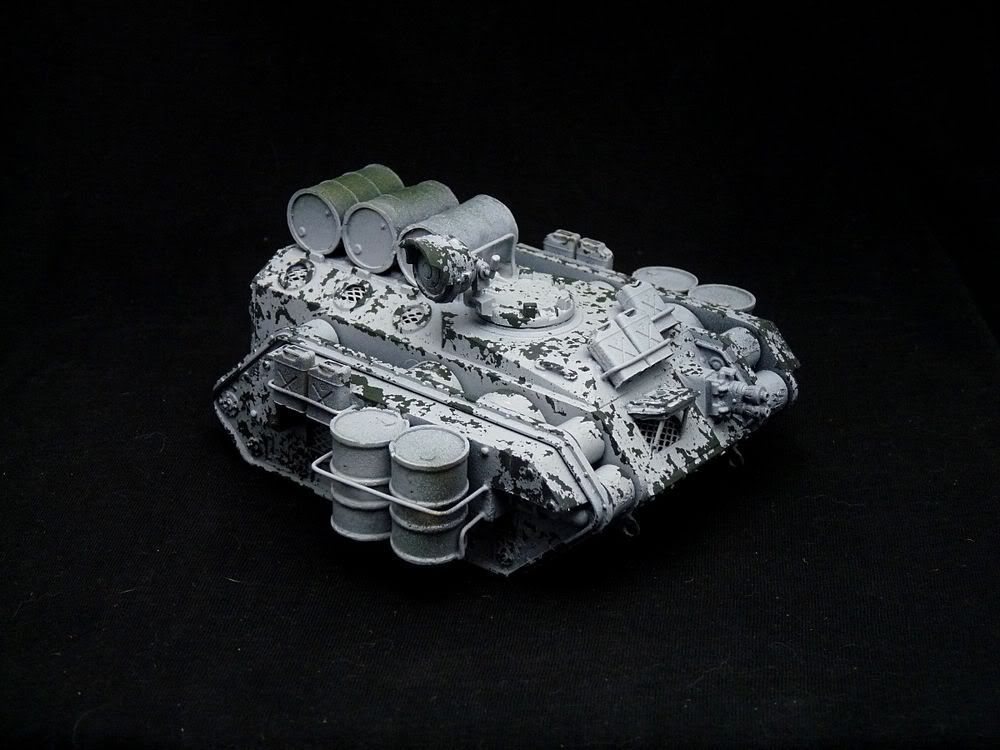
I wanted my toy to look really dirty and battleworn so I applied a lot of mask on green.
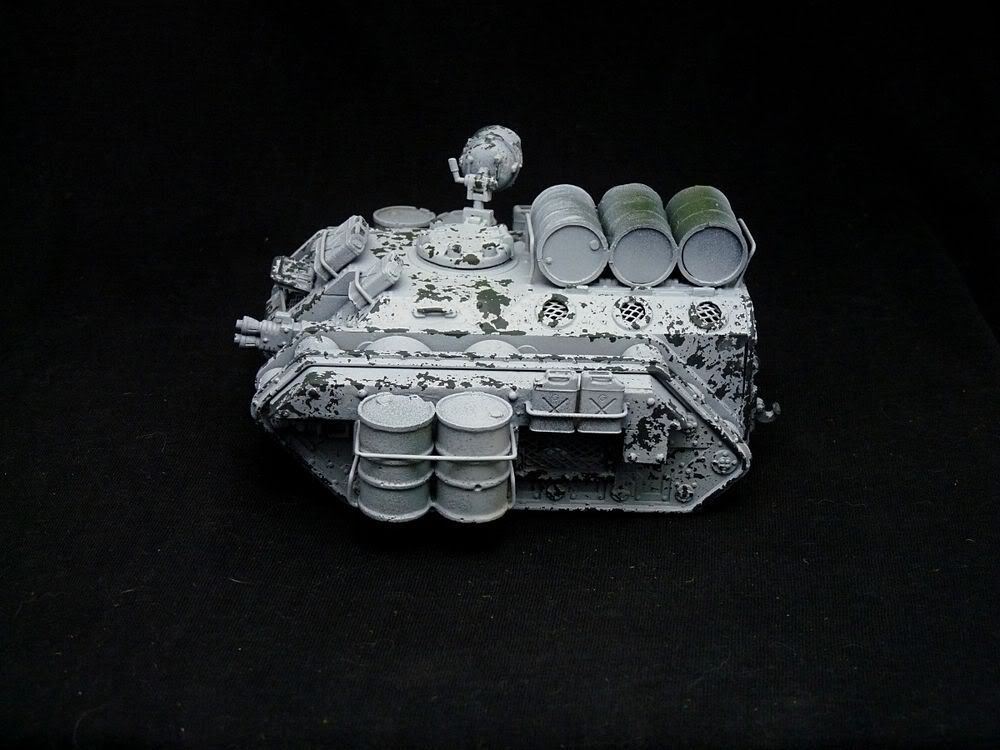
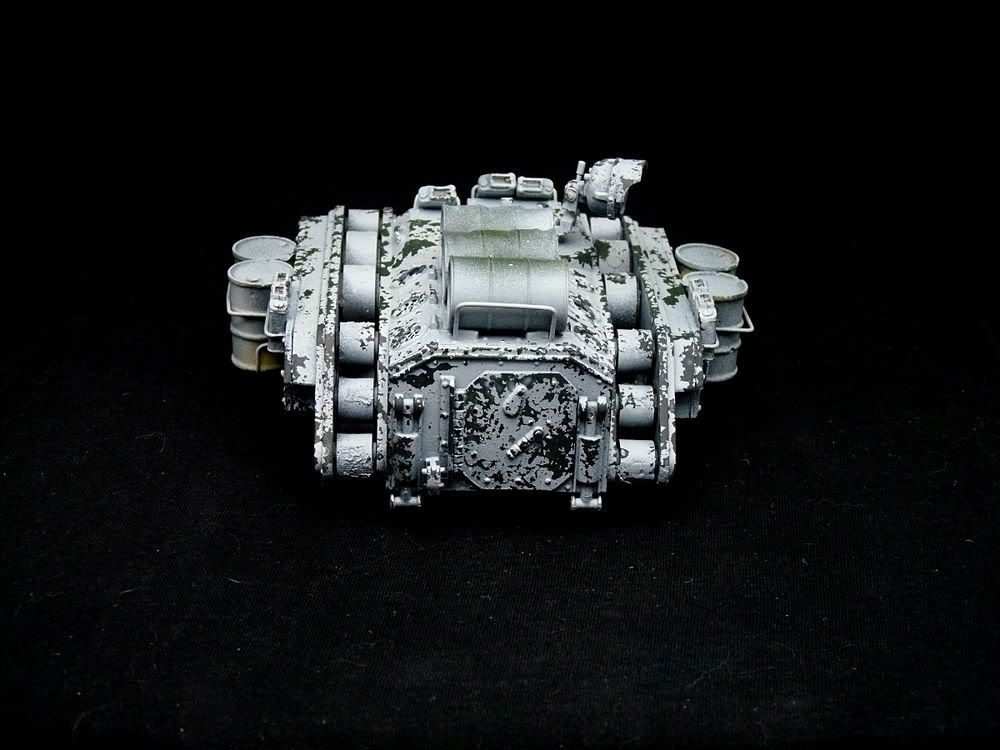
After that whole model was sprayed bright grey.
30 minutes later paint was dry so mask could be removed. I wanted to achieve effect of heavily chipped camo paint so you basic green color beneath is visible.
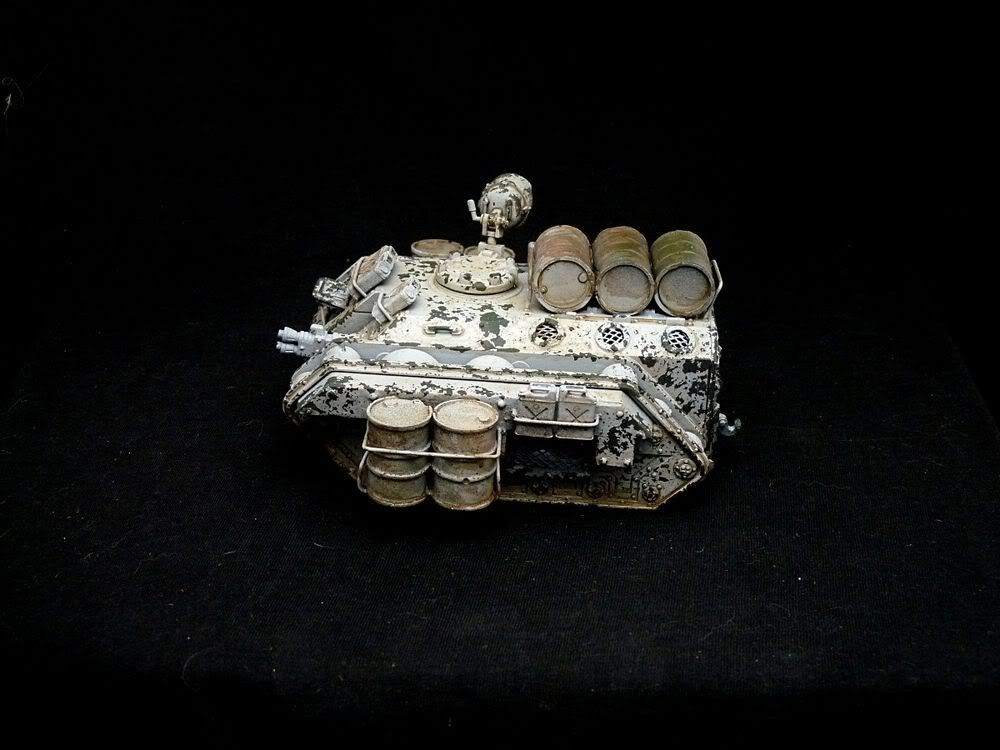
Dirt-painting begun with applying several layers of brown, sepia and chalk combo. As always the mixture was heavily diluted but in case of vehicles you can thick paint to paint strains or mud. Didn't want to overdo dirt at this stage so just a few layers were enough.
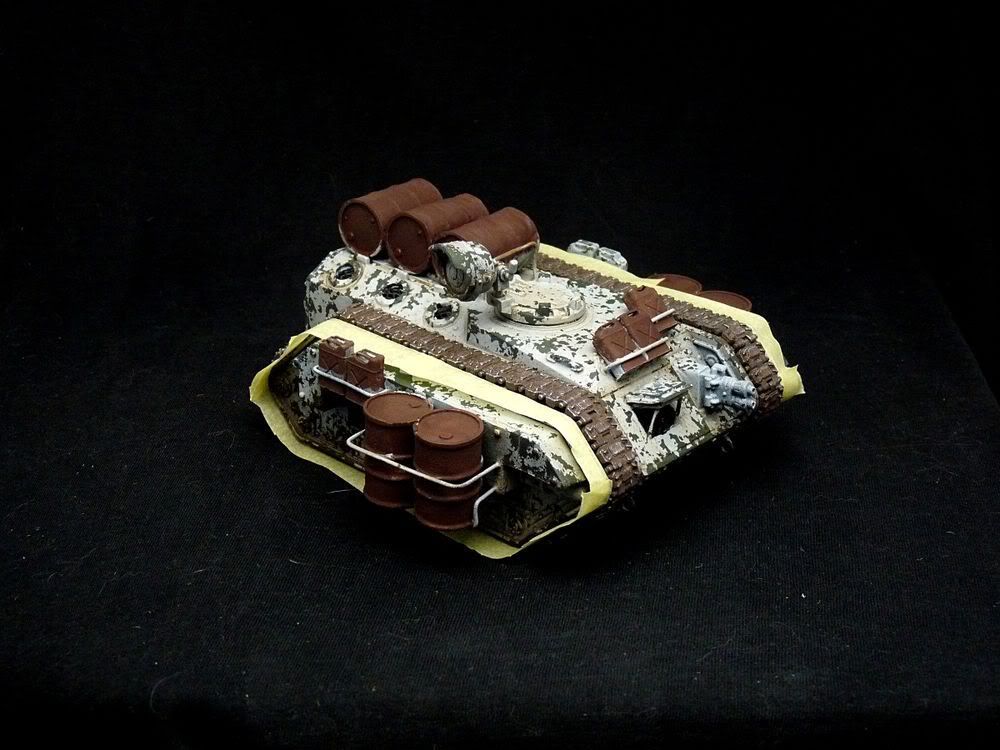
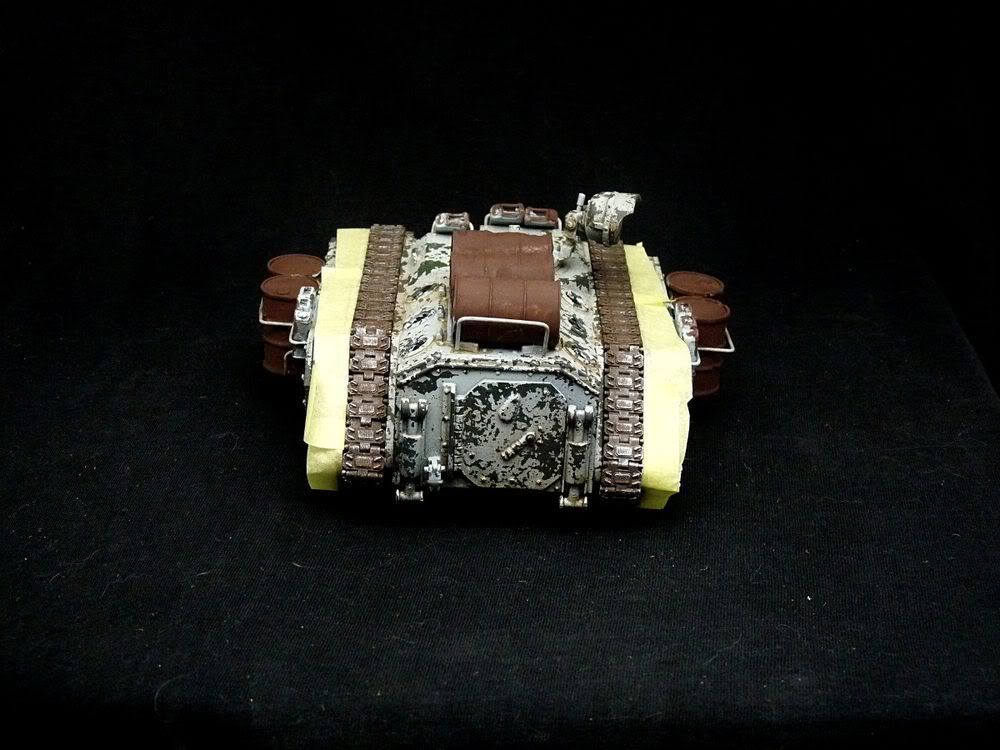
Tracks we painted separately: sprayed, drybrushed, washed and varnished - nothing requiring photos. After that I attached them to model using superglue and polymer glue (thick jelly). To make them bit more shiny some chainmail drybrush was applied. Masking tape was used to protect model from silver dust.
Also canisters and oil drums were painted brown (charred brown + some red for slightly rusty touch).
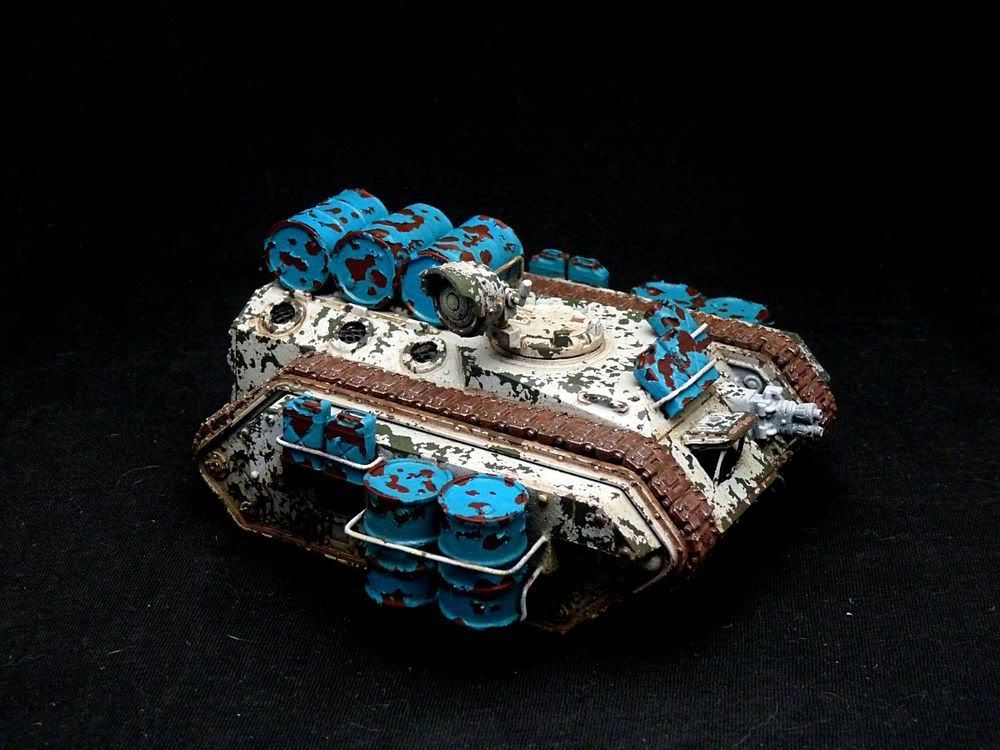
Oil drums were painted with mix of turquoise and some olive (just tiny bit to break the color). Before painting I applied some mask to create chipped paint effect again - you can see thick "blobs" under paint,
that's Maskol
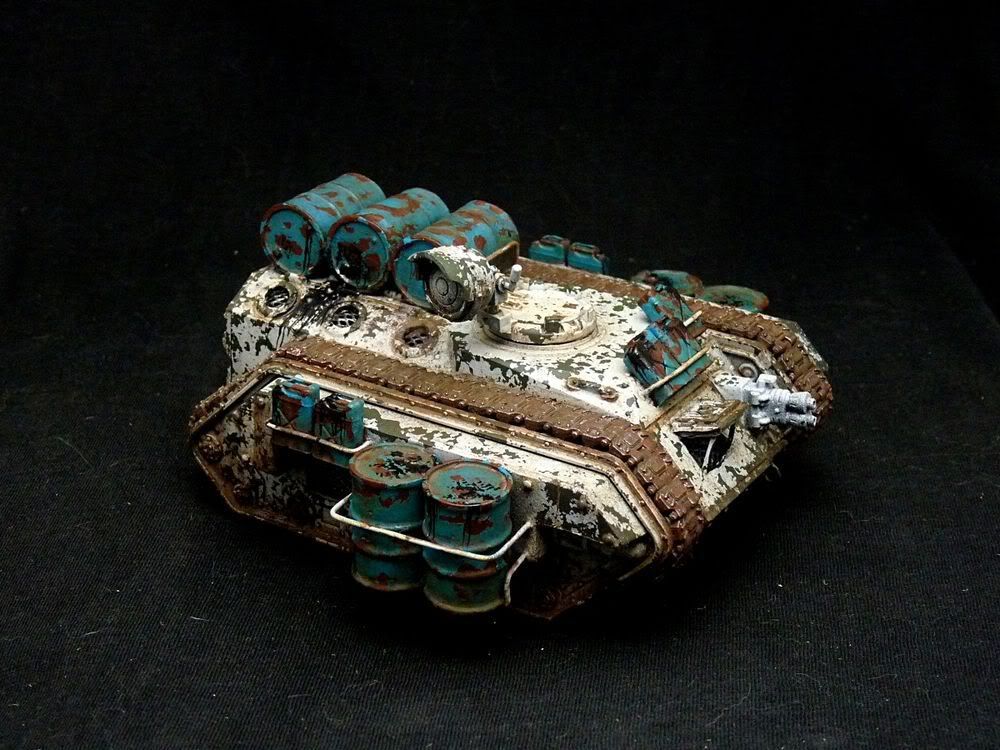
Mask off! Lovely, isn't it?
There are details to be finished (flamer, reflector, mesh in lasgun sockets and such) but apat from that model could be considered done...
...if only I wasn't so fond for dirt and mud!!! :D
Finally something I can sink in fresh mud muahahahahahaaaaa...!!!
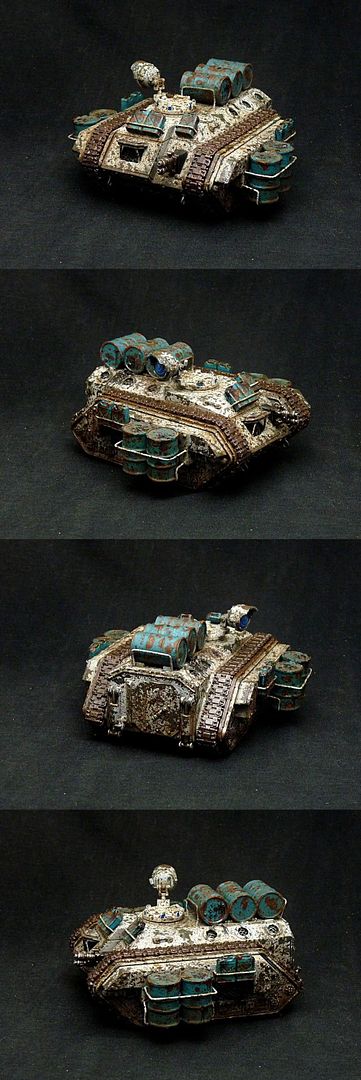
To do that more layers of brown, sepia and yellow were added. This combined with powdered chalk is my fav way for painting mud. Also at this stage I painted some greasy oil leaking from drums and canisters (black + gloss varnish applied with toothpick).
And final pics.
At least final so far: model will be based together with it's squad so I sadly have to wait with adding proper mud until all minis are done to keep everything coherent.
Really can't wait to put the beauty in my glass case and dominate Underhive game table!
Cheers!








very cool.
ReplyDeleteHave a great 2016!
Thank you very much!
ReplyDeleteHope to mess with Hellhound shortly - also hope to take some pics during cutting and re-assembling process.
Brill conversion
ReplyDeleteThanks a lot!
ReplyDeleteAnother coming soon (I hope)
Very nice. The dirt and mud really bring it all together at the end.
ReplyDeleteWarburton
Agreed, the mud makes most minis looking just better ;-)
ReplyDelete