

As I wrote in the previous tutorial - there will be the second part.
It took me much longer to assemble the text (post graduate studies were pretty time-consuming) but as some people say: it's better late than never, right? ;)
This time I'd like to show you my way to create desert. Please note - it's only one of MANY ways to create such base but I really like it: it's fast, easy to execute and result is decent so without more useless introduction - let's start the show!
Preparations:
Once again we have to start by choosing the proper base to work on. Ideas for choosing base were mentioned in the previous tutorial (Preparations section) so I won't repeat it here.
This time instead of block of wood I decided to use nice wooden plinth which is test Plinth Country base - it should look really nice under painting contest miniature. At the moment store offers only resin plinths but according to what I managed to learnt - it will soon change. Of course you can use resin base as well - these work equally well, the only true difference is you have to paint them.
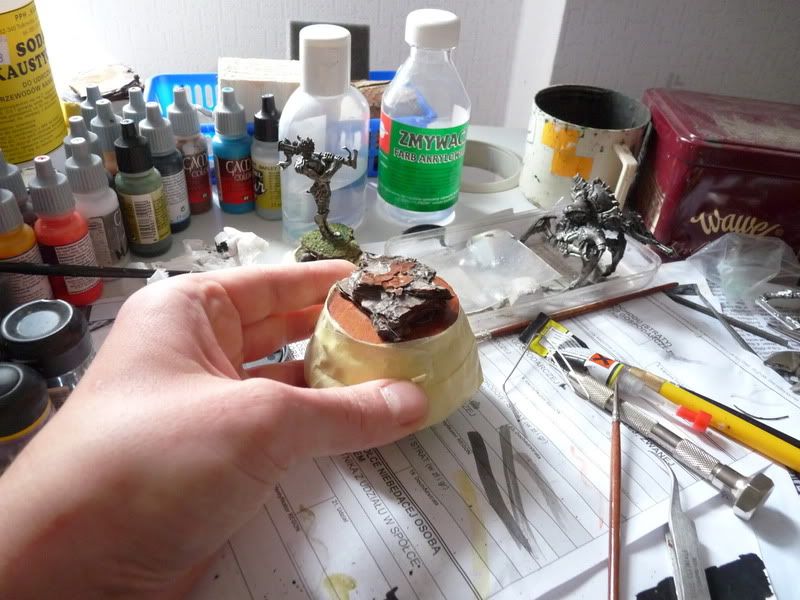
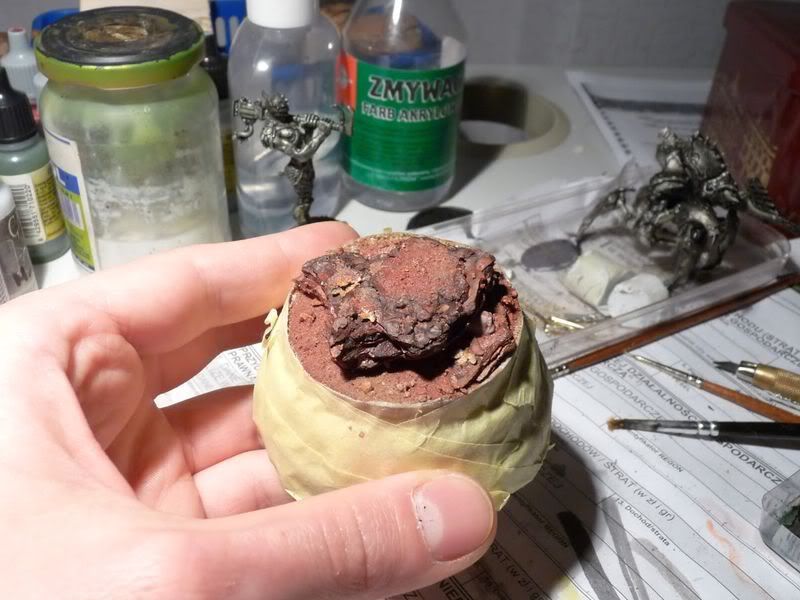
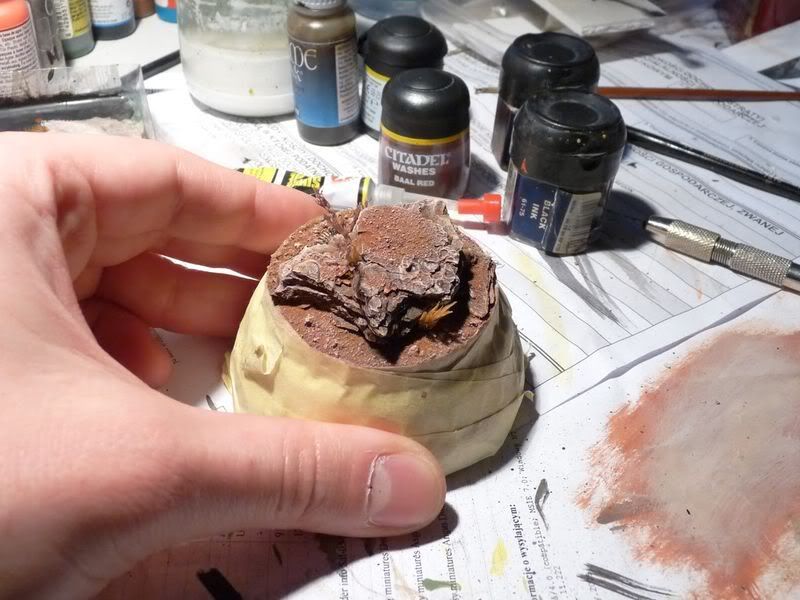
If you decide to use nice, wooden plinth you should seriously consider securing it with some kind or masking tape: it should protect plinth's original color against any accidental painting, glue or whatever.
Next step was adding piece of tree bark on the plinth (the base will be rocky desert) and cut off the top of the bark so the model can be placed with no problems. Remember - if superglue isn't enough to place the bark you can always use greenstuff and after that apply superglue.
Adding details
After glue and greenstuff dried it was time to add a bit texture.
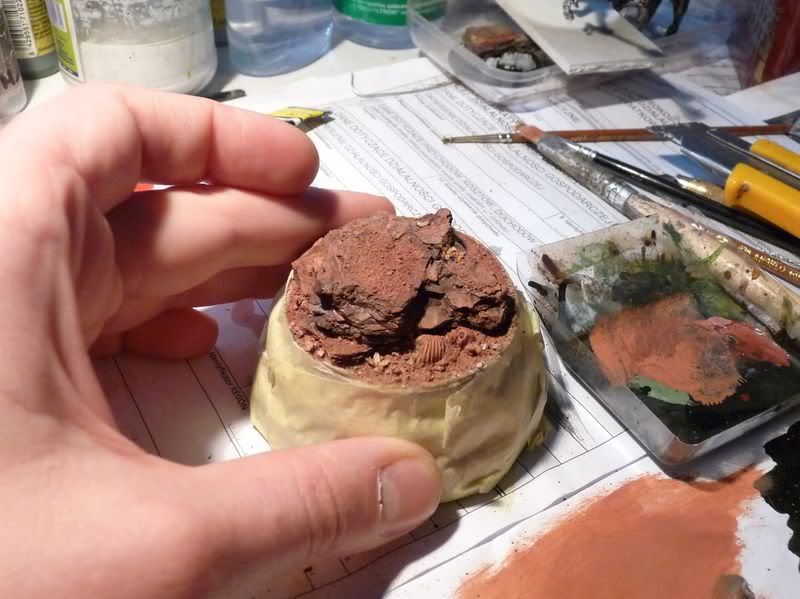
I didn't want just plain rock + sand this time (at least not under the contest model) so I added piece of skeleton and skull of some poor bastard next to rock. Apparently he didn't manage to find way to oasis on time ;)

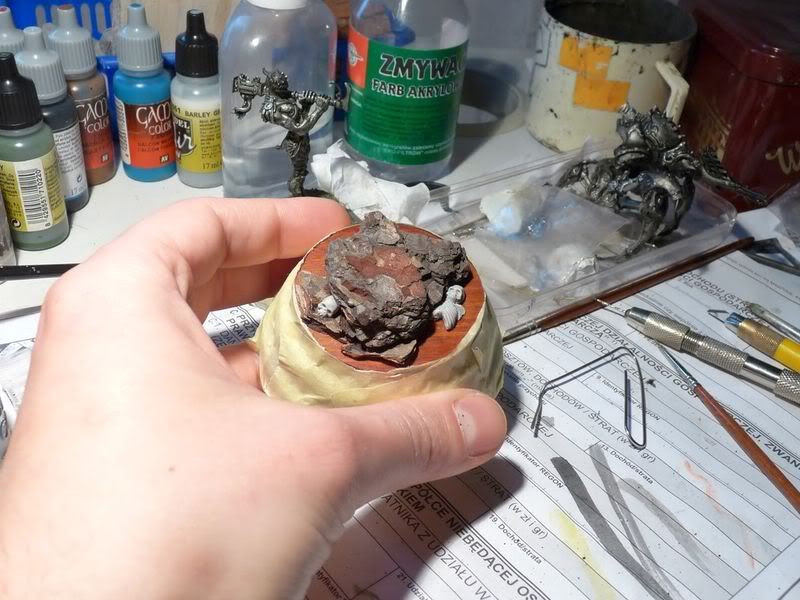
After superglue gets totally dry (and I mean it: TOTALLY - you don't want to get the brush destroyed too fast) you can add sand and gravel. Wood glue ("white glue") is just perfect for this. Applying sand around skeleton should make it look half-buried.

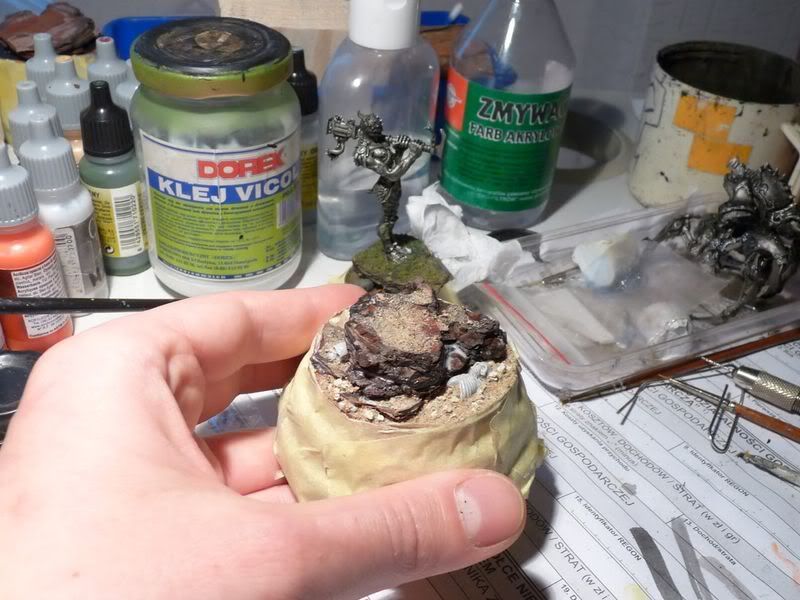
When it's done and when glue is totally dry (again) it is a good idea to paint whole thing with diluted wood glue: is will slightly reinforce the bark but most important - should prevent sand from falling off during drybrushing.
Painting
So the time has come for painting. Desert can be painted in NUMEROUS way - practically only your imagination is the limit: it can be realistic, toxic wasteland, alien planet - just whatever comes to your mind!
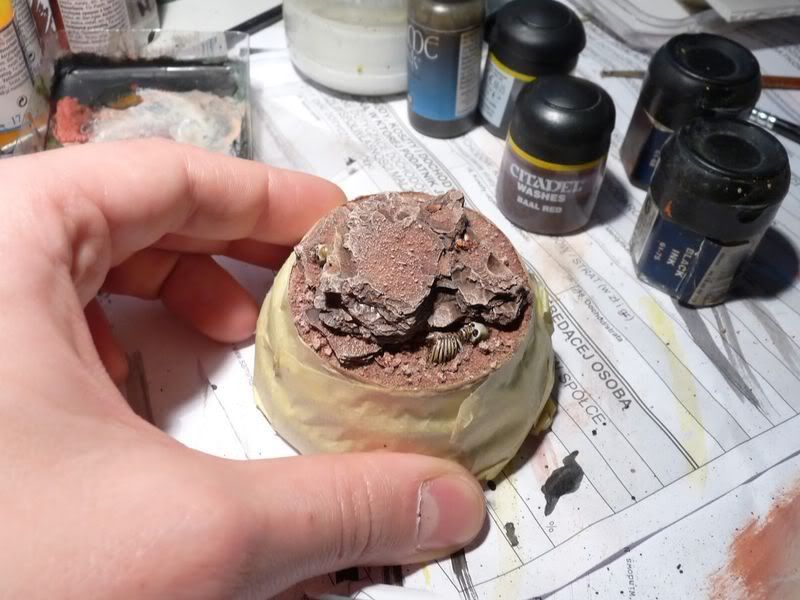
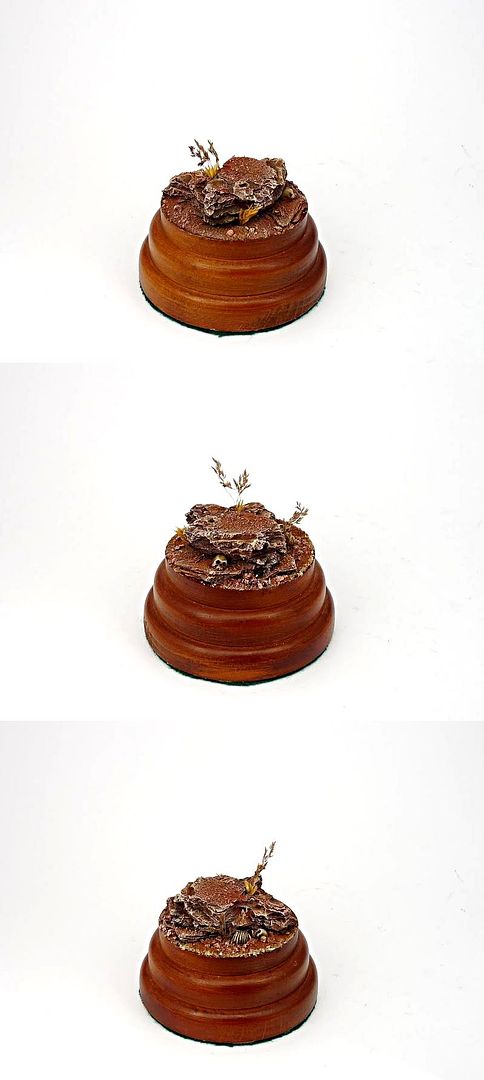
This time I decided to give my base a reddish tone therefore I started by covering whole surface with diluted terracotta color. As you probably noticed in the meantime I added some leaves . I don't like boring bases, that's all ;)
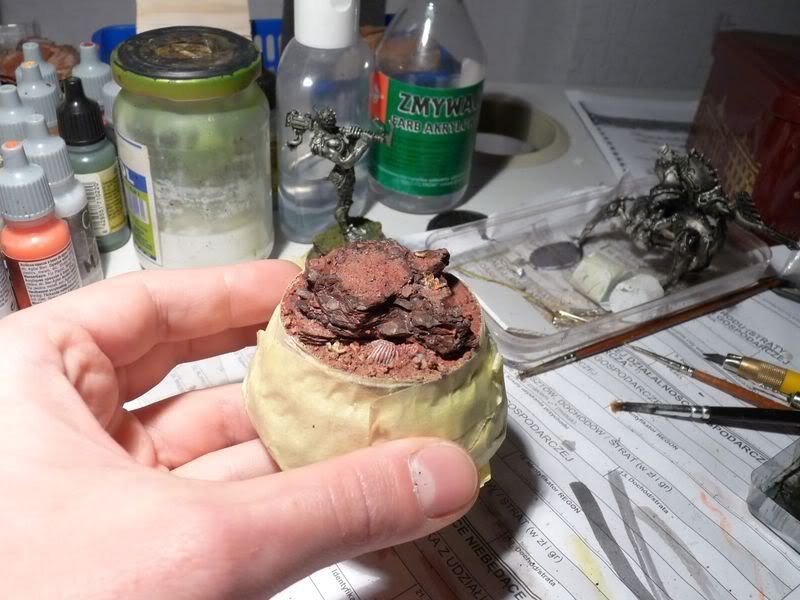
Next I mixed base tone with drop of dwarf flesh and started drybrushing. I've been adding bleached bone to the mixture between layers of drybrush to highlight the desert and the final drybrush layer was almost pure white.
Important thing: remember the more intermediate colors between base and final colors you use the smoother transitions you will get. And it really doesn't take much more time.


Bones were painted during drybrushing so all I did was adding some washes and final highlights to make them a bit more visible.
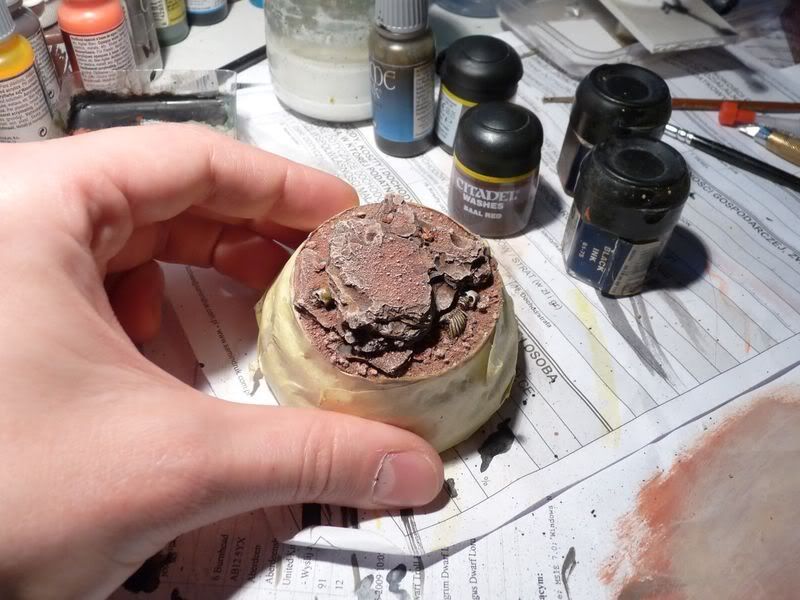
The last thing was adding some dried foliage and pigments onto the base. Pigments are just an option but I like them because you can easily get dusty feeling.


The base is ready and is waiting to carry the contest model.
Hope you found the text useful. The next article will be about turning decorative resin plinth into forest base so stay tuned!
Very Good. One of the more enjoyable basing tutorials I have seen.
ReplyDeleteThanks again for taking the time to write and post it.
Tony
http://dampfpanzerwagon.blogspot.com/
Thanks a lot for this nice tutorial... Keep on happy painting! Regards Roman
ReplyDeleteThank you for feedback guys!!!
ReplyDeleteReally appreciate it :)
Definitely a good one! Easy to follow and understand, well illustrated. And the effects are very good, so what more can one ask for?
ReplyDeleteThanks for sharing!
--
Mahon
Chest of Colors: All About Miniature Painting
You can always ask for another one!
ReplyDeleteAccording to what I managed to establish so far the people demand snow base tut so I will do it as soon as the Rackham troll is finished :)