Are your parents pissing you off?
You want to move out but have no place to go?
Or maybe you need some cover for sniper in Bolt Action game?
Build yourself a house then!
A while back we got some terrain pieces for Bolt Action game - one of them was
"House F" from Black Grom Studio. That 2-floor building turned out so useful during our fighting manoeuvres, that we got even more Black Grom stuff shortly after.
Not mentioning the fact it looks just supercool on the battlefield...
While working on the previous one I learnt some stuff, which might be useful for anyone who'd like to get decent looking terrain pieces quite fast and with least effort possible.
You kids ready? Let's start!
This is how the stuff looks like straight from the box.
Just like before: customer service and delivery was just top notch!
Although I got some more buildings but for the start I decided to build additional "House F". It's simply large enough to provide a cover for any vehicle in Bolt Action game.
Not mentioning the fact you can hide 2 squads of intantry inside...
The model in the purest form:
I started with applying bricks on the walls. As mentioned earlier - you can find proper textures for walls and roof on
Black Grom Studio's bloggy.
Last time applying bricks was tricky because I was working on already assembled model. Now I decided to get thing done easier:
all walls and roof parts were xeroxed before assembling...
And I got this:
Then xeroxed walls were glued on the back of bricks / roof tiles sheets...
And cut with sharp as Devil himself knife:
Nice, eh?
Now the building could be assembled properly:
And the first brick section is attached onto the wall.
Huzzah for the white glue!
Whole procedure was repeated on the remaing walls:
And roof:
And the text evening (it takes some time for pva glue to dry) I got something like this.
It's actually perfectly fine for gaming already but there are some attitional bits available to make the model look even better:
The set I got contained materials to finish for door and windows:
To provide some contrast both to model and surrounding battlefield windows were sprayed bright grey / white. Give it some time to dry before adding glass:
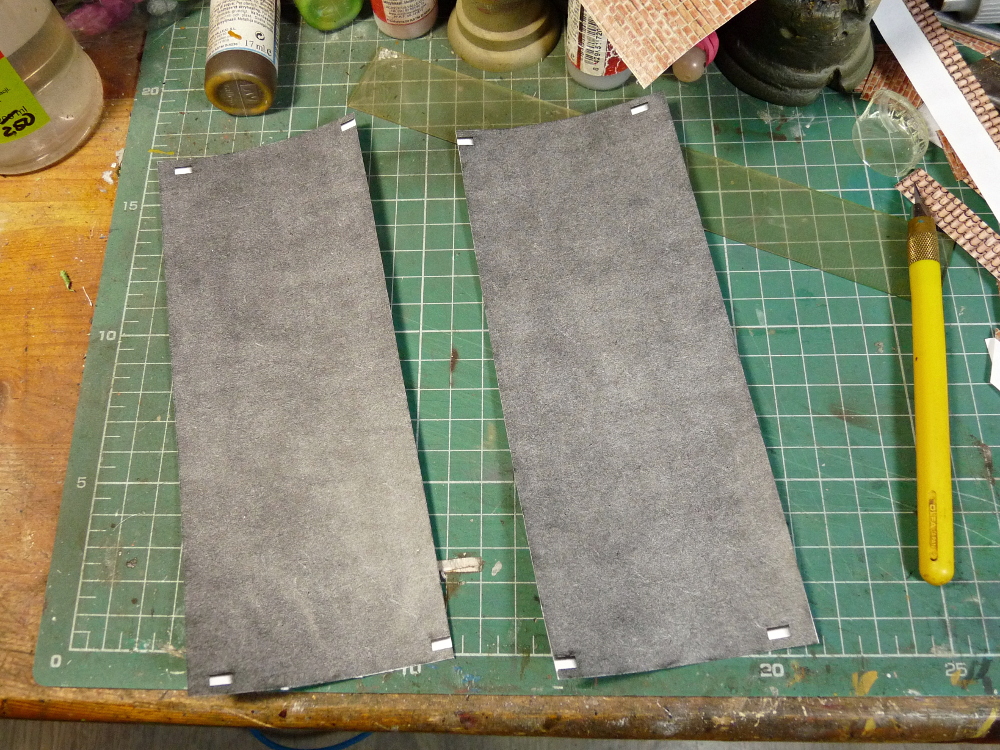
There's no need to add glass but if you decided to - good idea is to use either spare bisters or some thick film. What I used is plastic binding:
Binging was cut into stripes, on which windows were superglued. After it dried totally each of windows was cut off with x-acto knife:
Drop of superglue is just enough to keep window in it's place.
There are also frames to be attached outside. Just like before:
started with light grey / white spray:
Finished with some superglue:
The final thing was adding door.
Model is now ready. Clean and ready. Way too clean for my taste...
Getting model dirty is quick and easy.
First step was washing it with mix of some chalks and washes (brown tones here). After it dried some shalk was added around windows and on the botton of the building to make it look dirty and dusty. I think almost any colors could be used for weathering as long as you choose natural tones.
It's gaming piece so whole model was sprayed with solid layer of matt varnish.
Still on the painting desk:
And on the battlefield:
Seeya!