Friday, December 2, 2016

Bolt Action in action!


Hey again,

Last month turned out to be absolute painting success in 2016 - at the end of a day 10 pieces were moved from the shameful pile.
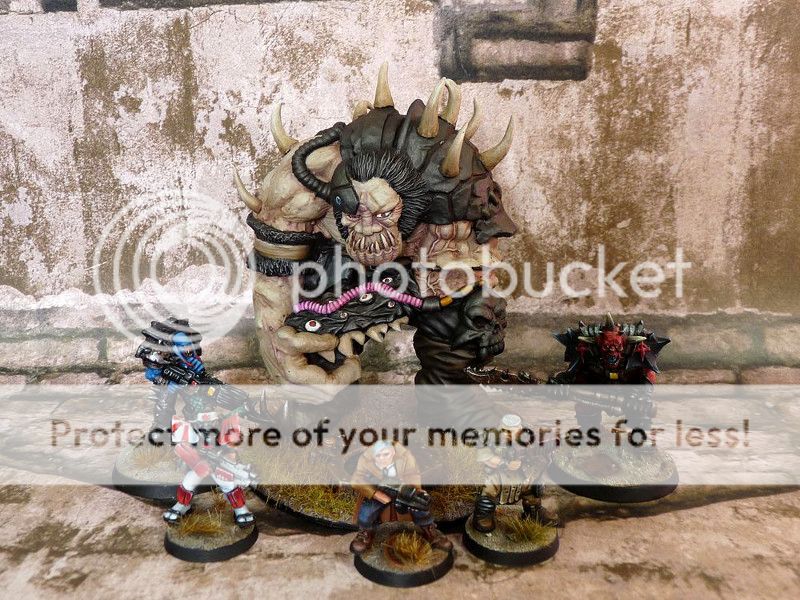
It was mostly caused by Bolt Action stuff. I wasn't sure about these sculpts while browsing rulebook for the first time but now I know the game and miniatures range has the potential. It's just nice to finally see all models properly scaled, without stupid skulls or spikes plus WW2 vehicles are damn cool. Mechanics is also nice change after years spent in Necromunda's ash wastes. My only regret is models from other manufacturers than Warlord and Artizan are damn hard to get here. Oh well - at least there's not much stuff required to play 700-1000 pts games.

So since the previus post my US force got some painted support.
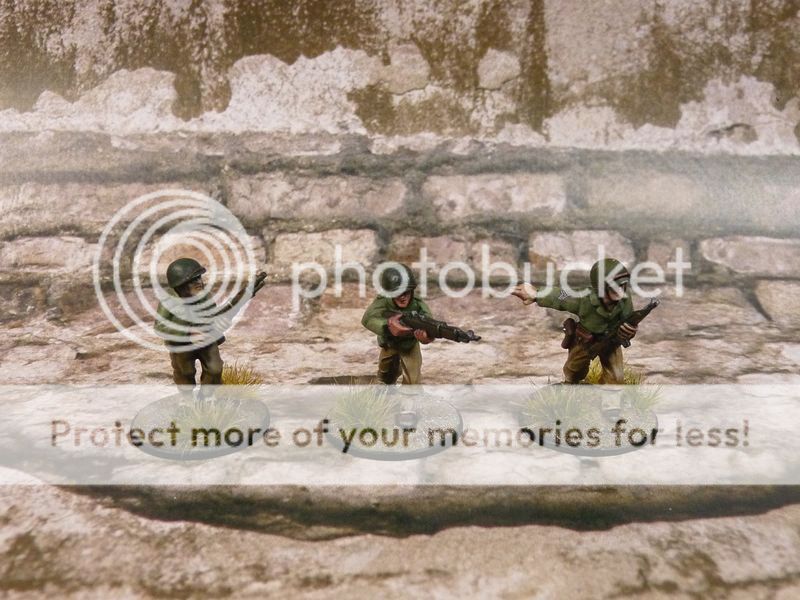
First piece is paratroopers light machine gun team. The guys originally come with separate bases but I decided to place them on single 60mm round one.
For several - mostly practical reasons: I could add some more terrain features, gun barrel doesn't stick out beyond bases edge so it's safer in transport, models are connected by ammo belt - it's pretty fragile element and I wouldn't like to see it broken off after a game or two.

I tried to keep the very same color combo as on the other paratroopers - not sure it has much in common with original uniforms but it works just fine for me. Warlord made smart move with releasing boxed unit: there's 10 models inside, everyone has different pose so you can paint them all before getting bored.

Probably...


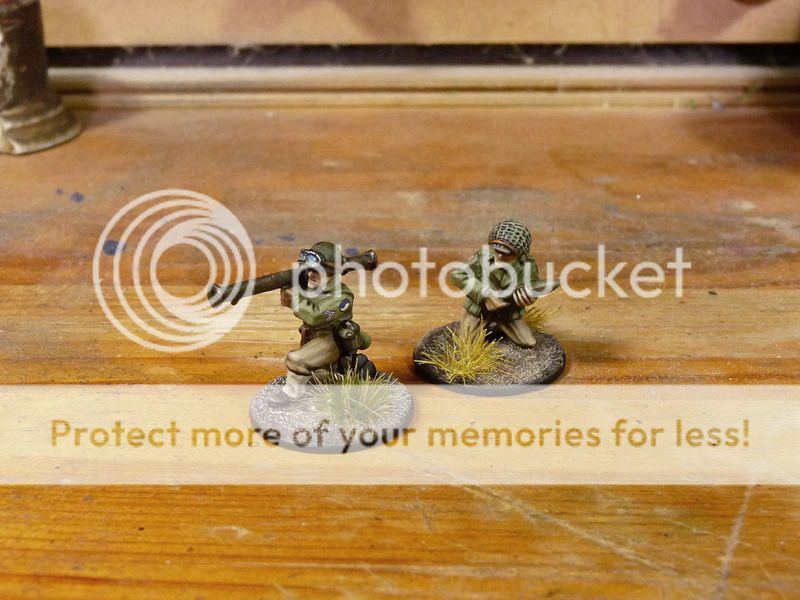
The other painted bit is the bazooka team:
While I like paratroopers sculps a lot I cannot say the same thing about all minis from regular infantry line. I guess it's because I haven't got used to them yet.

Painting faces is much more demanding then in other brands I've been collecting so far - since models are properly scaled the faces are much smaller seem to be less defined than in EE line for example. Nevertheless I don't need these two for beauty contest but rather for ripping off enemy vehicles so there's no plastic surgery planned anytime shortly.


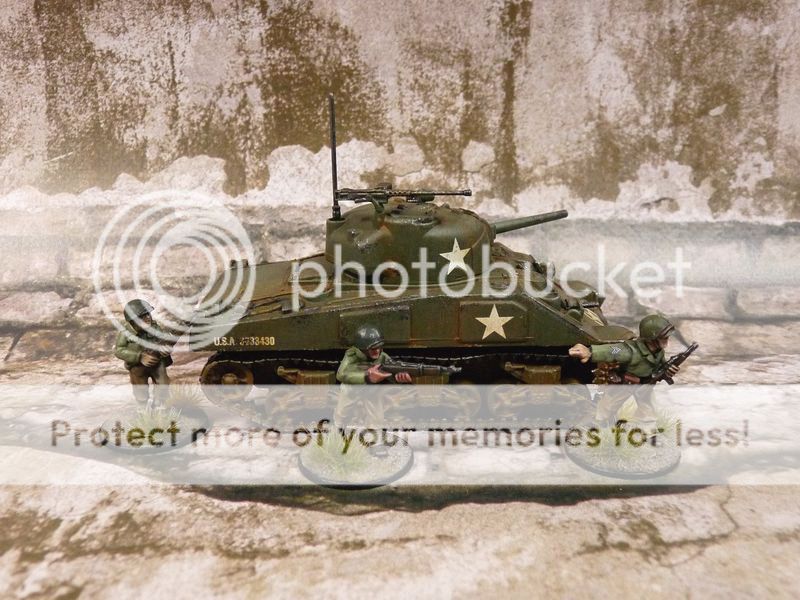
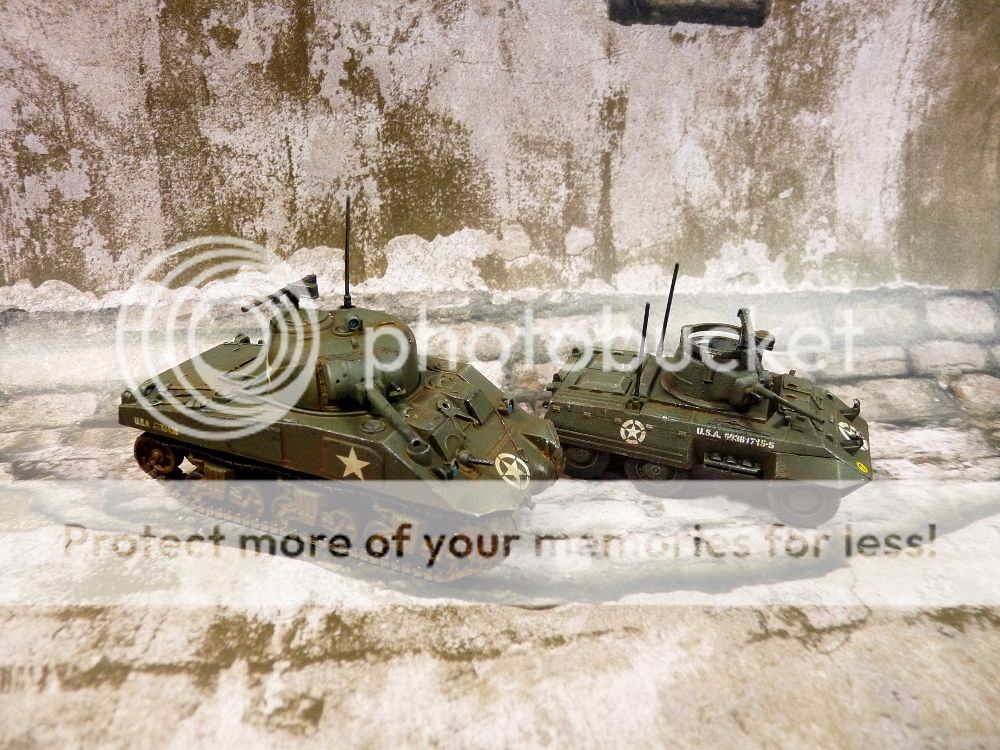
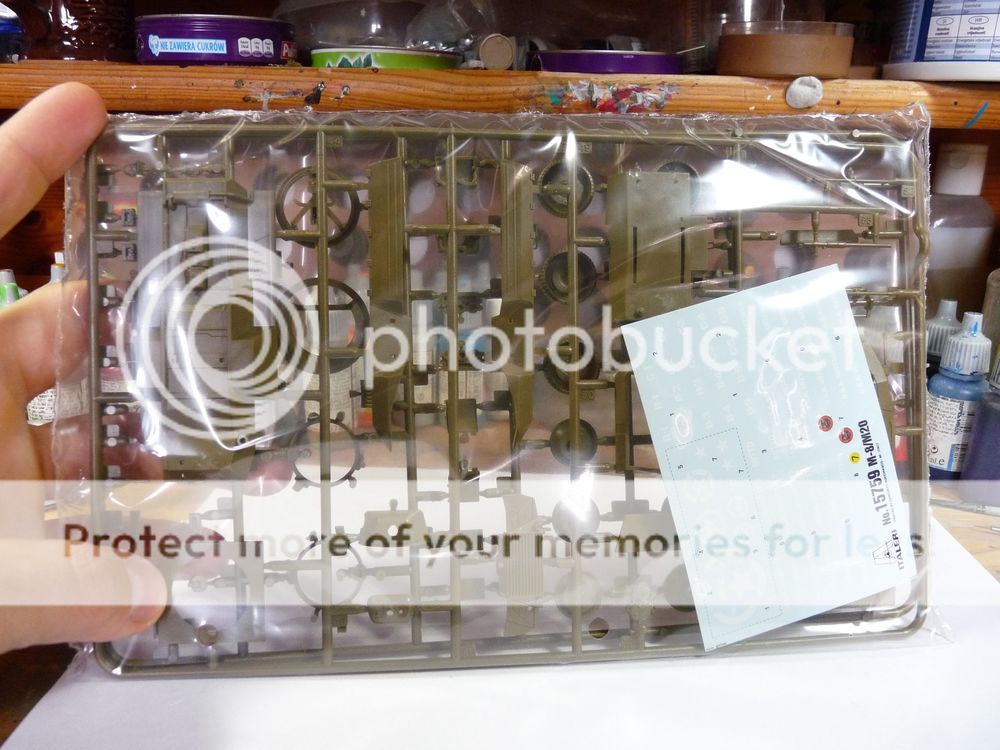
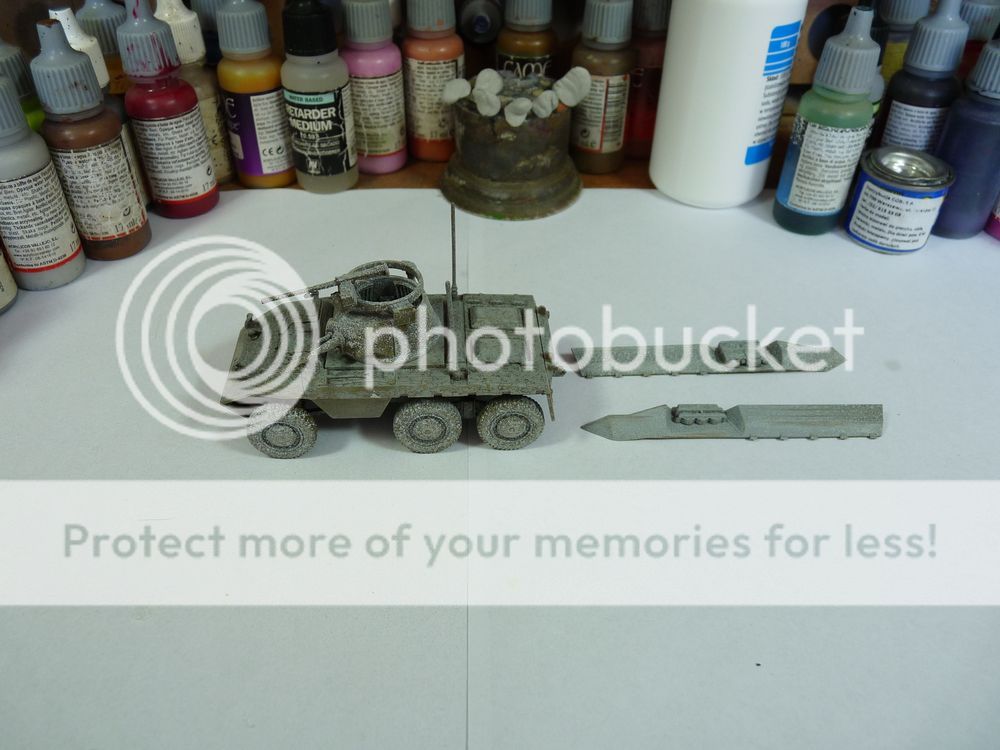
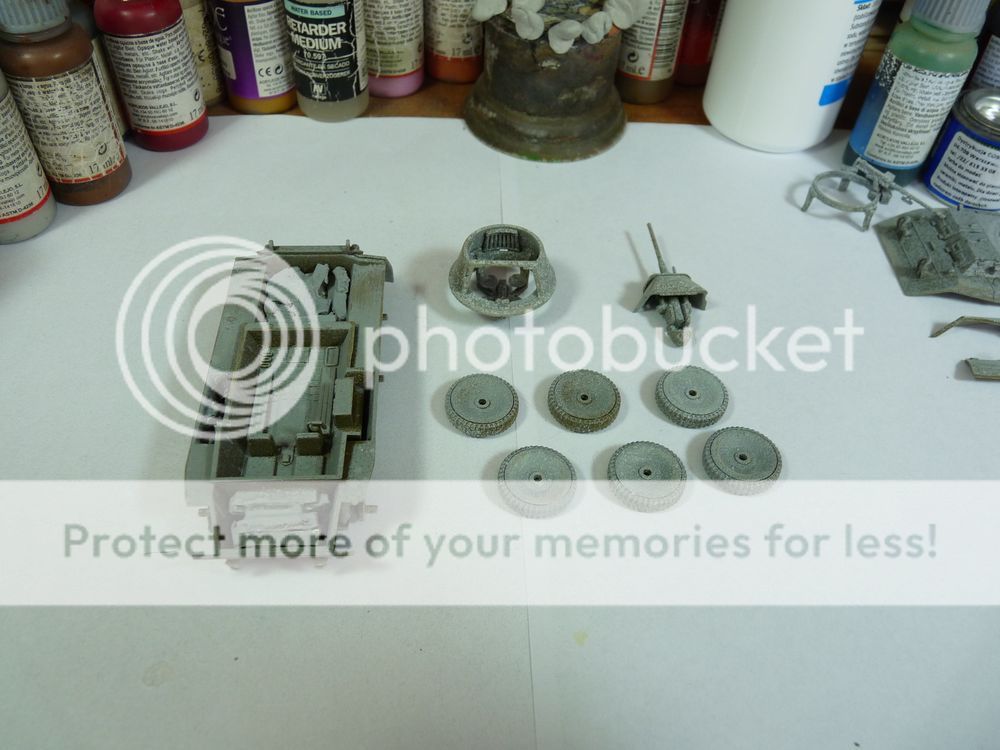
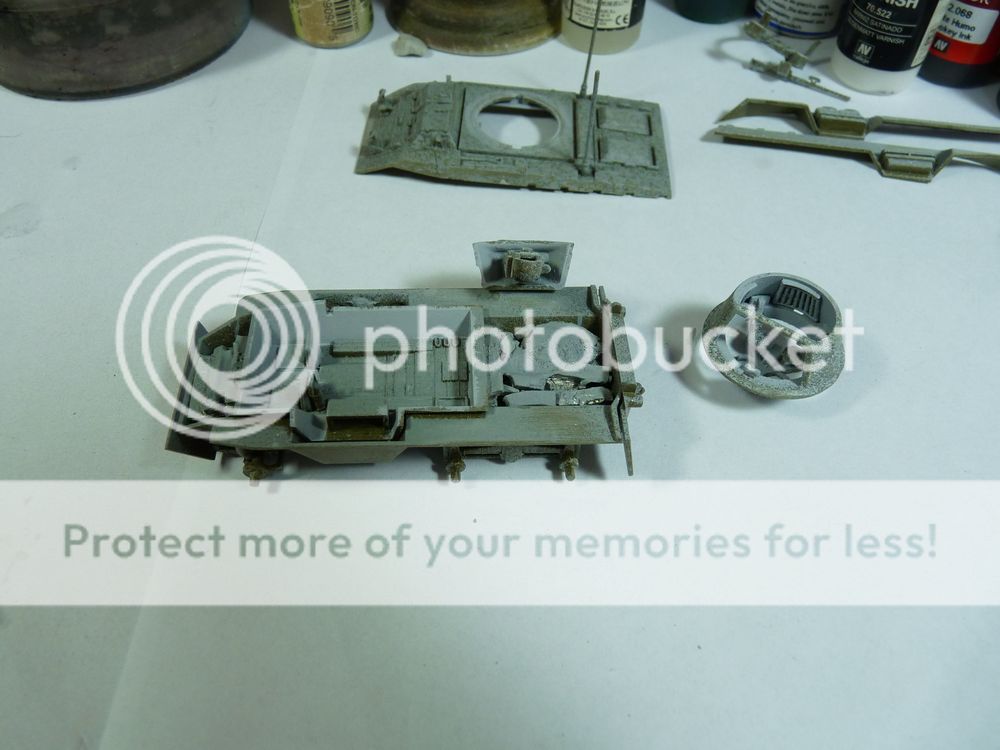
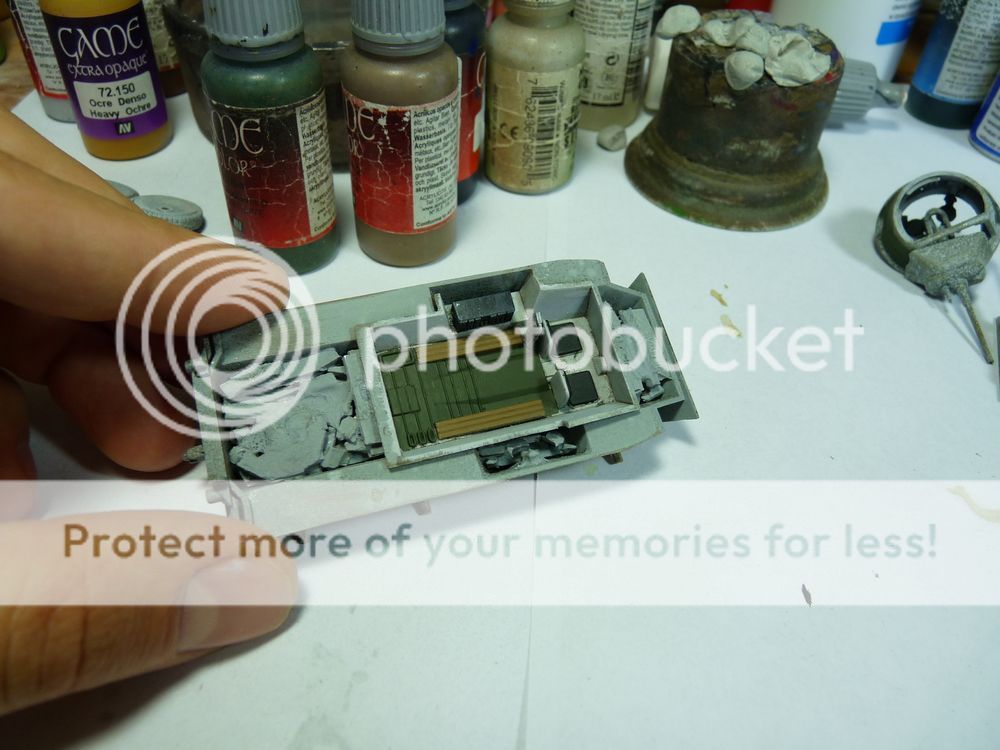
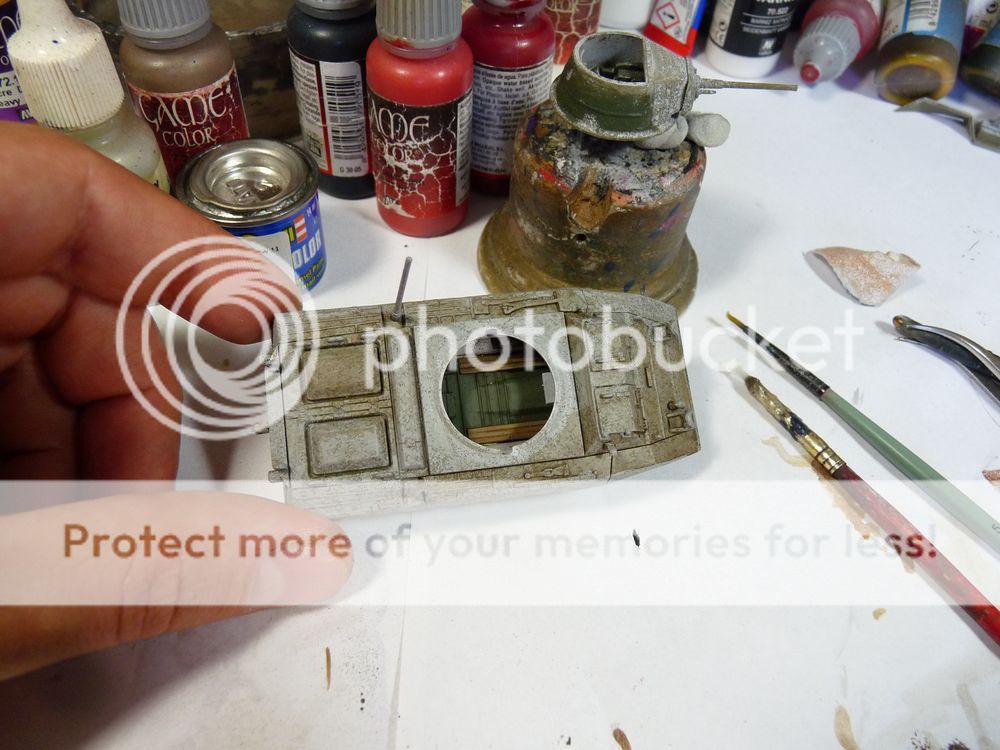
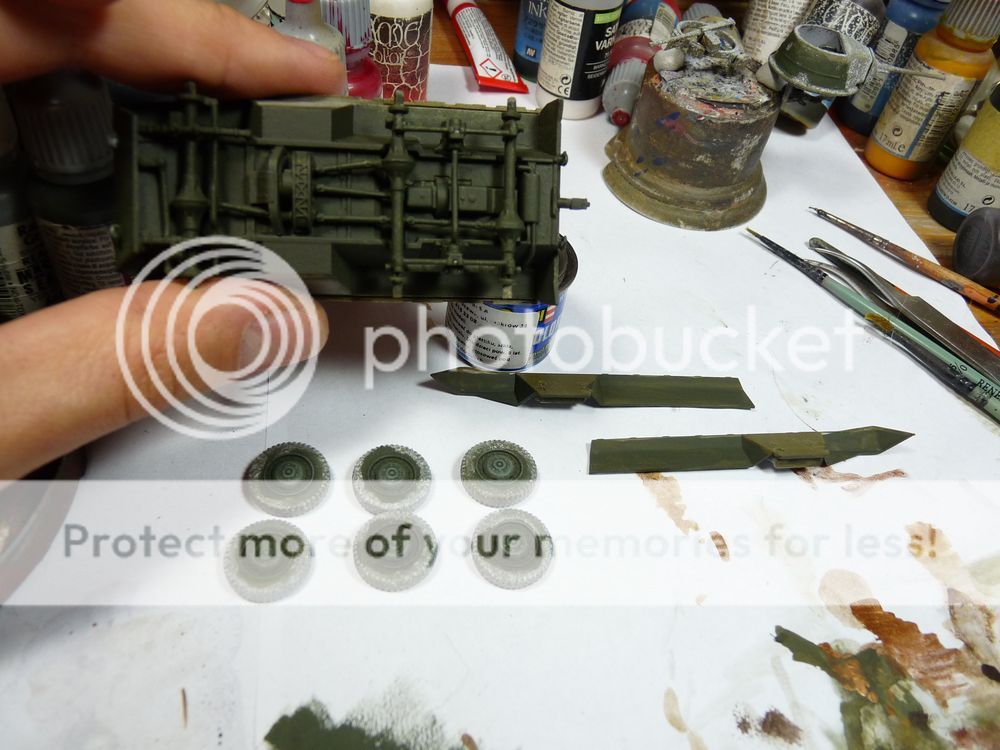
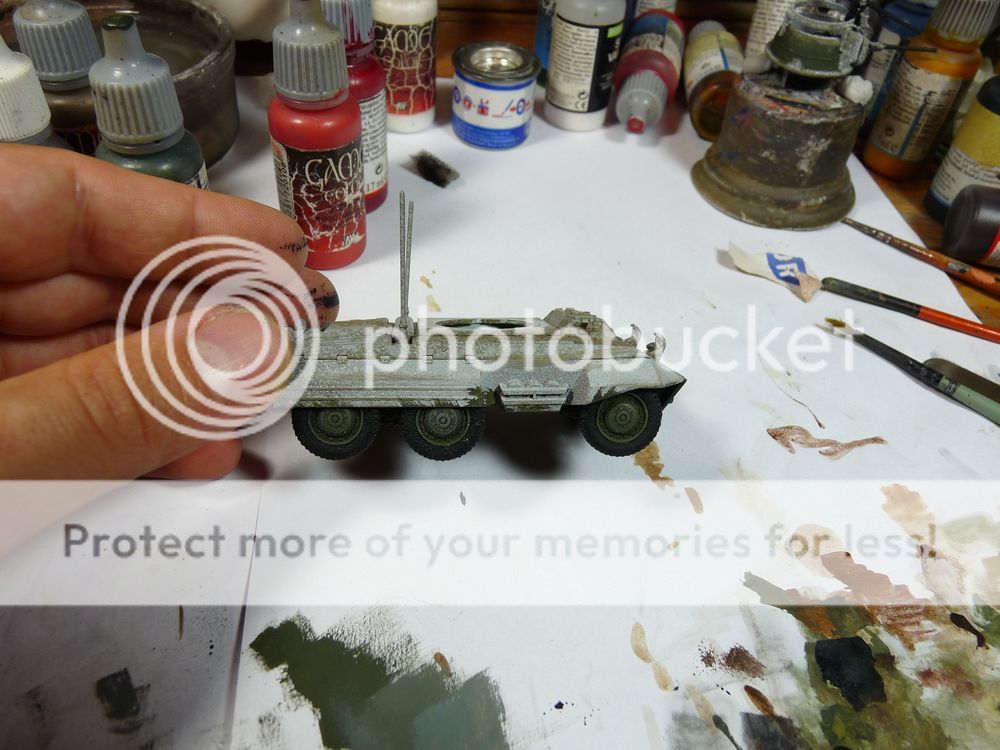
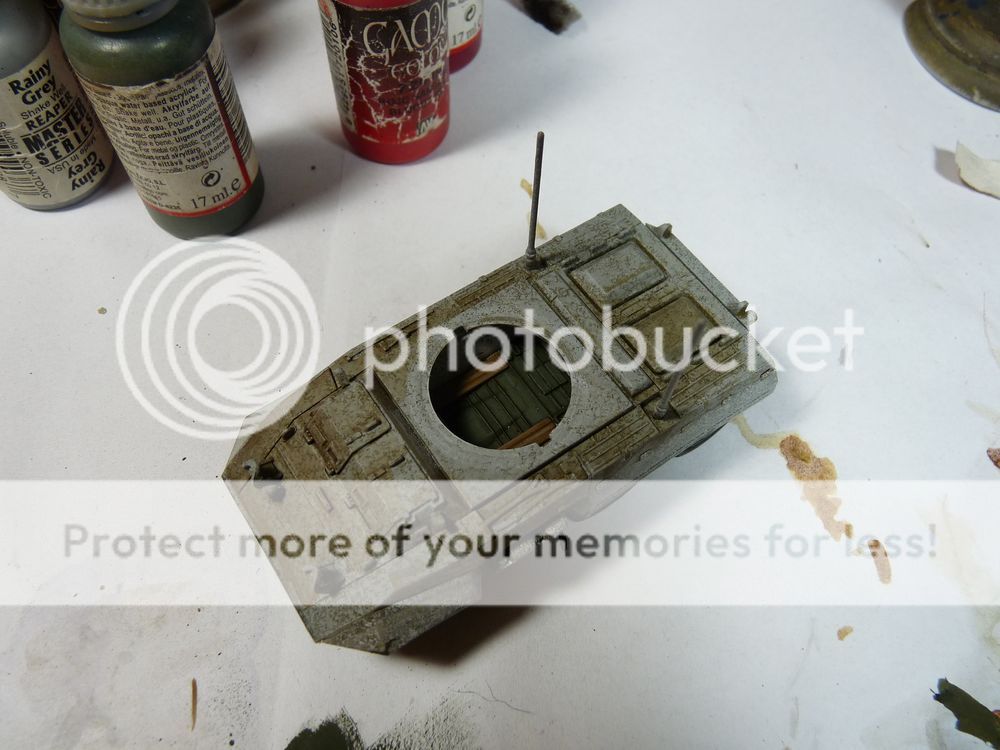
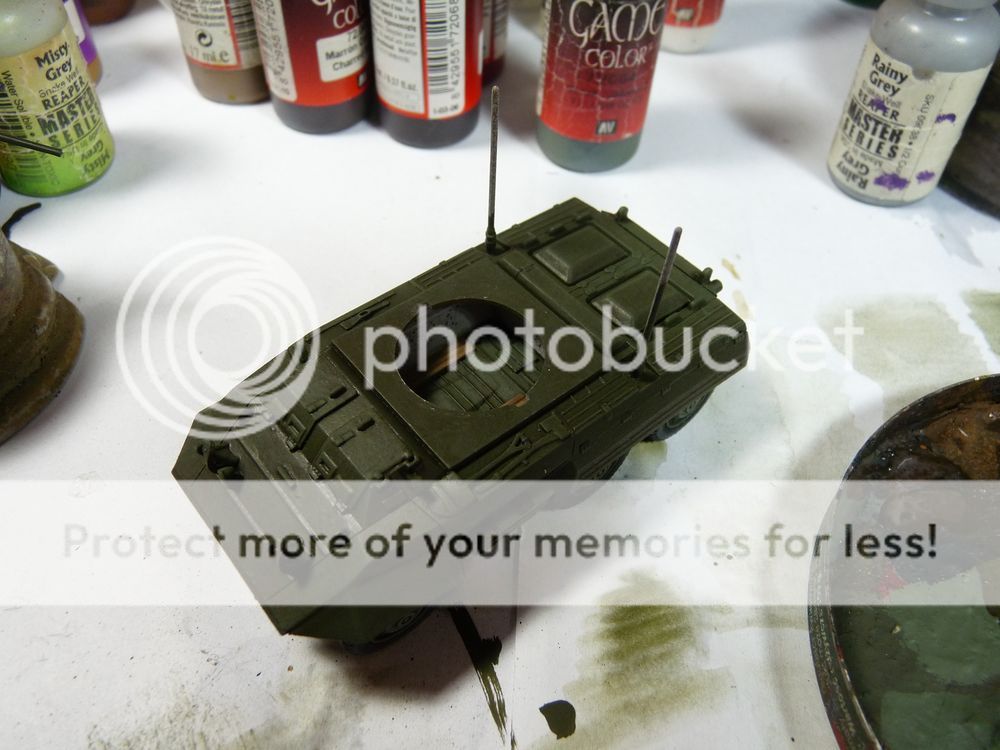
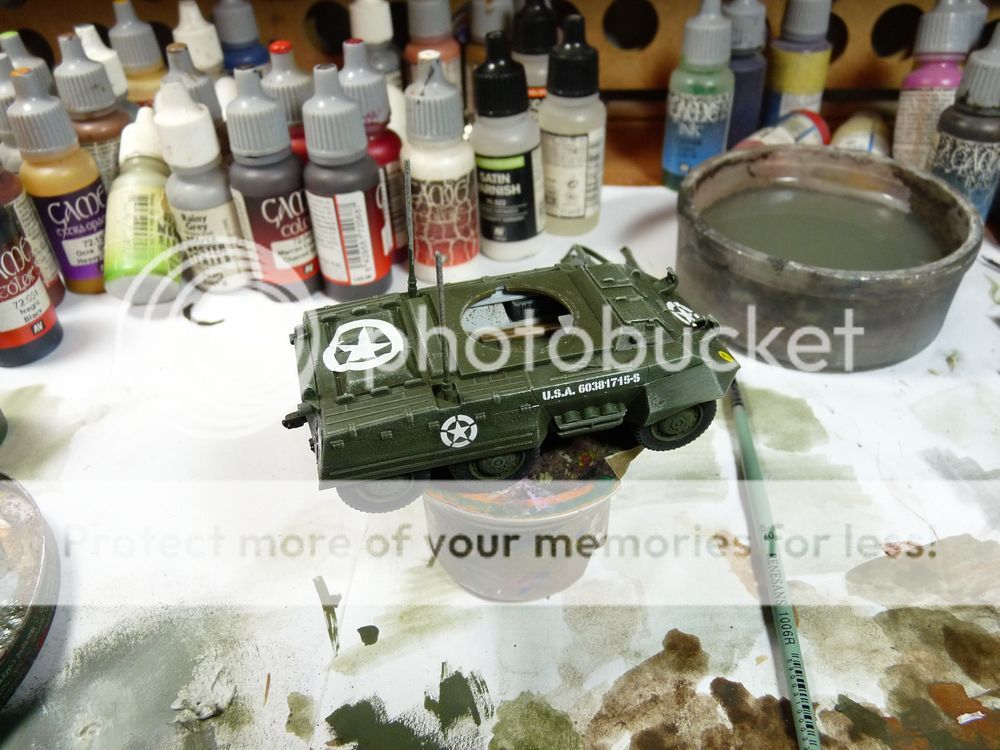
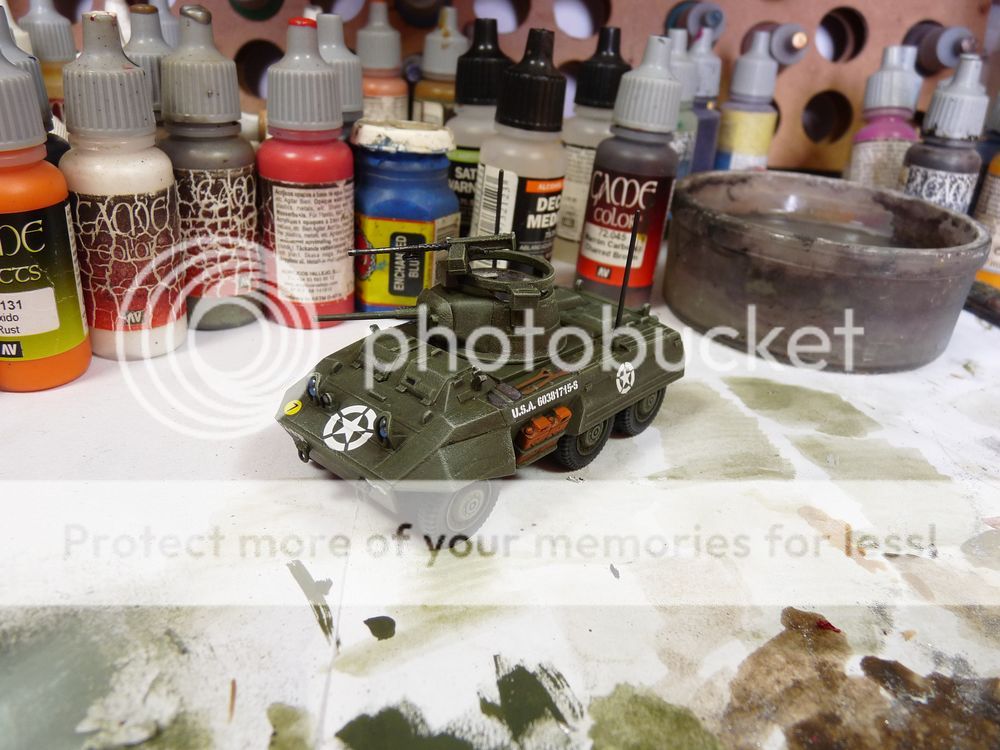
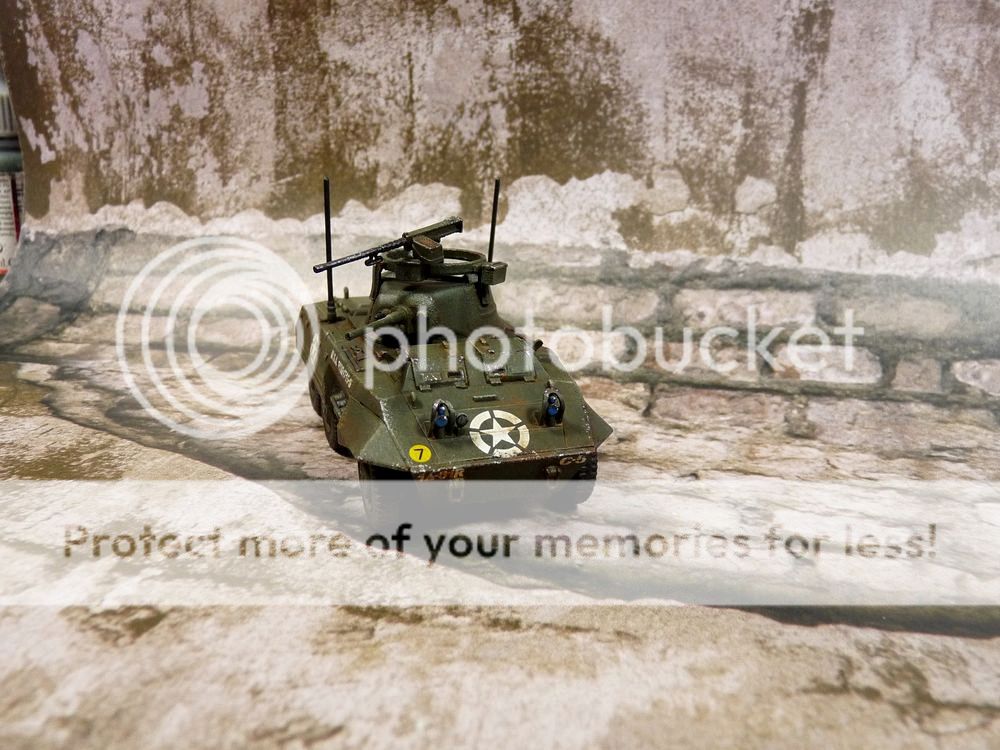
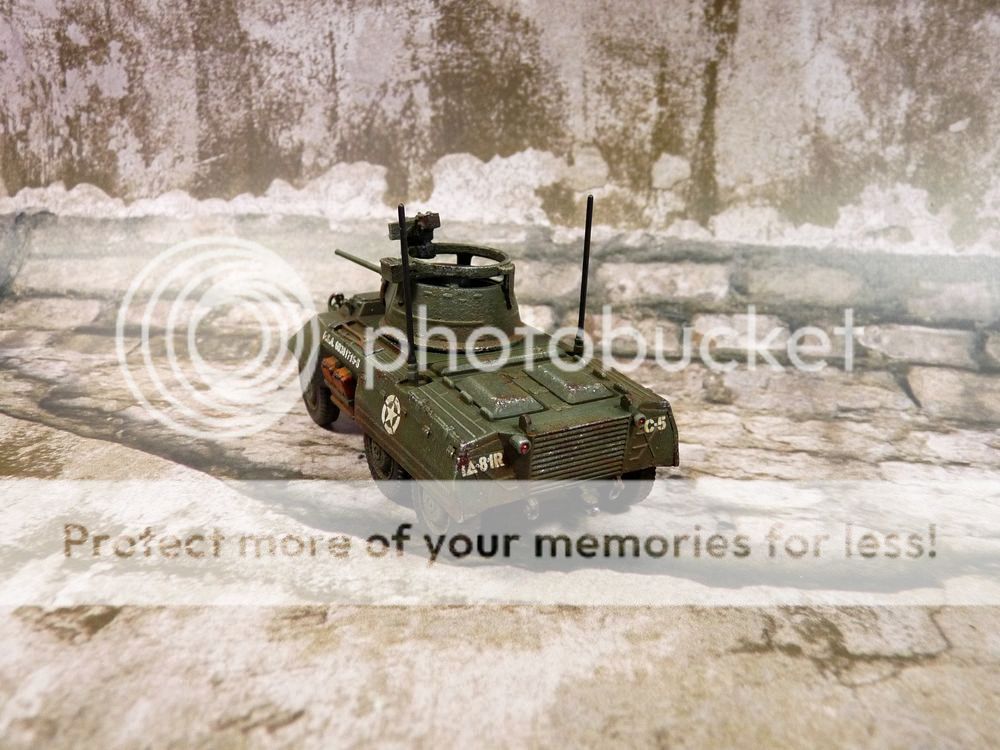
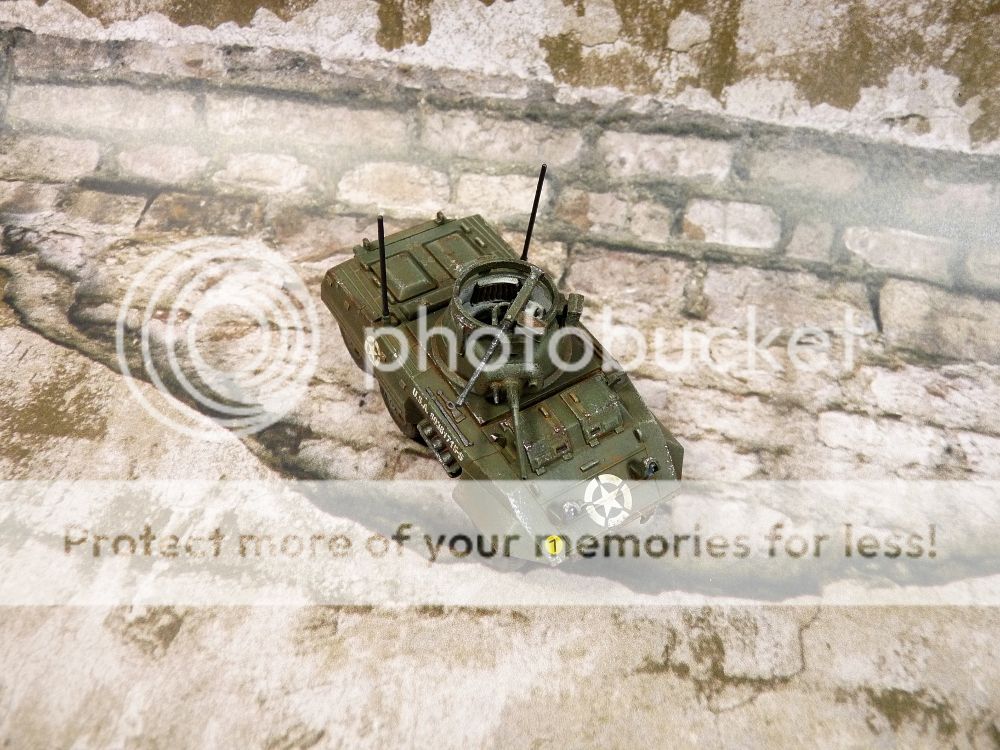
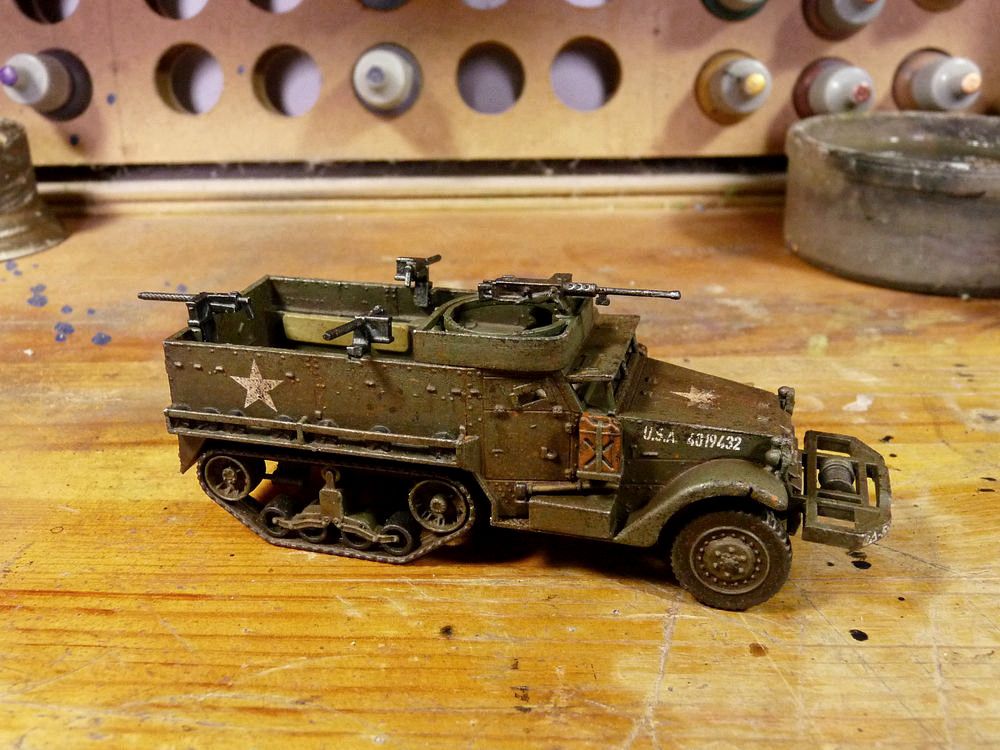
And the last piece - the model I like a lot and wanted to see it in my army since I chose playing US: M3A1 halftrack.
I just love the idea of it and the design, period. Really have no idea how it's gonna act in the field but the concept of 3 medium machine guns + heavy machine gun running through battlefield and gunning down enemy infantry is  just sweet. Terrifyingly sweet!

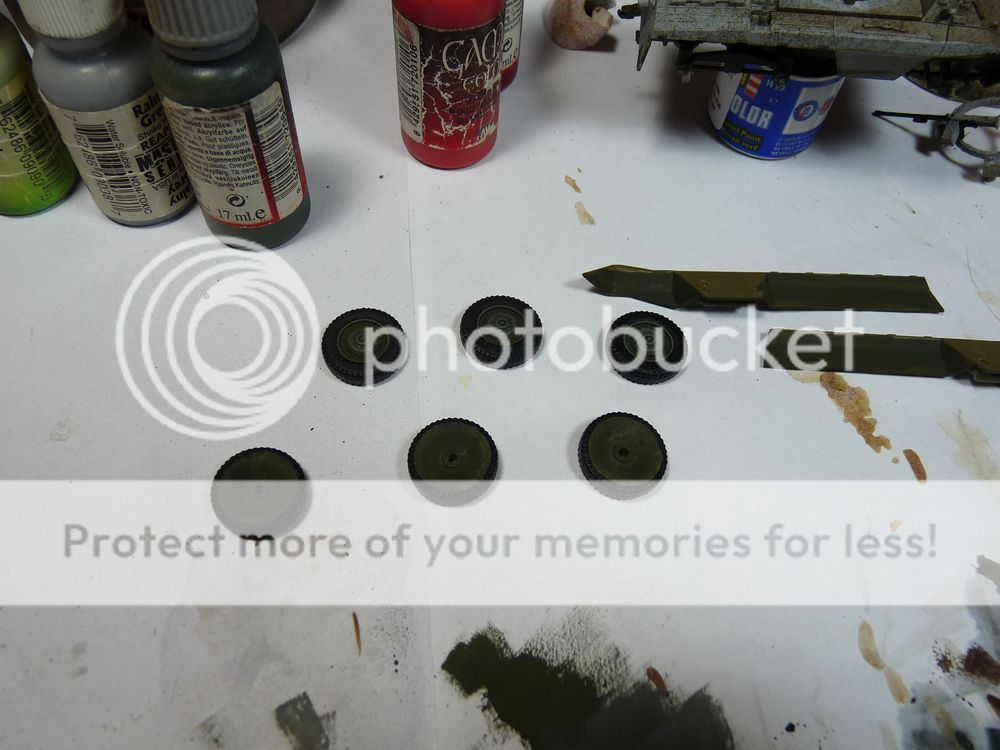
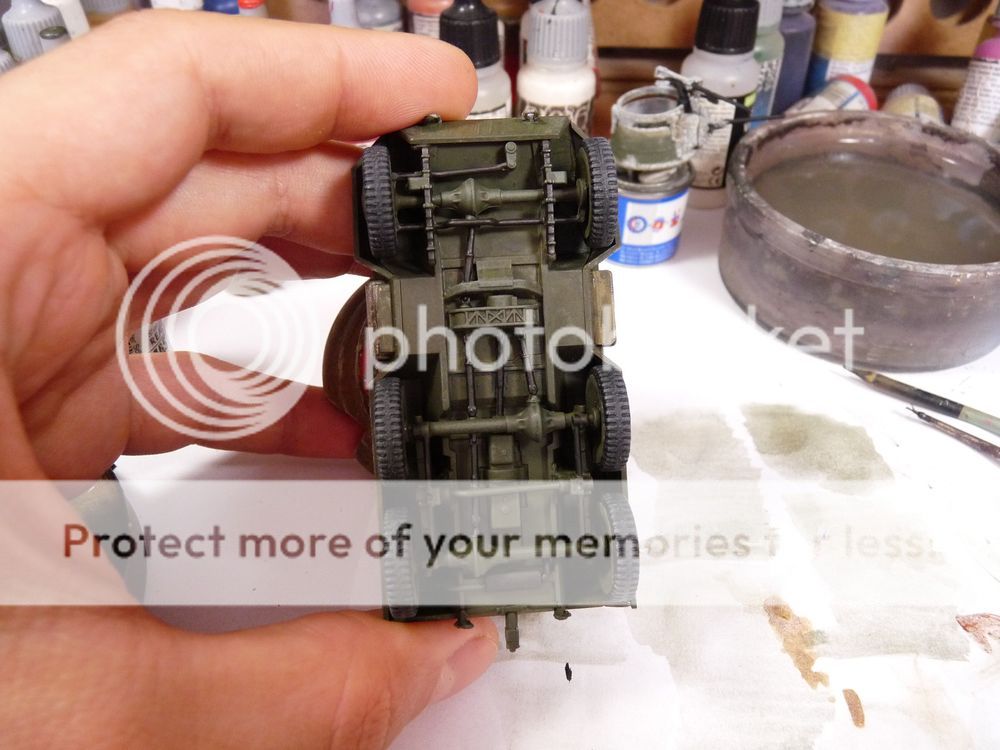
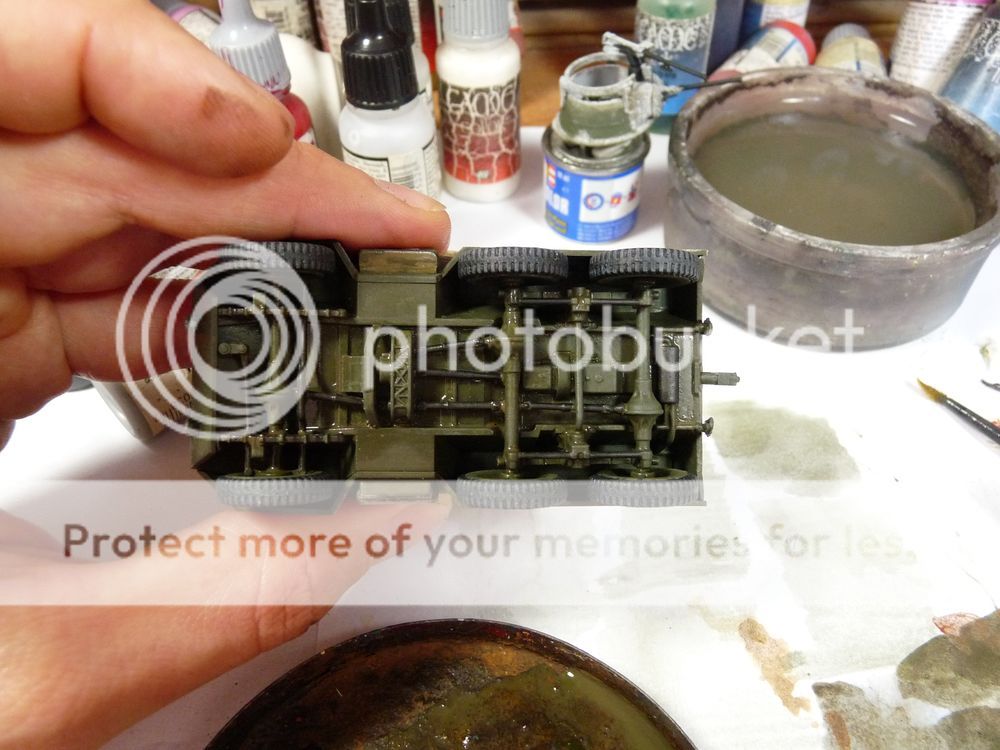
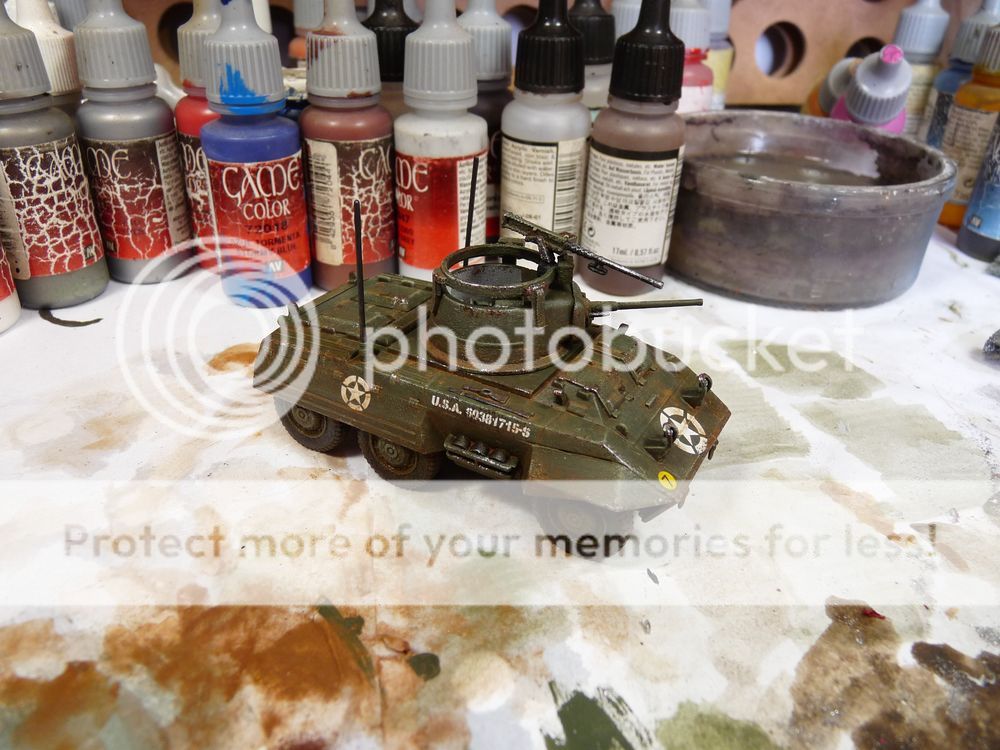
Base colors are same as used on Sherman and M8 scout car but this time some more washes and dirt were applied. There's also less chipped paint and thick mud on tracks - which is something I might work on sometimes later.

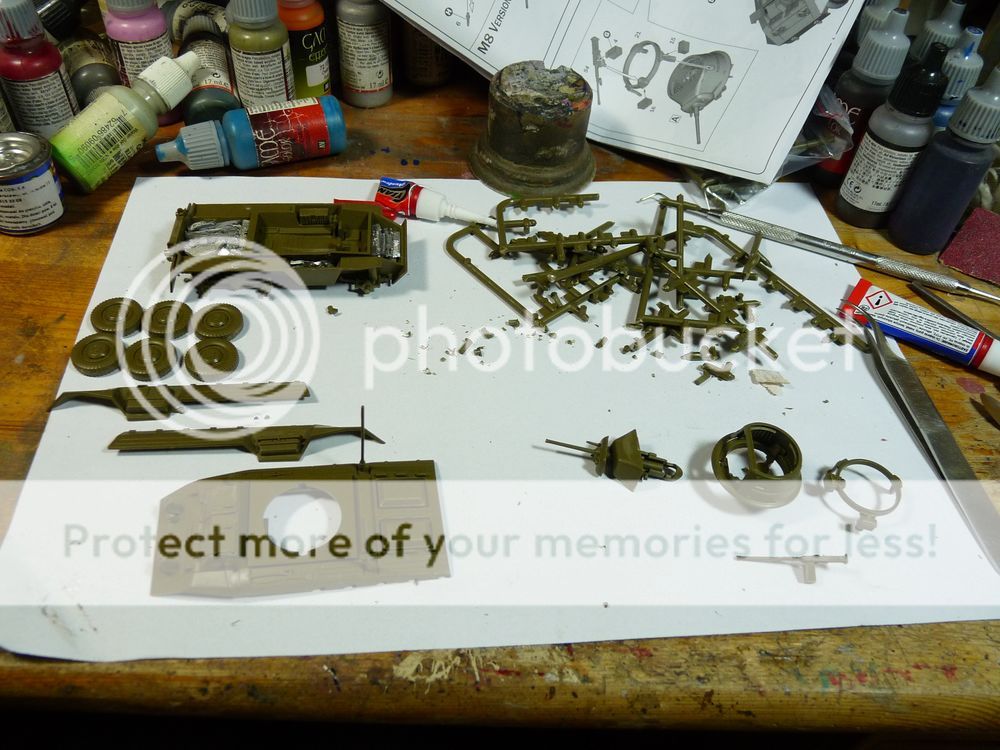
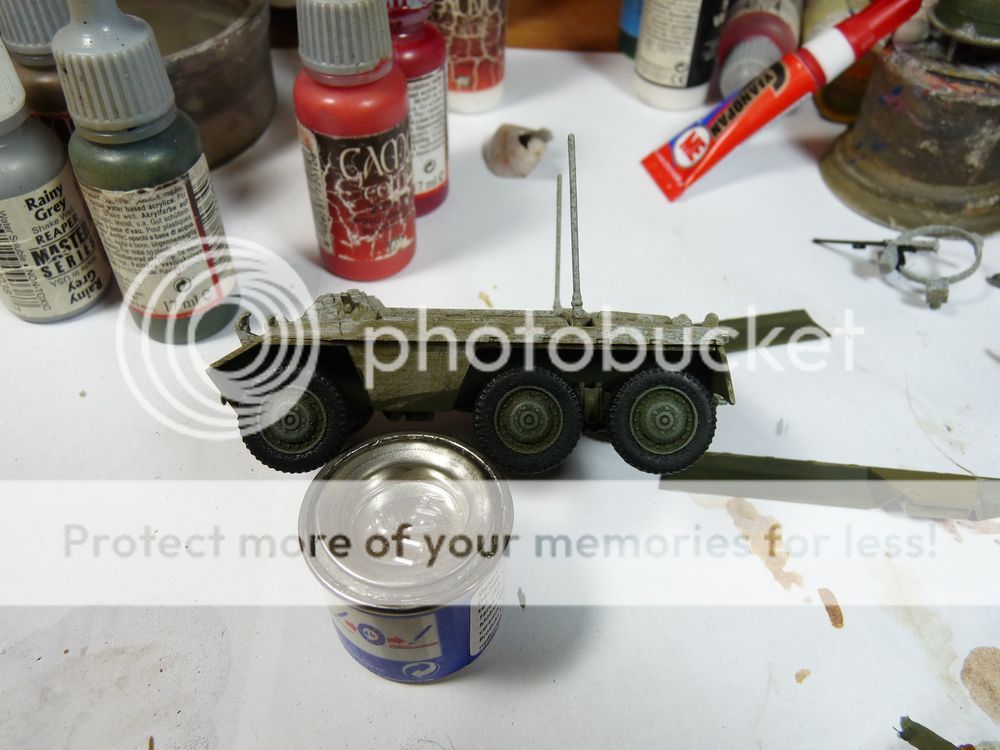
Painting this toy was fun - sadly there's probably only one more vehicle I might see in my force ever.  I decided not to glue machine guns yet since I have no idea how it's gonna perform in action.


And the maxitaxi equipped with maximum firepower.


And last but not least - we've finally managed to play Bolt Action match!
Even though only I read the rules we still managed to have lots of fun: rules are playable, game quite unpredictible and fast.

So far we managed to organize some terrain features: my opponent purchased some ruins, woods and lake, I made two more trees sets and some bushes. We placed all on oldie Warmachine dedicated table and whole everything looked much better than I expected:


And some more shots from the match: some questions were born during game mostly about visibility but I hope next time everything will work much smoother.


Cheers!

Saturday, November 12, 2016

US infantry support


That's not exactly support for my infantrymen but should get some attention.
Anyway the previous post was dedicated to oldie Necromutants and thick bushes but since the ordered models fucking FINALLY arrived I decided to slap some paint on Atrizan Designs sculpts.
I am very beginner to Bolt Action but no matter how cool the game might turn out I know my time limitation - I don't even dream about playing large battles so decision was made to assemble small force based on cool sculpts: 100% metal (apart from vehicles that is...).

I've already got Warlord paratroopers - they are fine, but also wanted to include some ordinary troopers - backbone or US force. I've realised Artizan Designs produces really cool line of WW2 miniatures.
I do not know were they sculpted by Mark Copplestone, but in my opinion those sculpts strongly correspond to his works. Which are actually one or my fav models ever made (especially Scavengers gang or cannibalistic Savages - both from EM4 line).

Copplestone or not - those models have that "thing": they are well scaled, they are realistic, models carry only what's necessary so there's no painting useless crap on models.
Thanlk to all above painting single trooper takes about an evening, watching some WW2 documentary and having a beer. Very painter-friendly result.

I tried to heeppainting simple and easily repeatable so trousers and jackets are based on same color palette. The experiments are about getting proper mix or tones.
As you can seethe dude on the left was painted with some chalks but I  don't like that dirty way - cleaner models are more striking and all in all should look better on the battlefield.
I hope.

I also hope to make up different background for taking Bold Action models - this printed wall seems to be bit too distracting. Waddaya think?


And that "other thing"...
Recently my wifey brought some resin pieces and asked me to paint some of them - 3 bits are supposed to be xmas gifts for some of her friends.

All in all I got 7 pieces to choose from: 4 severed heads wearing Santa's hat and these 3 monsters. I like zombie models from most manufacturers but those heads wouldn't be anything pleasant to paint, so I went for lesser evil.
Working on those was nice change from 28mm scale - hope recipients will be pleased.


 And the field test - bits are hanging merrily on the string:


That's it for now, laters!

Monday, October 31, 2016

Big boys like thick bushes


Yup, they definitely do:
thick, tall, providing proper cover against enemy soliders.
Since the last post I've still been waiting for Artizan US infantry and decided to spend that time to prepare battlefield for WW2 themed game.
A while back I gave a try to wire based tees but the result wasn't exactly was I was hoping for (here's for anyone interested). But I learnt the lesson and managed to bring up some more vegetation: set of trees, piece of hedge and single bush.

Making that is nothing innovative, the best thing I've learnt is preparing own sponge for the vegetation: grinding it, painting and so (quite a lot of this stuff goes for vegetation so it's nice to have self made, cheap alternative). As you  can see on the first pic the scale is scaled for 28mm scale gaming: base is solid, there's lot's of space to move minis around the trees, all's been sealed with spray varnish so neither sand or sponge falls off.

Below you can see final result - as mentioned before it's made for gaming so there's no trash on the ground. All in all it turned out the hardest part was finding proper wire for the trunks.


And here - US paras preparing death trap for zee nazis:


Before first tree was wired I tried new sponge on smaller obstacles - result is just fine for gaming purposes. And making it is easy as fuck, I mean apart from waiting for PVA  glue to dry making that takes easy evening, having beer and watching The Stain.
The big plan is to prepare several long lines of hedges so make roads in occupied France really deadly.


Yet tonight I've managed to boost monthly painting statistics by finishing 3 more Warzone necromutants.
Just like the last time I wanted to get the best result within the shortest time. New necro-trio is ok for gaming but as always when I am trying to paint moer than a single model the quality suffers. But they fit rest of the team nevertheless. 6 or 7 more and I am done with this unit.


And speaking about good old Warzone - we're finally managed to play another match: Dark Legion vs Capitol. Once again 1st edition rules were brought on the battlefield and again we tested updated cost of units and equipment my buddy (and one true foe) prepared.

Playing this game is always fun - brings back the memories. This was unique because the special guest star I brought: biogiant himself. I must say this fat bastard was fielded only because I wanted to see it in action at least once before placing the model behind protective glass od display cabinet.
I mean, come on! It's pretty tough and has 5 wounds but with such massive posture it's a bullet magnet from shooter standing at almost any place of the battlefield. It's damn slow and his shotgun is just crap. I didn't expect it to survive longer than 2 turns but it not only survived the match but also did some killing!
2 Capitol's free marines were cut down in close combat and one more taken out from shooting. So apparently I owe some apology to tekrons who brought it to existence.

I managed to take some pics from the game - I had to place biogiant on the bunker because there was no other free space in my deployment zone for almosty 4" round base.
I hope mercurian maculator will be much better candidate for big beast in my army ^^

\m/

Wednesday, October 12, 2016

Warzone Necromutants


Yo,

Summer's gone and I am still painting Warzone stuff.
It's slightly against the established practice but I am still waiting for some stuff for Bolt Action (Artizan's infantry) and painting oldie Warzone models is quick, easy and pleasant. It's also kinda rewarding:
- for my army because it's now bit less unpainted,
- for the sculptor - not many models from the golden age of Warzone is being painted nowdays (sadly),
- and of course - for models themselves: show them bit care and attention and you can almost see smile on that stupid faces. Almost. Because servants of Dark Apostles are badass evildoers who never smile (malicious grining doesn't count).

Anyway after dealing with biogiant I wanted to prepare my force for coming game.
I've always liked necromutants: fluff is ok, official artwork is just sweet (Paul Bonner, right?) and sculpts are quite funny. I got squad of those at very early stage of my hobby and only once got them all painted - 4 models at that time.
Recently I got missing models from the old line (including centurions and flamer operators) and thought it would be nice to see them all finished at same standard. Too bad no matter how much heart I have the them it's nothing but medicore (at best) infantry. Still -  in the field I prefer to see swarm of those instead of that slobbering and babbling idiot - biogiant.

As menioned above painting is easy - sculpts are not very demanding, finishing a single piece for gaming standard takes like 3 easy evenings and they are good material to test some painting solutions and color combos.
The idea is to give them all desert camo (fitting the game table) contrasting against dark metal parts and necrotic flesh.
That's it. And below - the first set of Algeroth's stormtroopers: 


Still some necro-monkeys waiting for paintjob:

And something quite different - Mishima's Amaterasu.
The model was painted for friend and I got only general instruction about colors to be used (personally the only green color I tolerate is rotting or mutated tissue).

The model comes from the second edition of the game (probably) - it was new quality of sculpts. New models were better detailed, more proportional, much more eyecatching.
And it was not much something that dragged me into the hobby back days. I don't know why, but I had more fun painting the oldie samurai (who obviously turned to the dark side) than new fashion piece.
Hope you like her anyway - apparently Ms Amaterasu is going to prepare 3 necro-steaks in about a moment...


That's it for now - cheers!

Saturday, October 1, 2016

Warzone Biogiant + US paratroopers


Hey again,

It's been a while since the last post but this time I had serious reason: 
since February I've been preparing for the exam which was last on Saturday 24.09.2016 - and I passed it!!!
I still cannot believe my head can be used for anything more than wearing bike helmet. 
And hair.
Lots of minis wanted me to slap some paint on them this year so since there's bit spare time I'll try to make my pile ov shame bit lighter. So for starters 3 models which I've been woring on since the last spamming.

First one is huge and totally useless support for my Dark Legion army:
Algeroth's very own biogiant.
During golden age of Warzone I didn't like this model enough to purchase it. Frankly - don't think many gamers did. But I got it recently from friend who is running Mishima and this big guy was part of some large bundle of second hand model. Or something. Important thing is biogiant was no use for him.

Model came painted but required new colors. I am far from praising my paintjob, but original colors were basecoat at best. Most of spikes were missing too so I had to sculpt some.
I was trying to keep close to the artwork so there's dark armour and clothes contrasting with pale flesh (also now I see more necrotic tone whould be better).
Even though painting is simple this model took lots of time and effort - like some fucking energetic vampire. Which makes me even more happy to see it away from painting station.

As for testing new things I was trying to add static grass with an applicator. Results are not as spectacular as doing it on flat sheet of pcv but I still might use if for basing my Bolt Action troopers.

Too bad fielding this piece is just waste of points:
it's so huge it can be targeted from almost any point of battlefield and for that cost I can get a nepharite pimped with necrobionics and some spells. Oh well. So - the piccies:


And the scale shot for those unfamiliar to old Warzone range:


I wrote there are 3 new models. Lucky for me remaining ones were not as time, paint and life force consuming: Bolt Action US paratrooper.

These two are my very first painted infantry models from BA. My first impression about sculpts wasn't too optimistic, but all in all I must admit these models definitely have some charm and character.
And they keep the scale to the vehicles!

Color scheme was based on what I saw on the box, but I do not care much about recreating original uniforms, weather they were carrying olive backpacks and black helmets or not. I like them as they are so hope to finish rest of the squad similar way. Hope you like them: 


And one more scale shot. My invading force is growing like well fed yeast!
(Which reminds me - there's new photo album dedicated to Bolt Action miniatures - check the right panel).


That's it for now.
There's lots of minis I'd love to see painted fast but after hard struggle with biogiant - cannot decide which will be first. I should probably make some poll about it.

Ok, see ya next time!

Monday, August 29, 2016

Tutorial: M8 Greyhound (Bolt Action)


Hello again,

After painting my very first Bolt Action model recently (Sherman M4) I got kinda encouraged by positive feedback and was also asked some questions about colors and materials used. So while waiting for US infantry arrival I ordered another model for the game I really liked and tried to paint it using similar colors to Sherman, so both vehicles fit the battlegroup.

That model is M8 Greyhound: 6-wheel scout car.

I was taking some photos while working on the toy trying to show how it was going step-by-step. As always in my case wip photos didn't turn out spectacular, but still hope some of you might find this walkthrough useful.

So the model arrived: once again I chose Italeri brand: all parts fit peftectly so assembling process brings no problem at all. Here's what I found in the box:


As mentioned above - casting quality is just great. Assembling the piece took me like single afternoon (while babysitting kid at the same time). To make painting easier (and possible in case of the interior) I decided to split models into sections, which will be put together later.


Assembly test - checked!


And here are the sections. I like heavy models so both here and in Sherman some scraps of metal were hidden inside.
Please note: it's just gaming model, so if you don't feel like painting the guts of just want to have the job done fast, simply paint interior black. Unless you remove the turret no one should see the difference.


Painting started by applying undercoat: I used simple car spray.
It's pretty "heavy" paint which actually gave some texture the armour. That will give more natural, realistic look in the end.


Base color of interior walls and floor is white. I used misty grey followed by white highlight and the applied delicate black wash glaze - just to provide basic shading.


Basic colors for other parts are yellow olive for the floor, black for seats and earth for planks. All from Vallejo Game Color range. Radio is simple black drybrushed with misty grey.


Yellow olive was glazed with olive + smoke + charred brown and then highlighted with yellow olive, planks washed with brown ink and highlighted with earth + bleached bone, fire extinguisher (that bit behind driver's seat) was painted with gory red and then highlighted with bloody red.
At the same stage I painted turret's interior with same colors: gun - olive, seath - black, walls - white. Extra ammo is just brass washed with smoke and highlighted with pure brass.
I also added some dirt and scratches on the walls and gun - just to break the tones.


All painted elements were sealed with Revell's supermatt varnish. It smells gorgeous but it takes a while until it gets dry so it's good moment to take a coffee, smoke, take a dog for a walk or empty dishwasher.
Or all above.
Especially dishwasher - your ladies should be pleased.


Seat backs are barely noticed (looking from an angle) but other details look nice.


Now I started painting bottom part of the model: wheels and chasis.
Like in case of interior it's kinda optional: if you want it done fast simply hit it with cark olive, drybrush highlight and then add load of dirt.
I decided to play bit longer with painting: underbelly and wheels were painted with yellow olive, then glazed with olive + charred brown. Highlights is just olive and rainy gray drybrush.


Tires were painted with black + bit grey and drybrushed with rainy grey.


Paint is dry so wheels were attached to the chassis and then side armour added. Be careful with superglue - if you pour too much there might appear pain in the ass to remove "stains".


Some chassis details were painted with black and steel. After drybrushing whole chassis was glazed with olive and smoke ink wash (yes, the same color again but hey - it's WW2 war machine, not WH40K toy).


Now something we're been waiting for!
Something which is not optional and is pretty well seen: the hull!
Once again - model was painted with mix of yellow olive and some brown...


Nice and dry!


Model was now glazed with smoke ink with some olive and brown chalk added. That's for getting more dirty and "think" shading. Wait until it's 100% dry before next step which is...


Drybrushing!
I started with yellow olive, then I was adding more and more rainy gray and if I remember correctly some misty grey in the end for the final highlight. That's the first layer of drybrush...


And this is the last one.
Pretty striking, isn't it? You can actually see delicate texture of the undercoat on the turret.


To get smoother transitions and color more similar to what was planed whole hull was glazed with diluted yellow olive. Don't get carried away by this, it's better wo paint 2-3 thin layers instead of single, too thick one.


Model is ready for gaming but it's also ready for decals and details.
Decals pattern was described in the instruction. If any of you have problems with decals here're some tips:
- paint place where you want to see decal with gloss or satin varnish,
- apply decal trying to keep it wet (it makes sliding and positioning),
- remove excess of water with brush, 
- when decal is dry - paint decal medium on it, this stuff makes decal fit surface much better.


I didn't like the star on the back - it was just too big for my taste. Like signal for Luftwaffe machines circling over battlefield: "Hello, I am here if you're feeling like some target practice!".
While still wet of at least damp taking decal off is no problem at all.

At this stage also details were added:
- fuel canisters with dirty orange,
- extra wheels (whatever these parts are for) with boltgun metal,
- the same for antennae and machine guns barrels, 
- blass for hmg ammo,
- front lights - blue, rear lights - red of course.


And the dirt - the best fun of all this.
There are many ideas dependable what you want to achieve, my model is pretty "fresh" so I painted only basic weathering.
I mixed some chalks - brown, orange, yellow with sating varnish and lots of water. I mean it: cahls are very concentrated and mixture must be very diluted to use it on models.
With thick brush the mixture was applied on the whole model. I waited a bit and then excess was wiped off . I tried to leave dirt where it would naturally appear during exploatation.
Also some chiped paint was added - it's just dark brown and steel applied with sponge. Once again - not too much, it's US Chariot Ov Destruction, not piece of junk.


And aerial look on the batlefield and the palette :)


The job is done.
I am pretty happy about the final effect, Greyhound is not as dirty as I was planning initially (varnish wiped off some dirt) but looks just like vehicle shortly after getting into action should look like.
Hope you like it too and find the article anything useful. In case of any questions just shout.


By the way, there are still some followers needed to reach magical number 200 so you know... <nudge, nudge, wing, wink>

Thanks for reading!
(and following)